Learn how to use Data Links to manually connect your files and emails.
1. Introduction
This guide walks you through the DataLinks creation process.
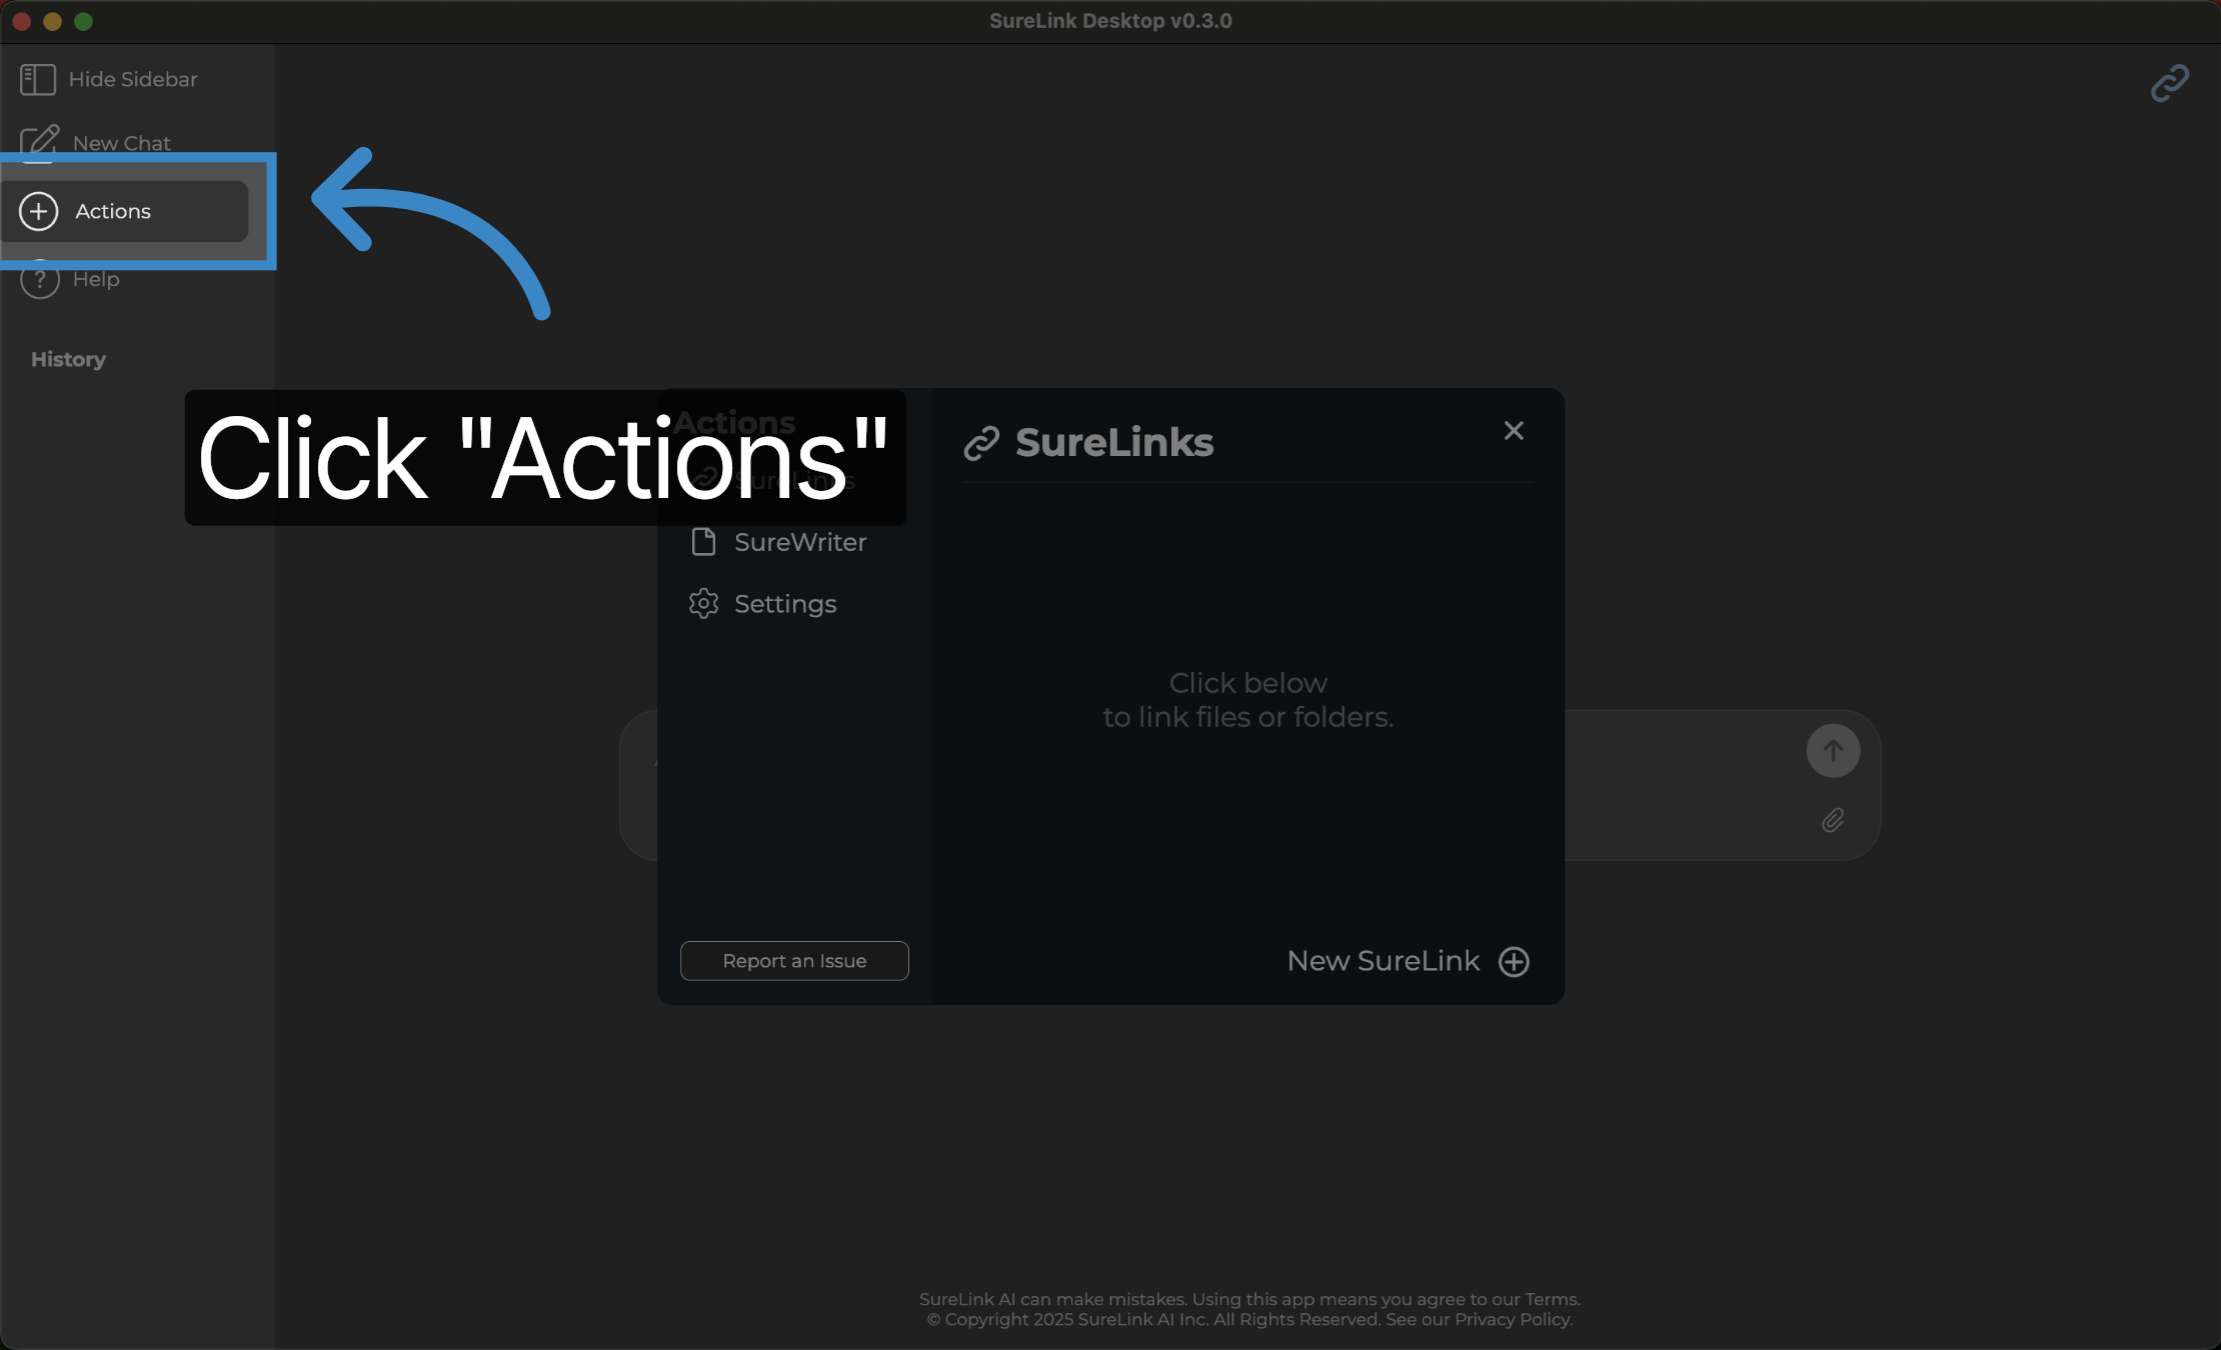
2. Click "Settings"
Navigate to the sidebar menu, and select the Settings icon.
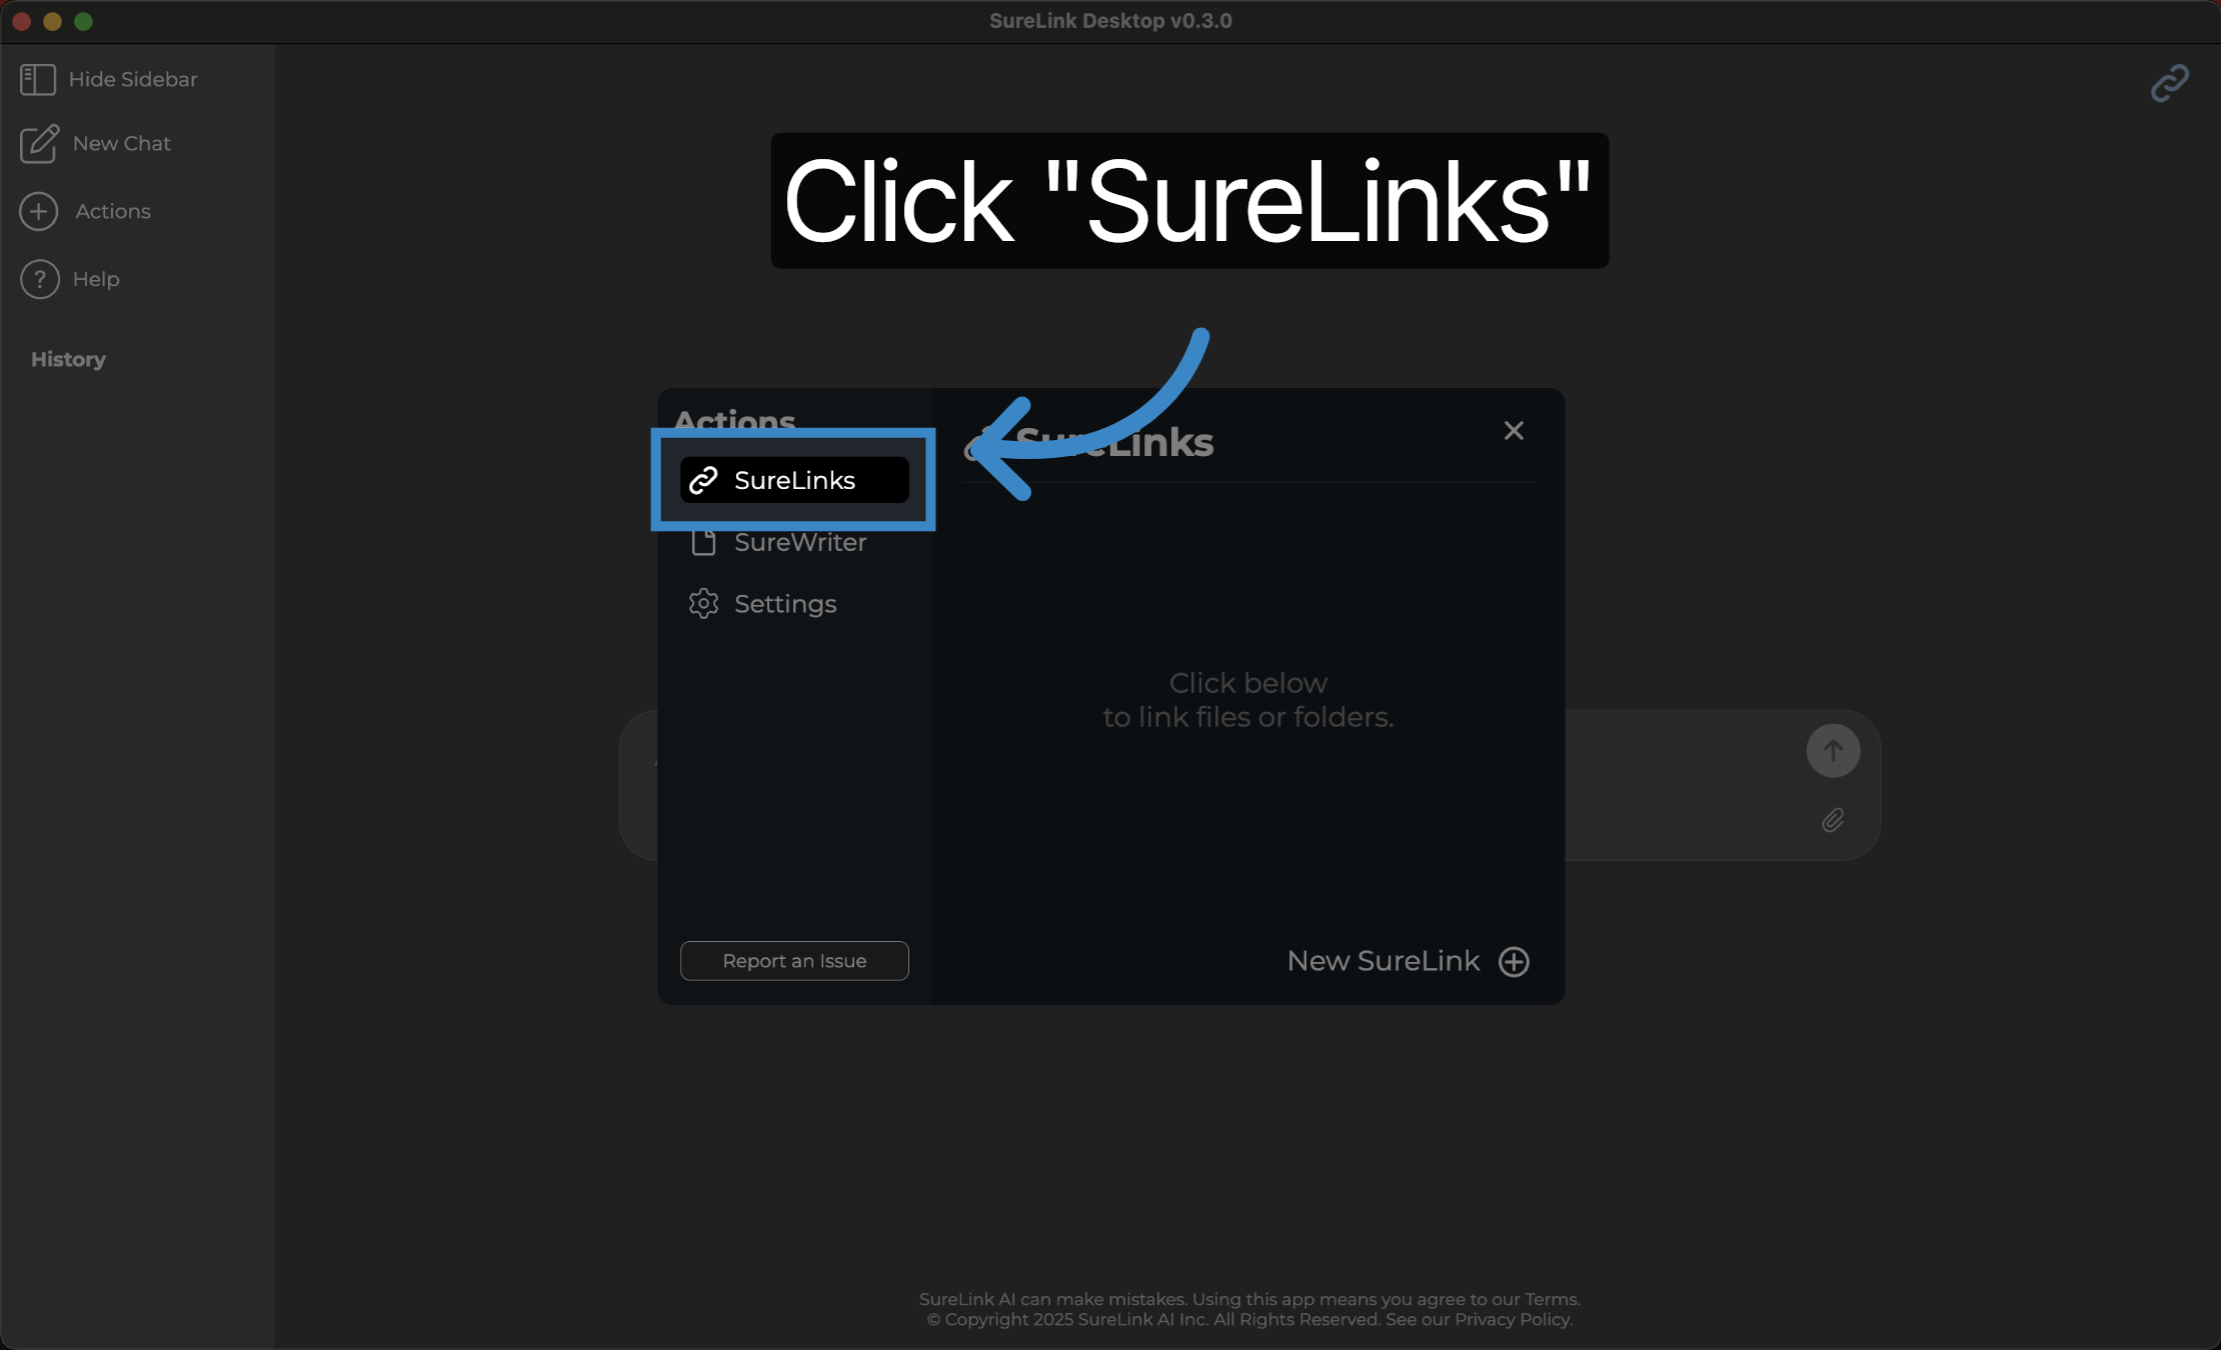
3. Click "Data Links"
Select the 'Data Links' option to access your linked files and folders.
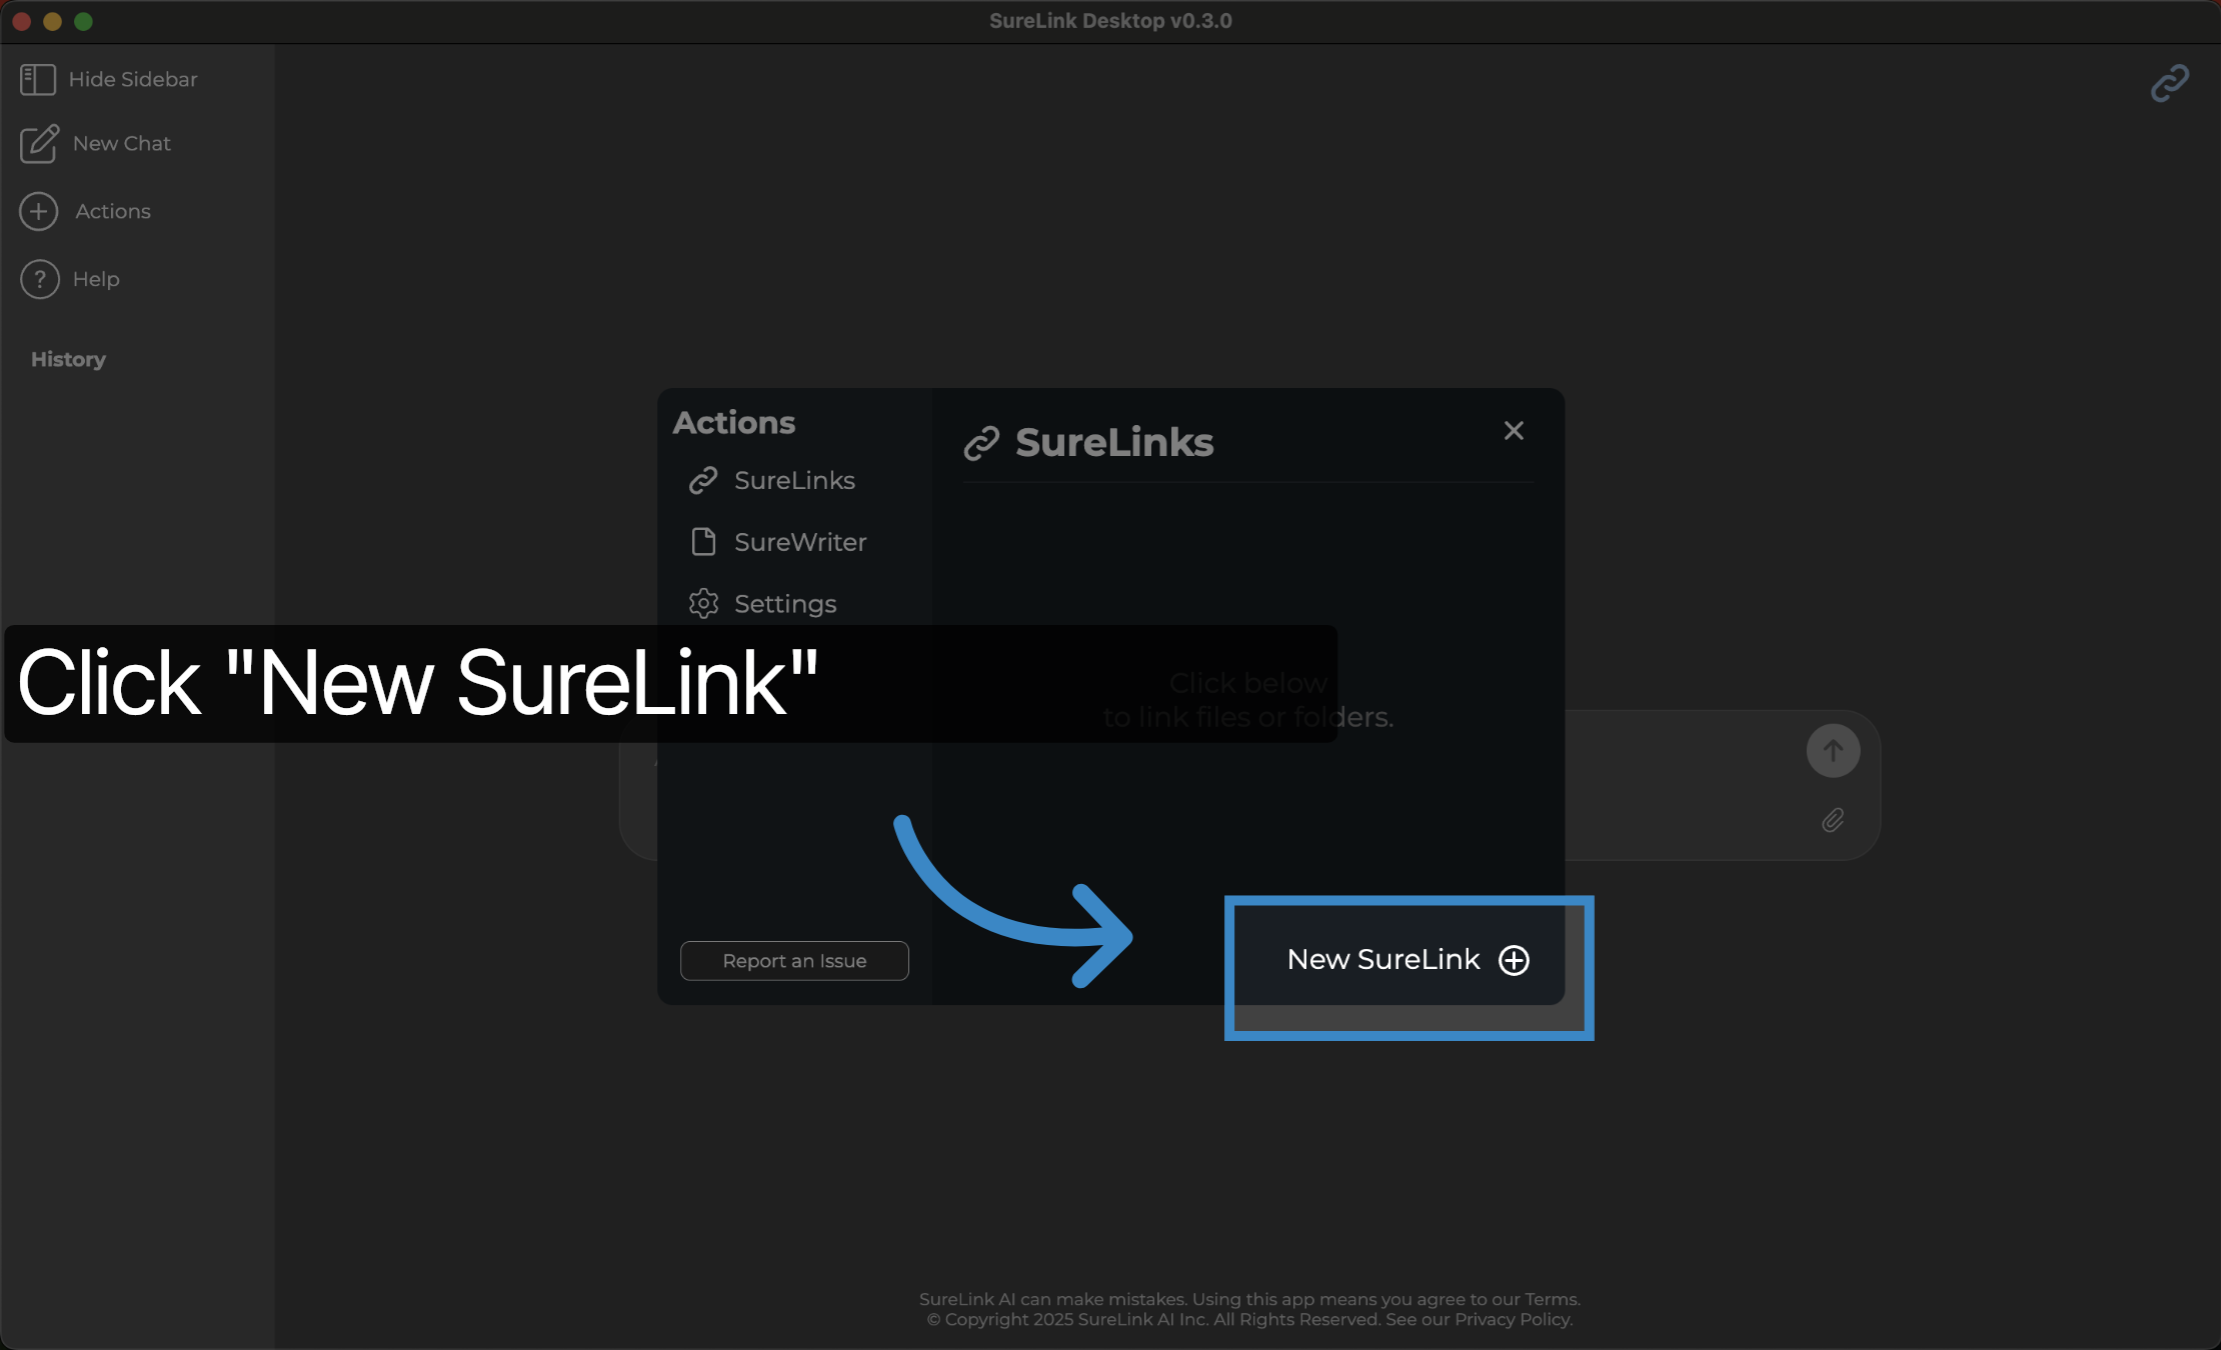
4. Click "Link a Folder"
The SureLink system will ask you which content it has access to. First select whether you want the system to have full access to all folders, just a select folder, or no folders. Then select if you want the system to access your email. SureLink AI currently supports Outlook Classic, Apple Mail, and Thunderbird. These email apps will need to be installed separately for the integration to work. Each of these supported email apps can handle multiple inboxes. For example, if you use Apple Mail, you can sync your Google, Outlook, and Yahoo email accounts.
Also, a user can set their auto updated frequency. Based on this frequency, the system will automatically look for updates to your files and emails.
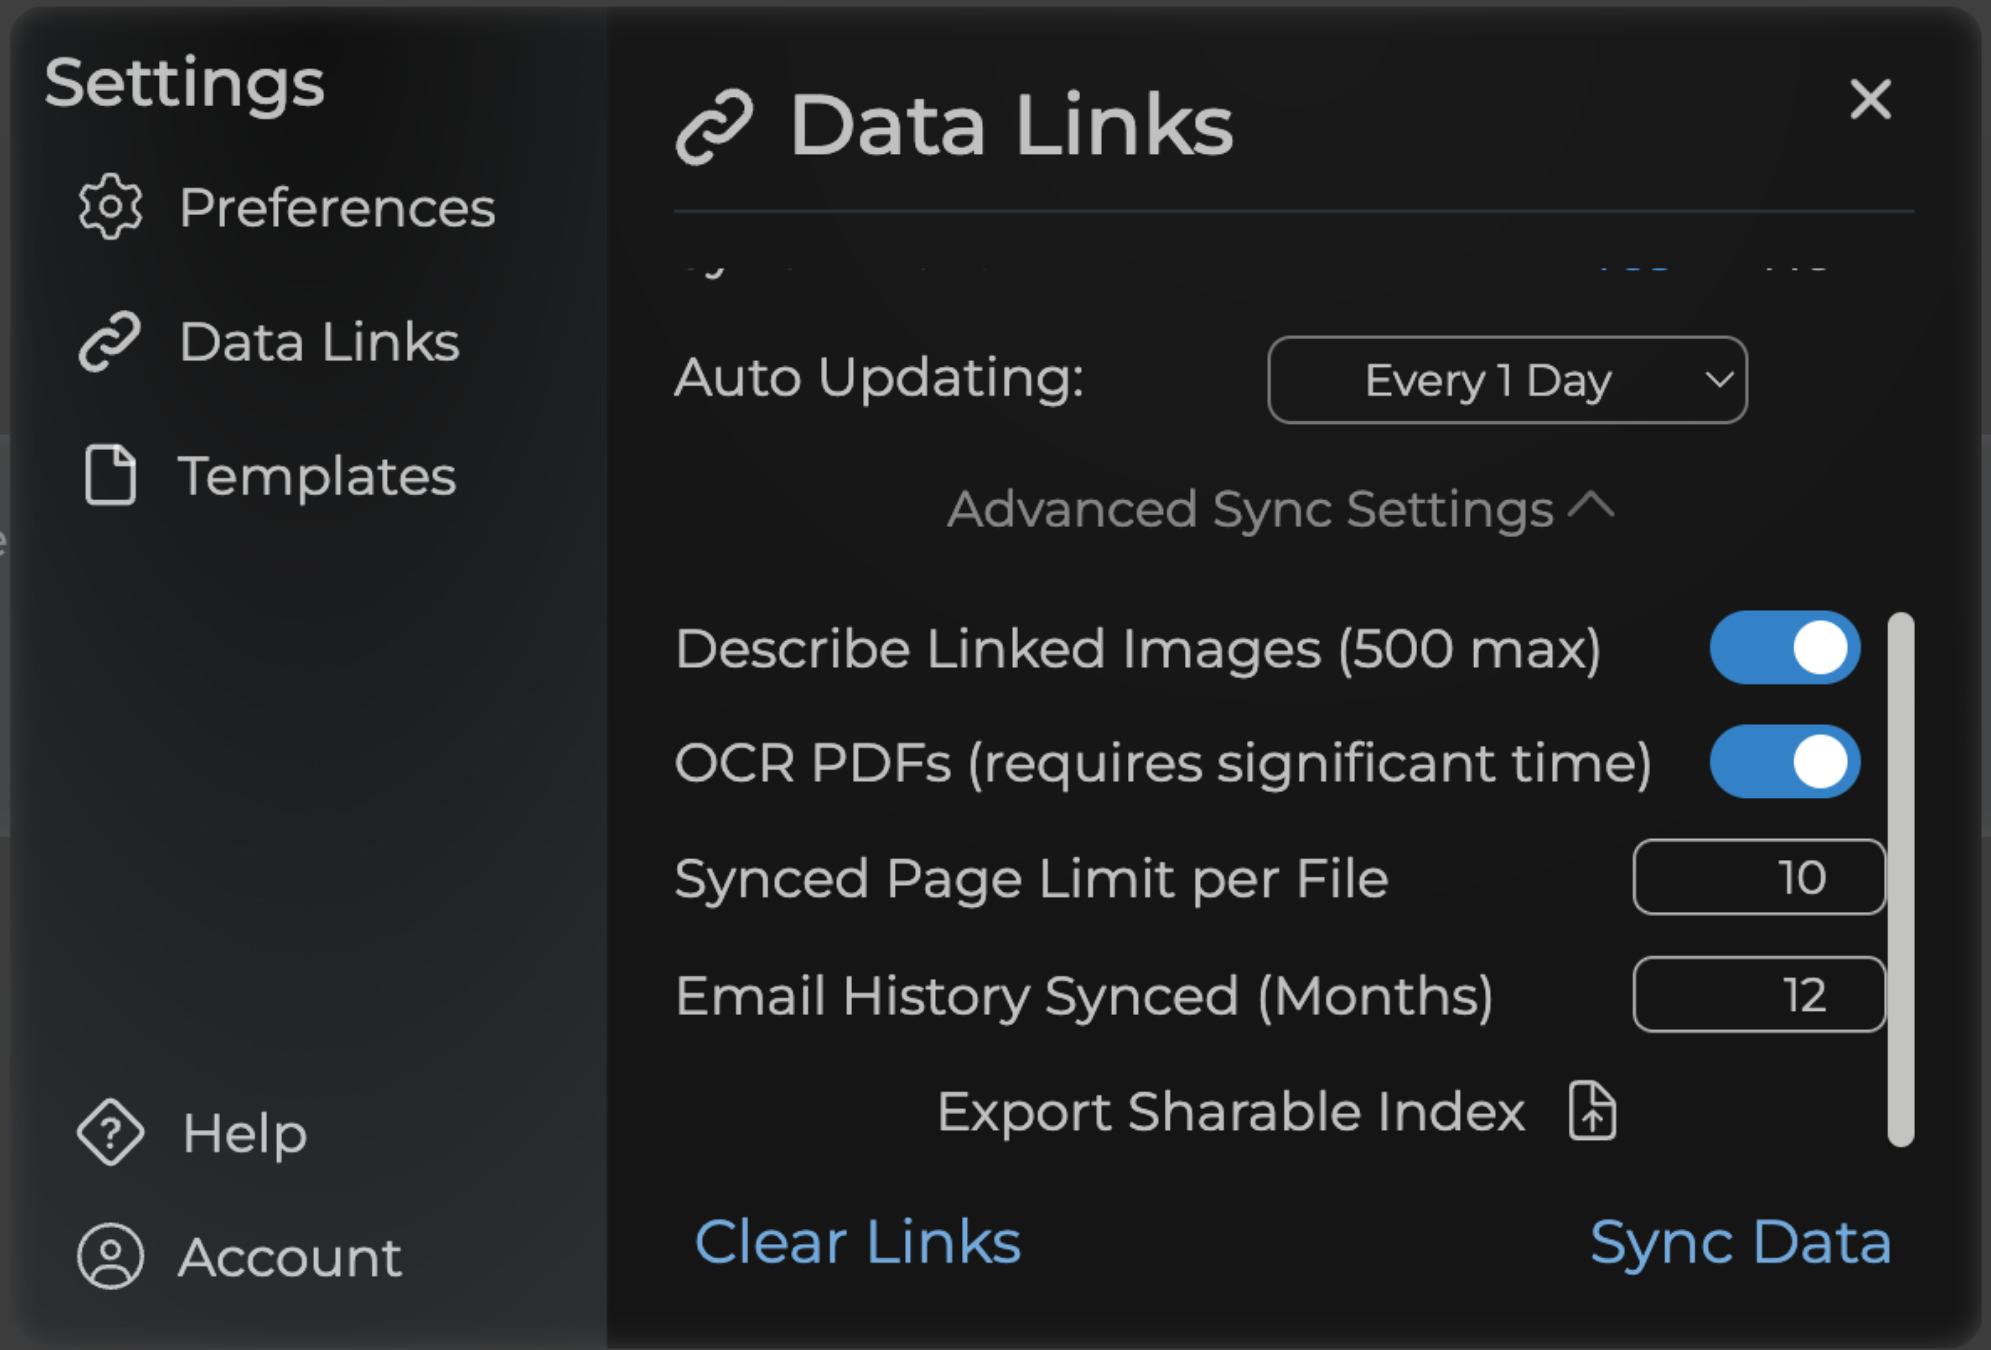
5. Advanced Sync Setting
Lastly, users have the option to access advanced settings. These settings control information such as Image Description, PDF scanning, page limits, history thresholds, and a sharable index export. Once you are good with your selections, press Sync Data to begin the syncing process.
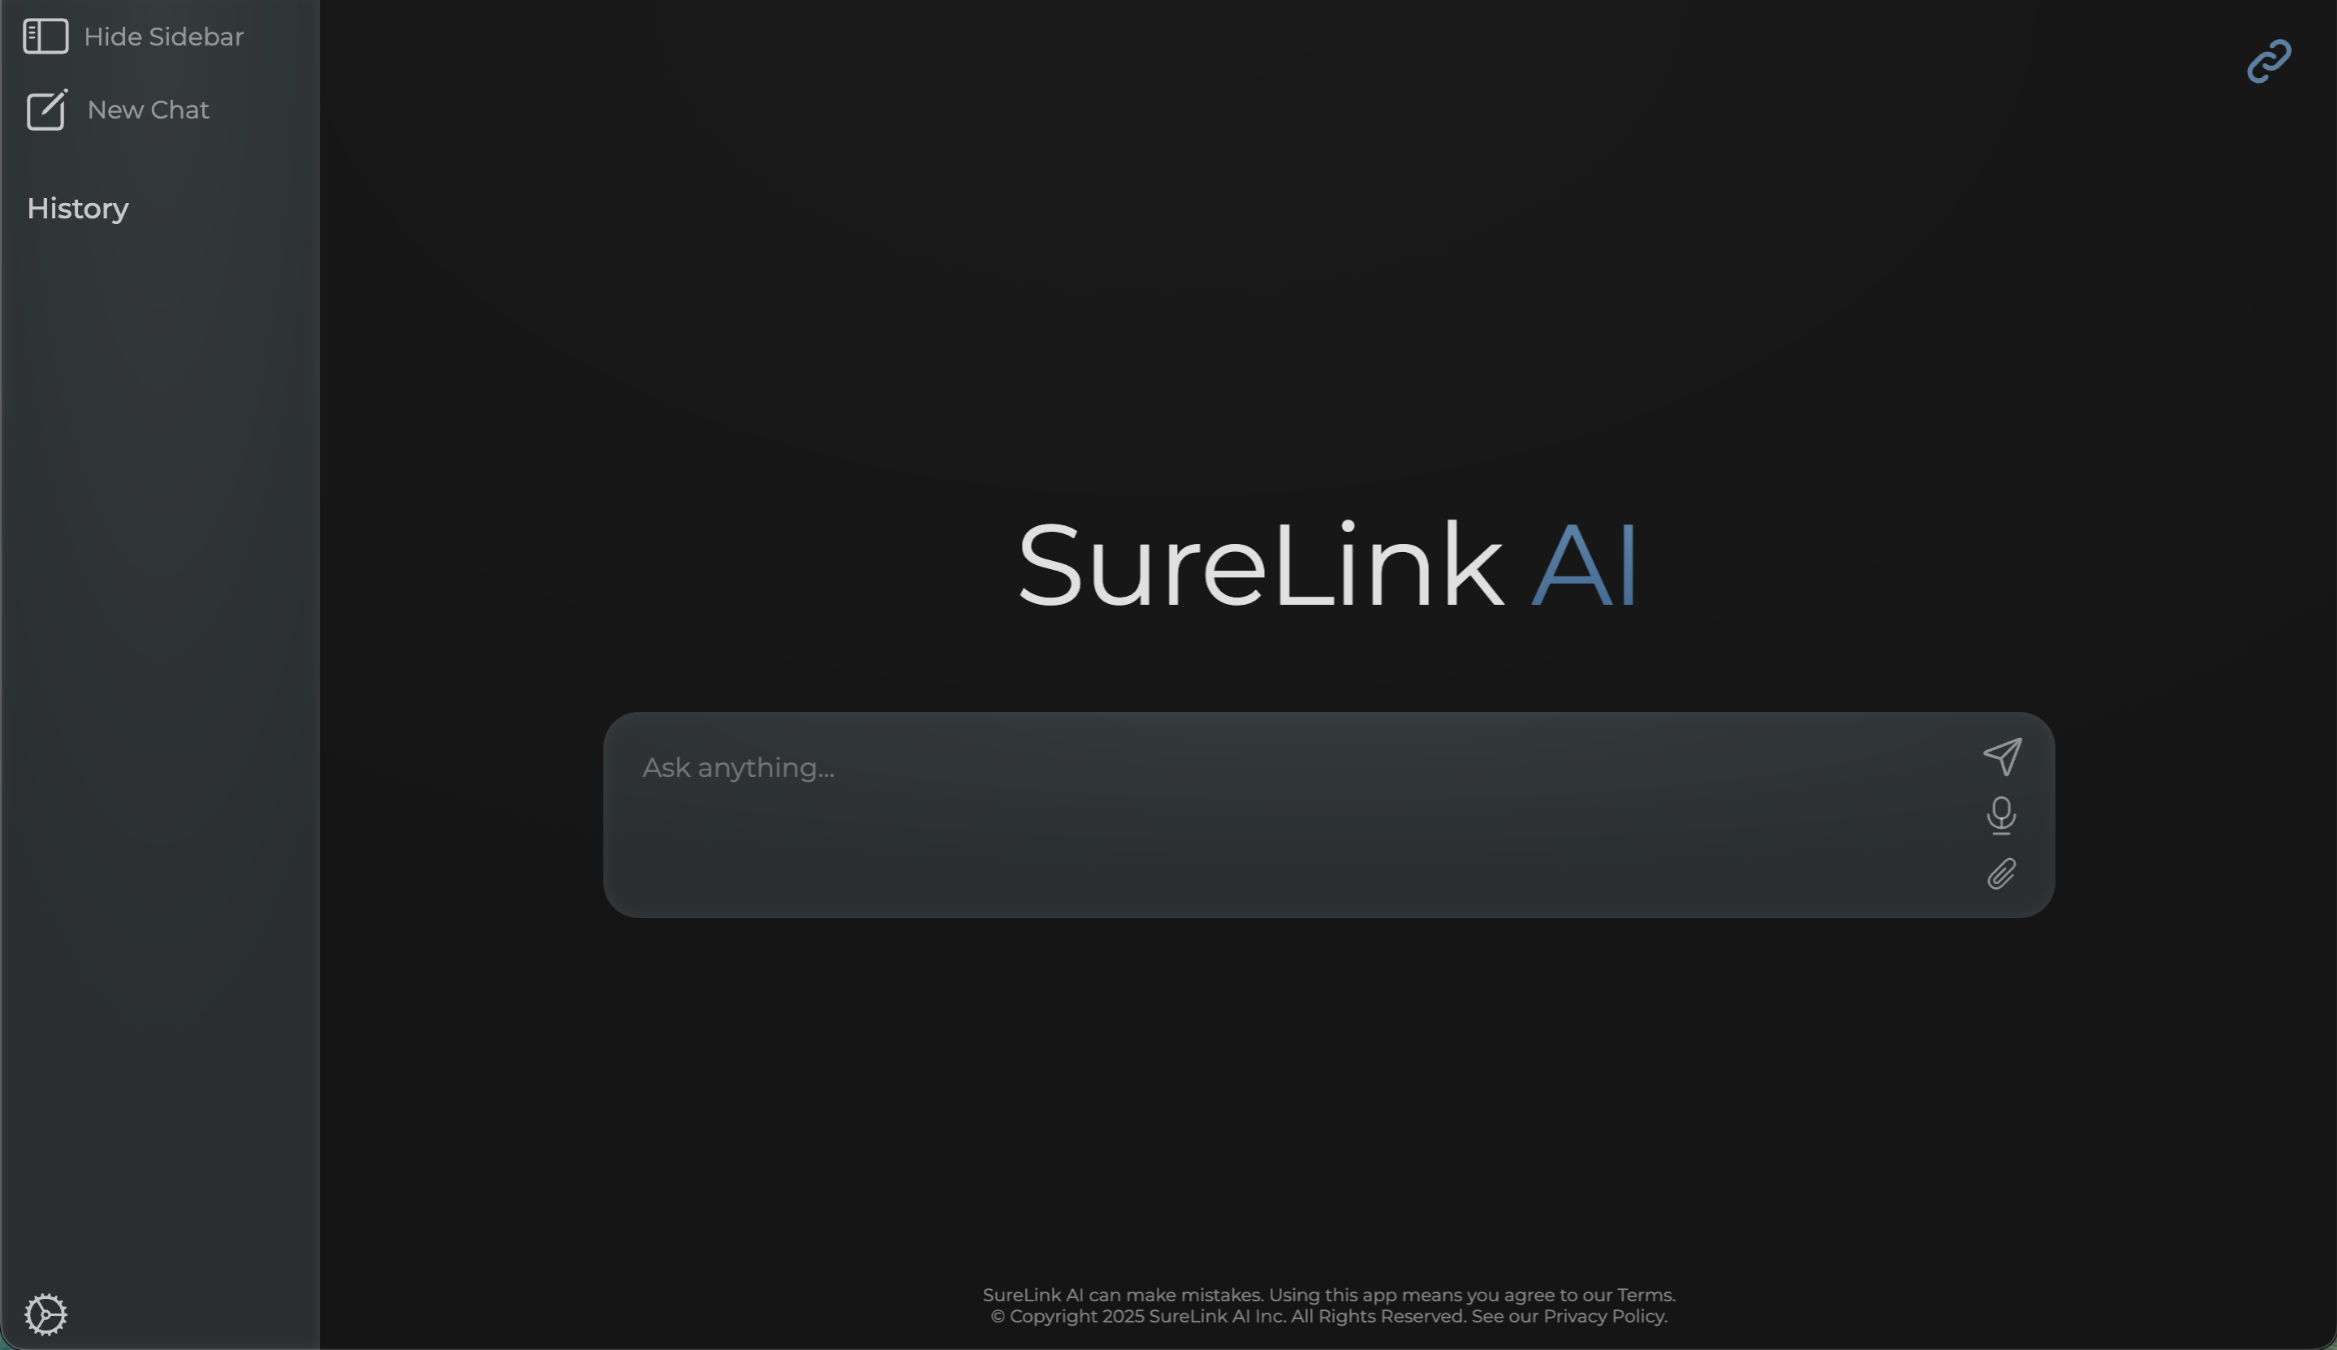
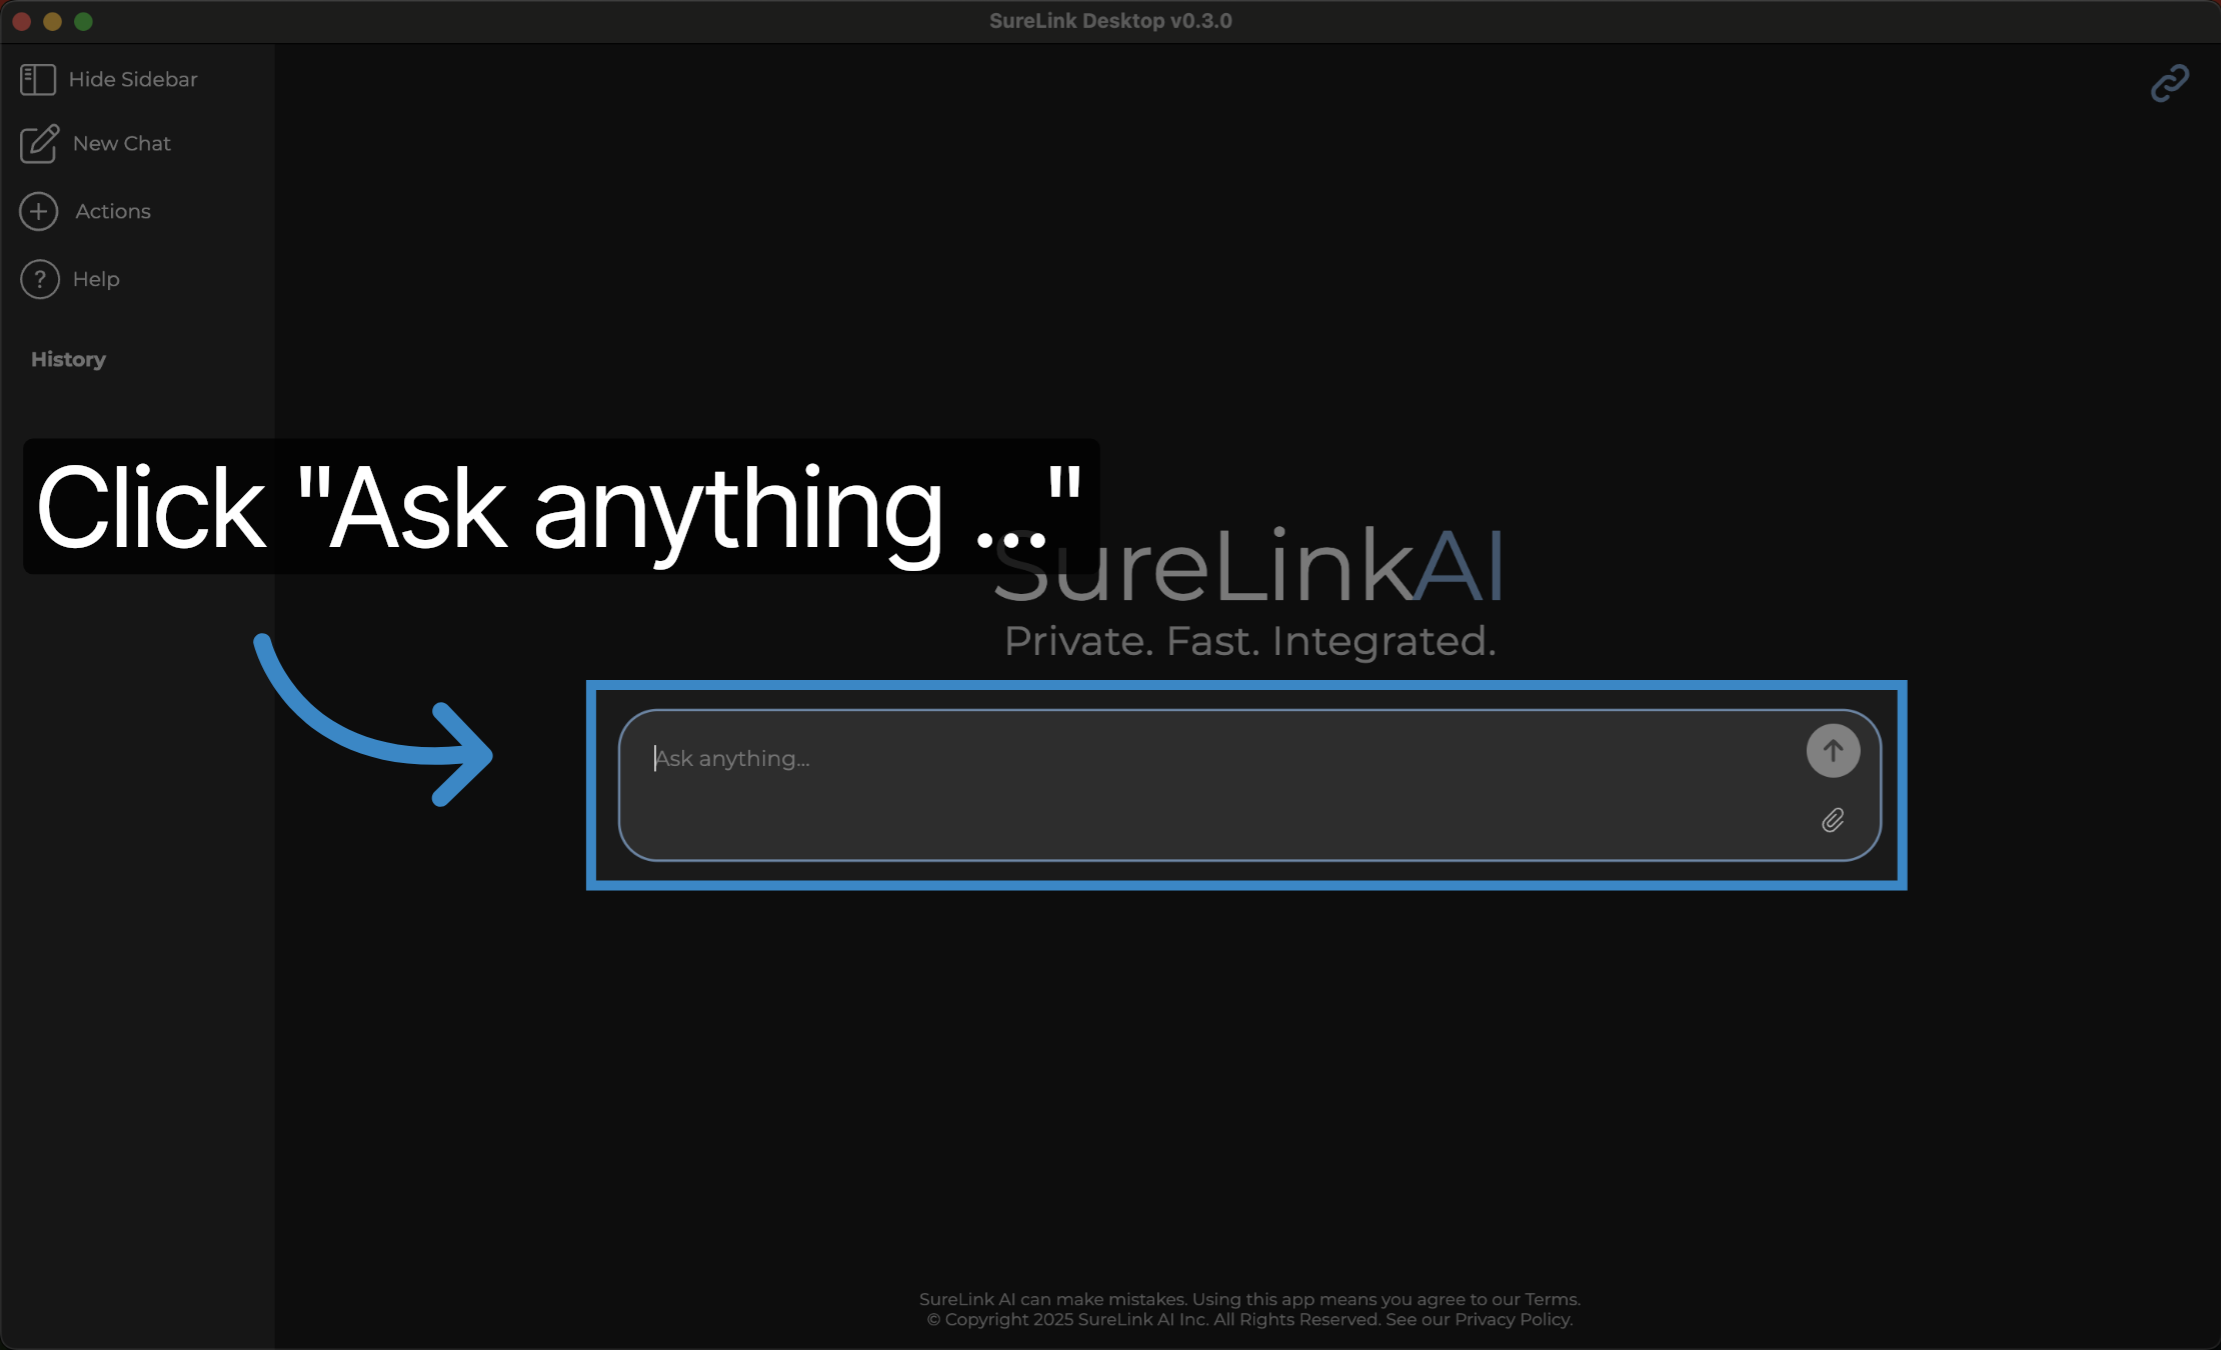
6. Turn on Linked Data & Click "Ask anything ..."
Once your data is linked, you can then prompt based on your linked data. Ensure that the link icon is turned on which is located in the top right hand corner.
This guide covered how to create and manage Data Links by linking files. Thank you from the SureLink AI team.