How to use Settings in SureLink AI
Learn how to efficiently use the Settings in SureLink AI to personalize your workspace.
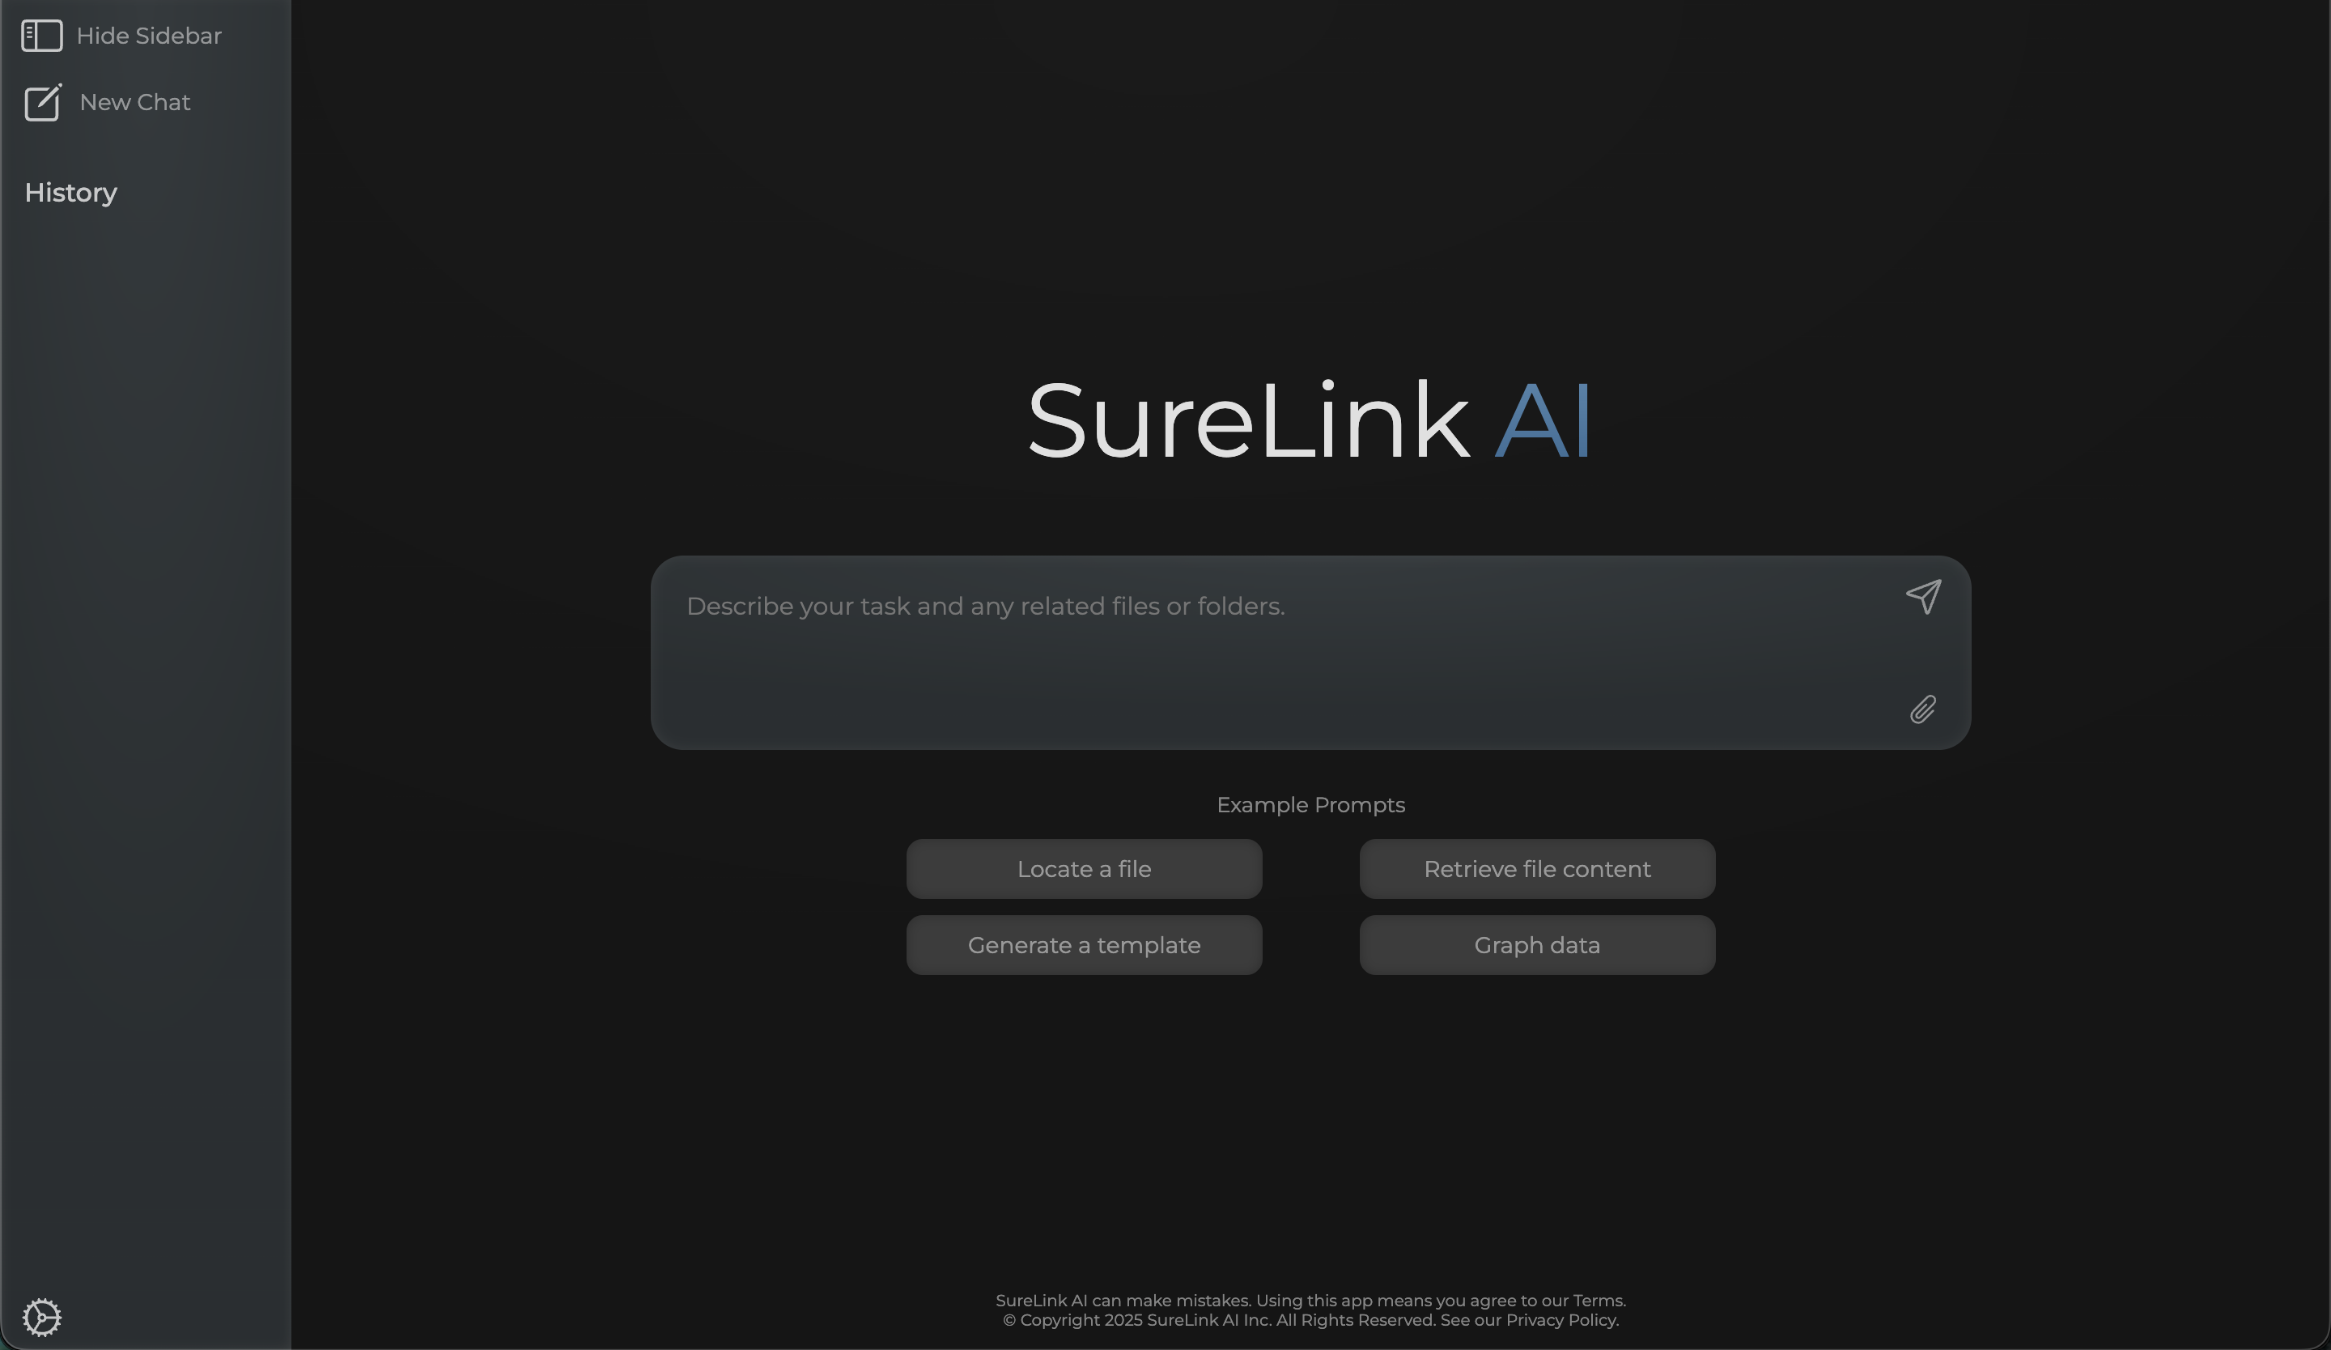
1. Introduction
This guide walks you through each step to update settings to improve your interaction with the platform.
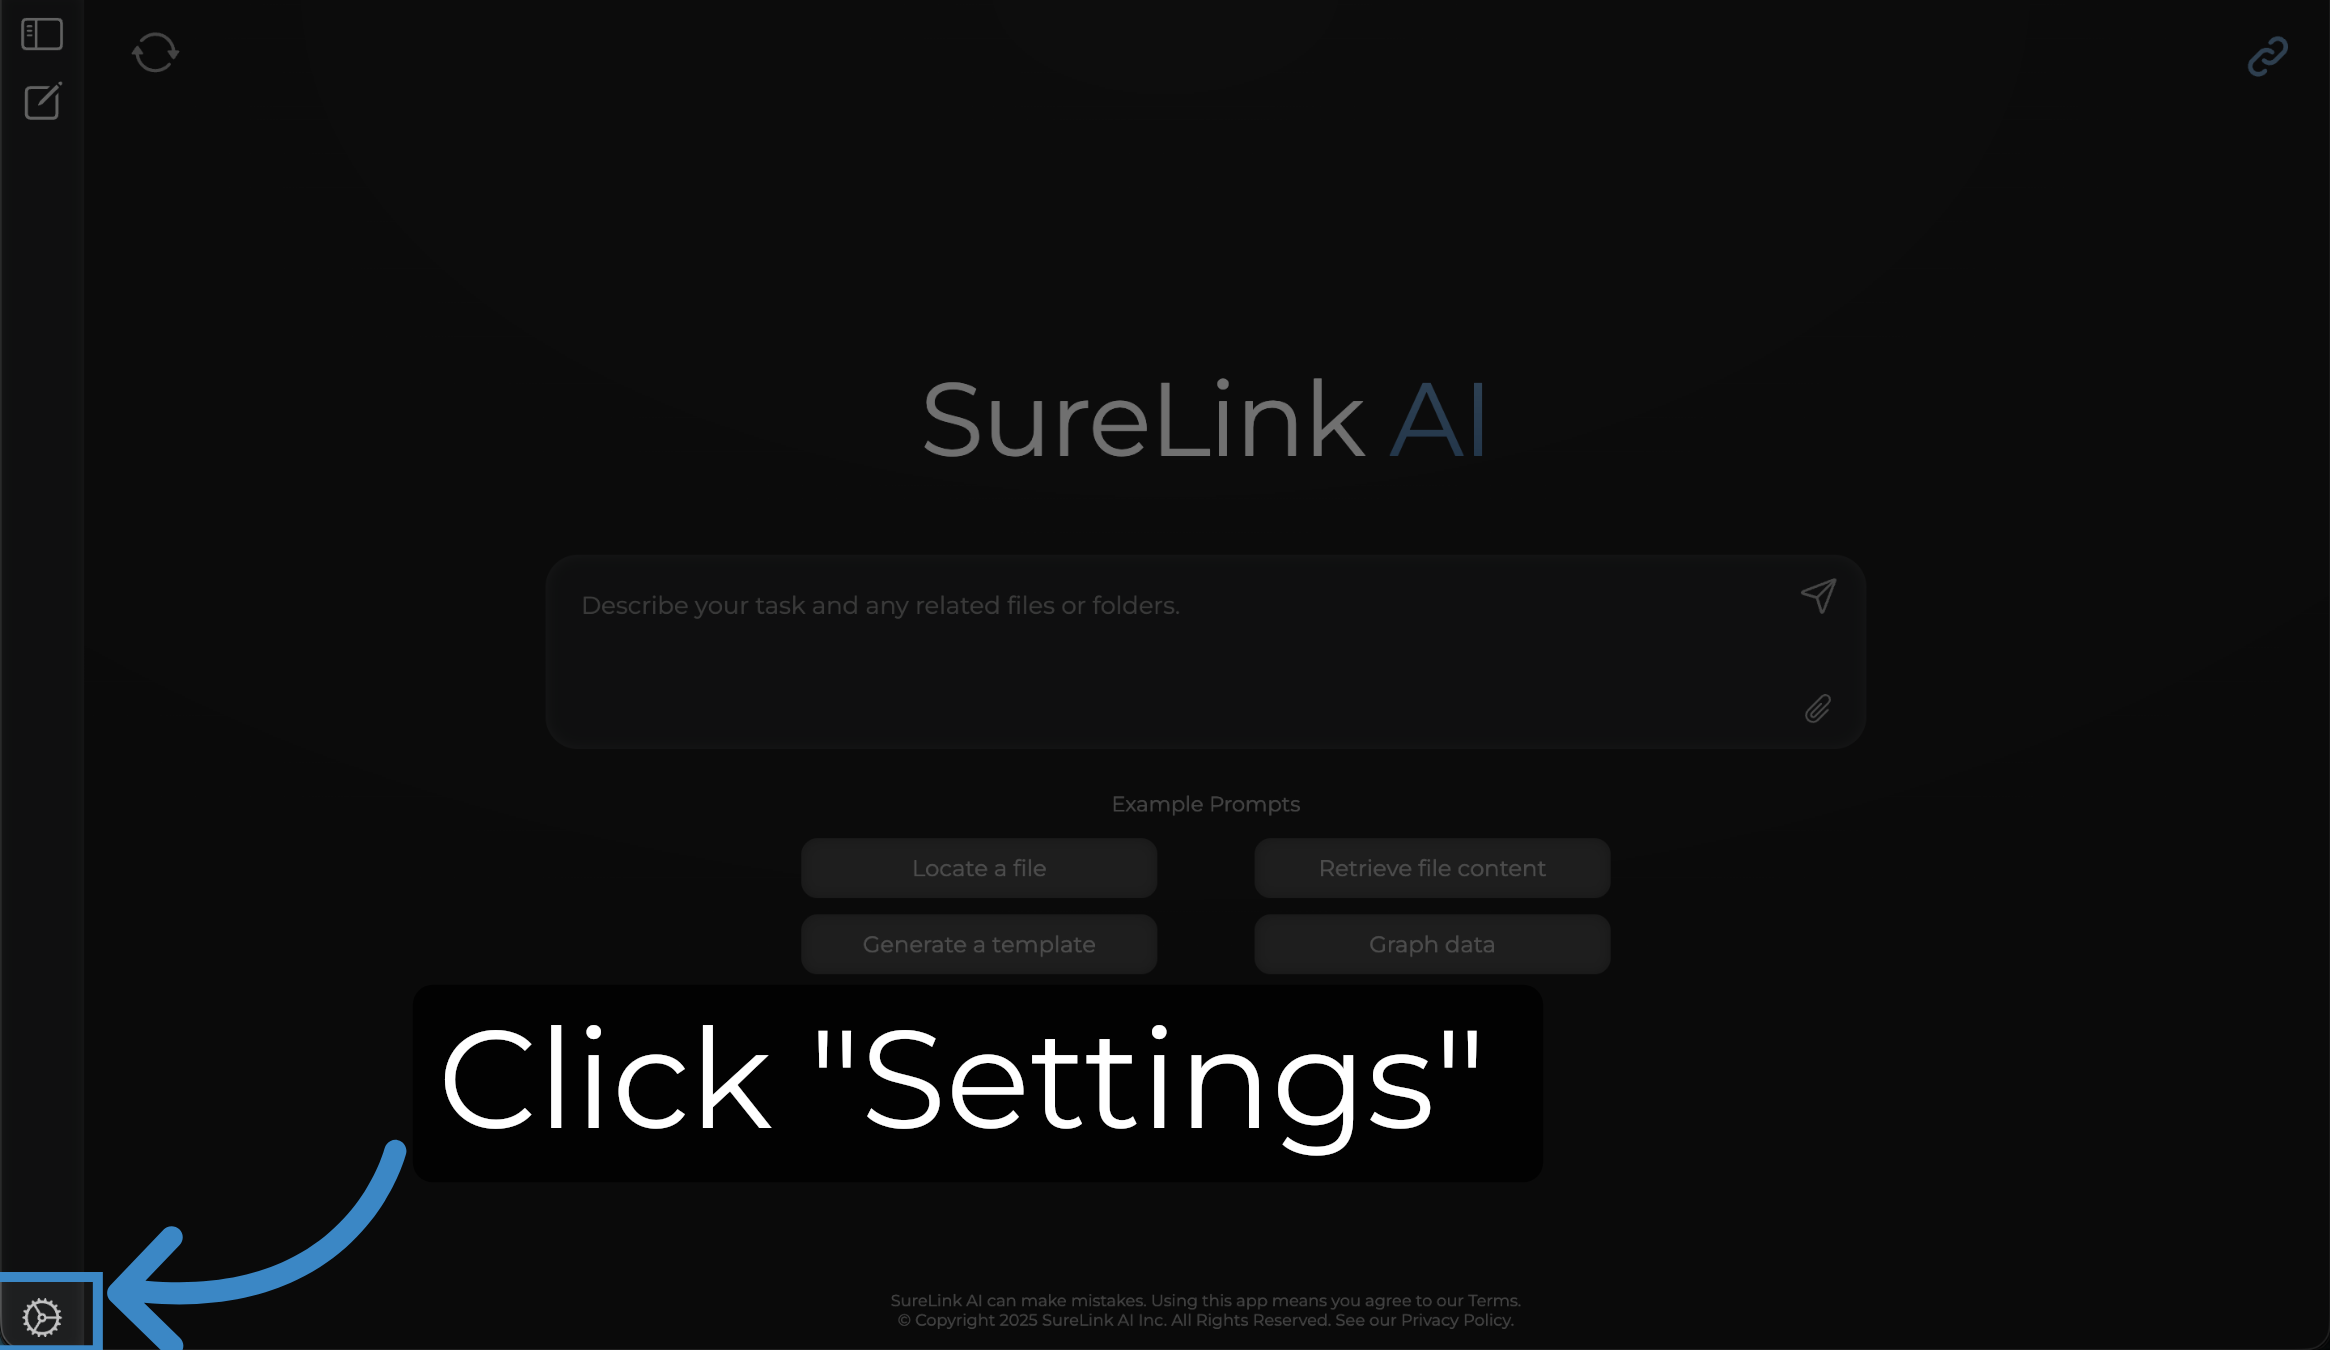
2. Click "Settings"
Open the SureLink AI sidebar menu and locate the 'Settings' button to begin customizing your experience.
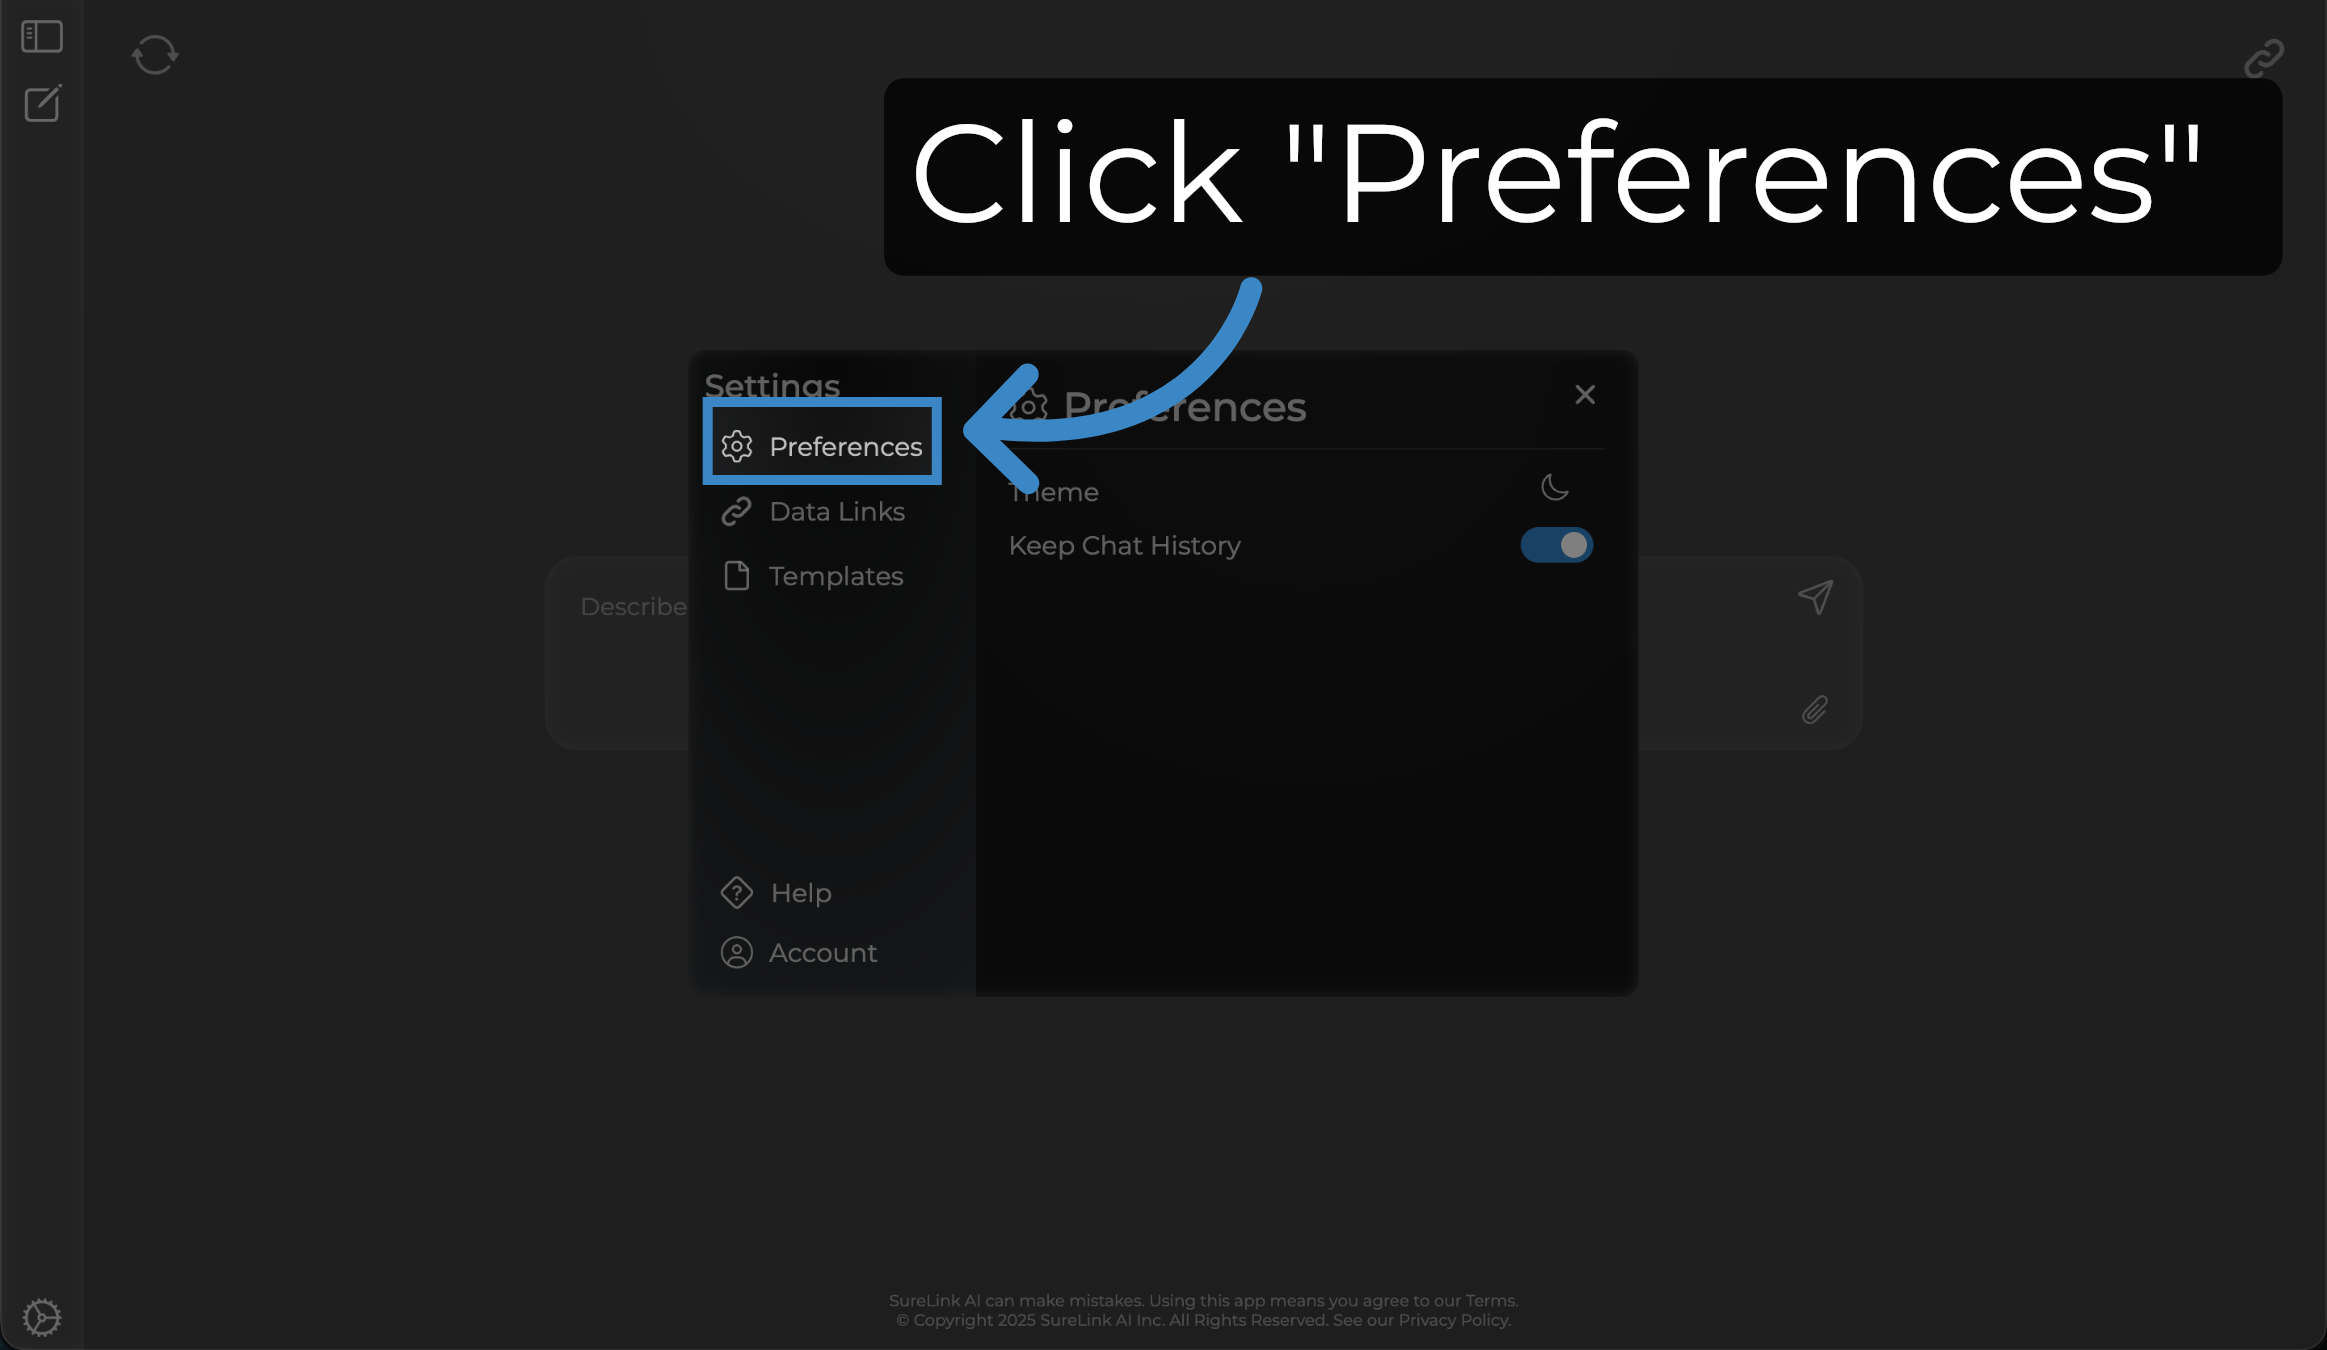
3. Click "Preferences"
Navigate to the 'Preferences' option within the 'Setting' menu to access configuration controls.
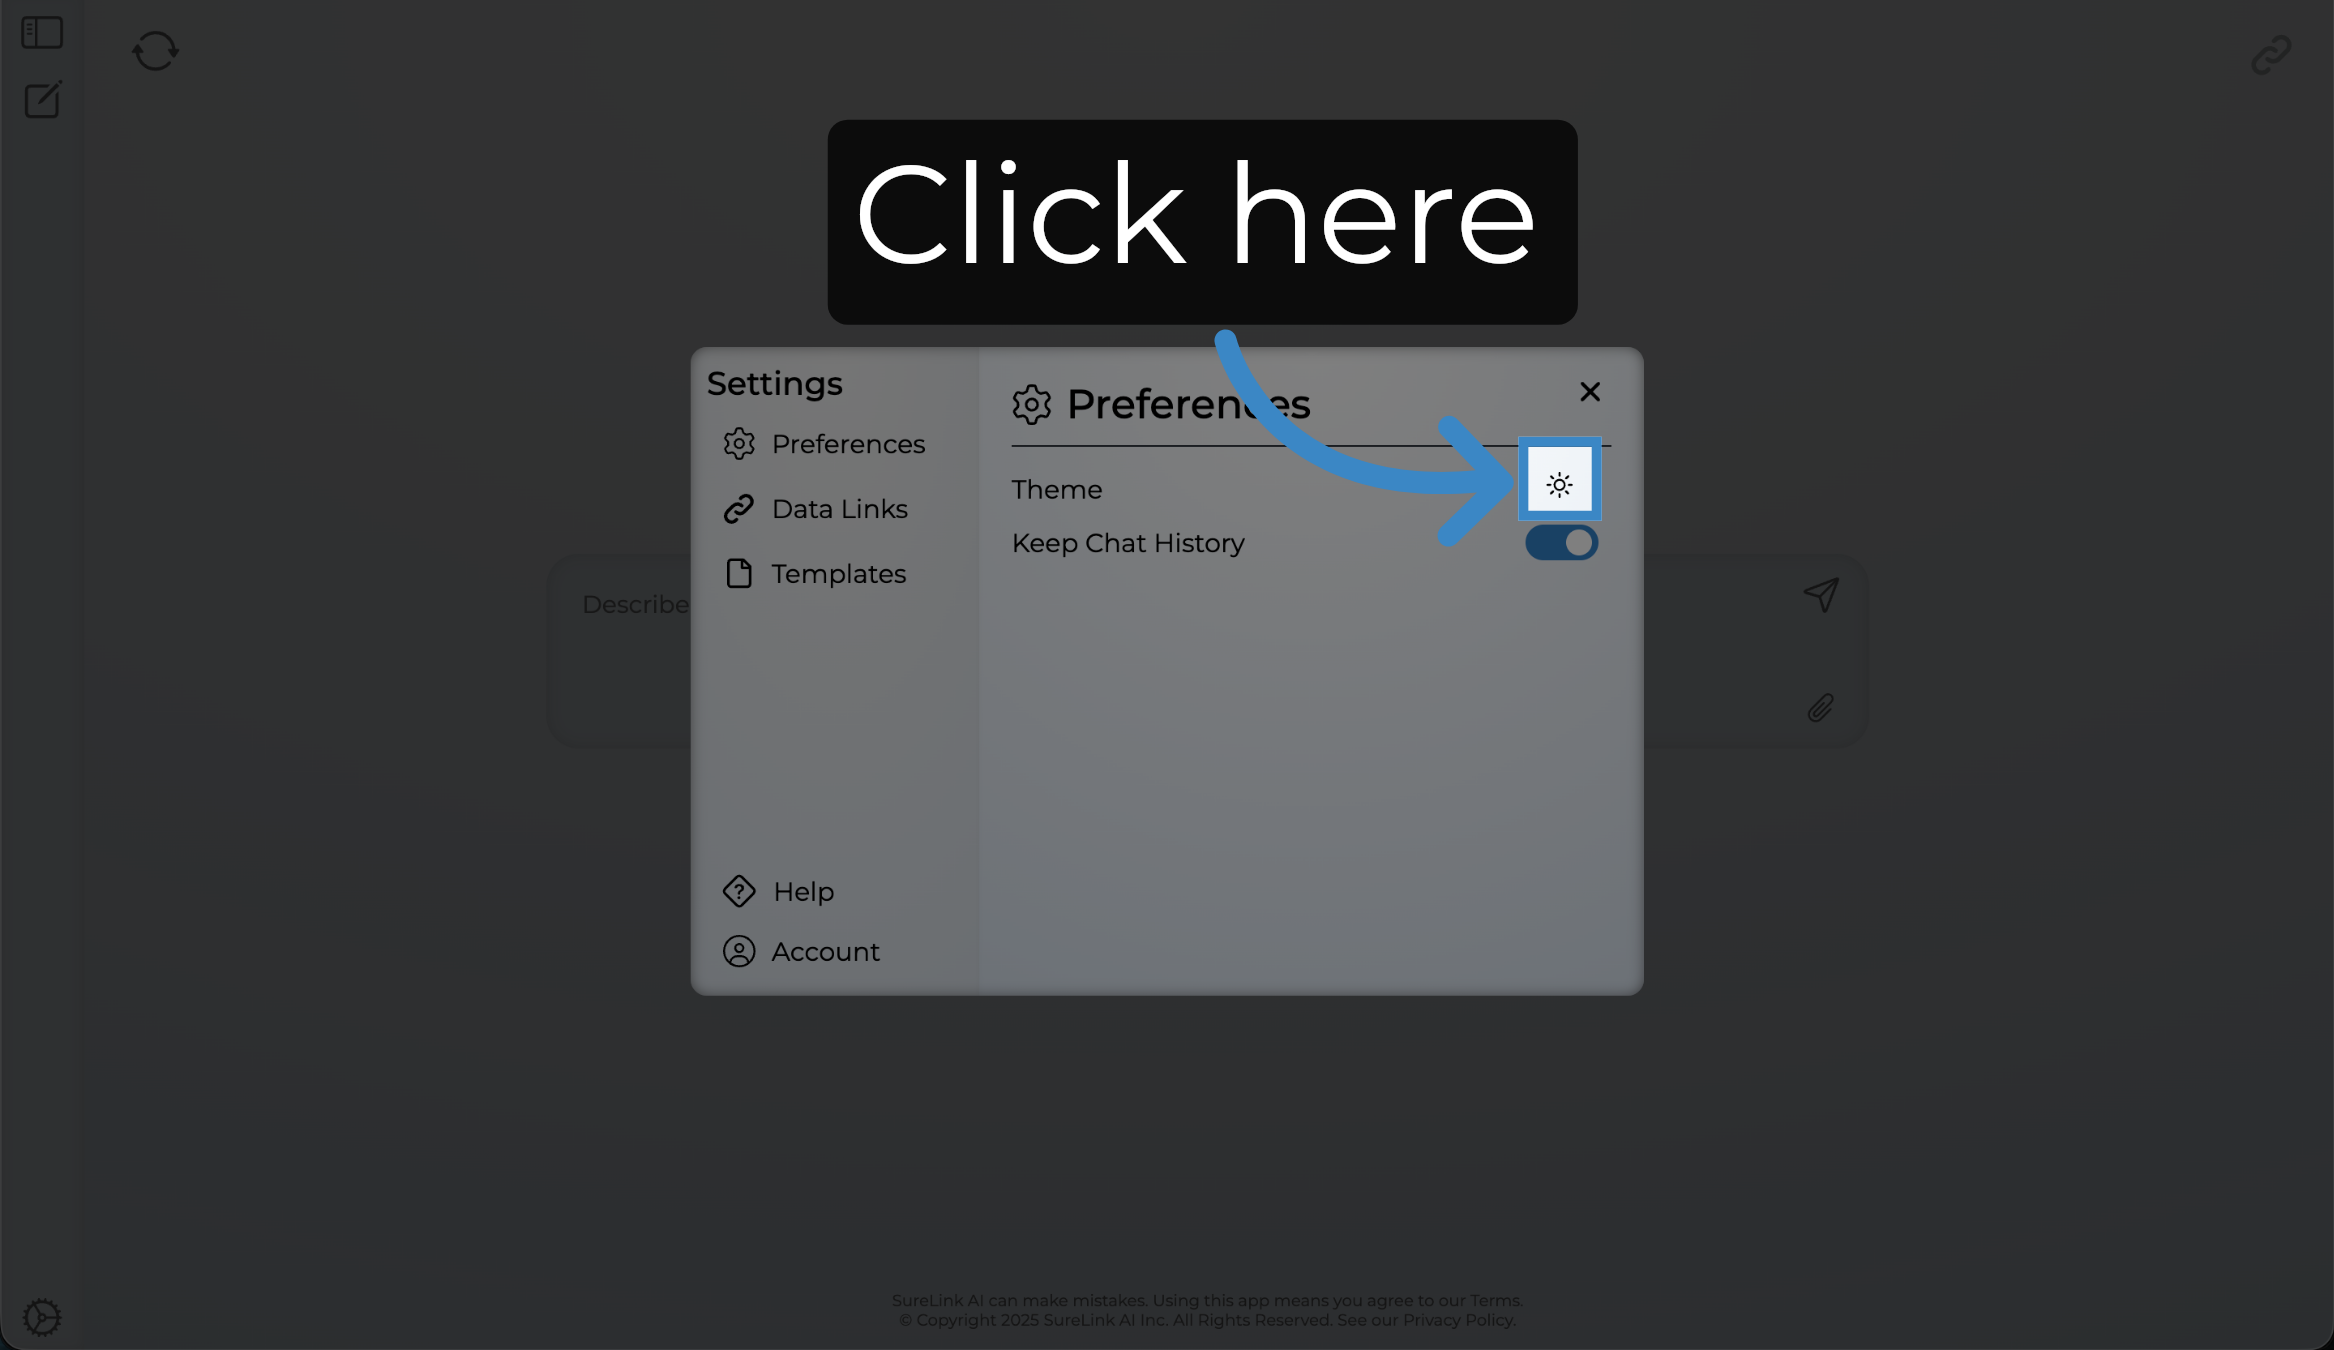
4. Click here
Use the Theme setting to control whether your application runs in Dark or Light mode. Select once to turn to light mode.
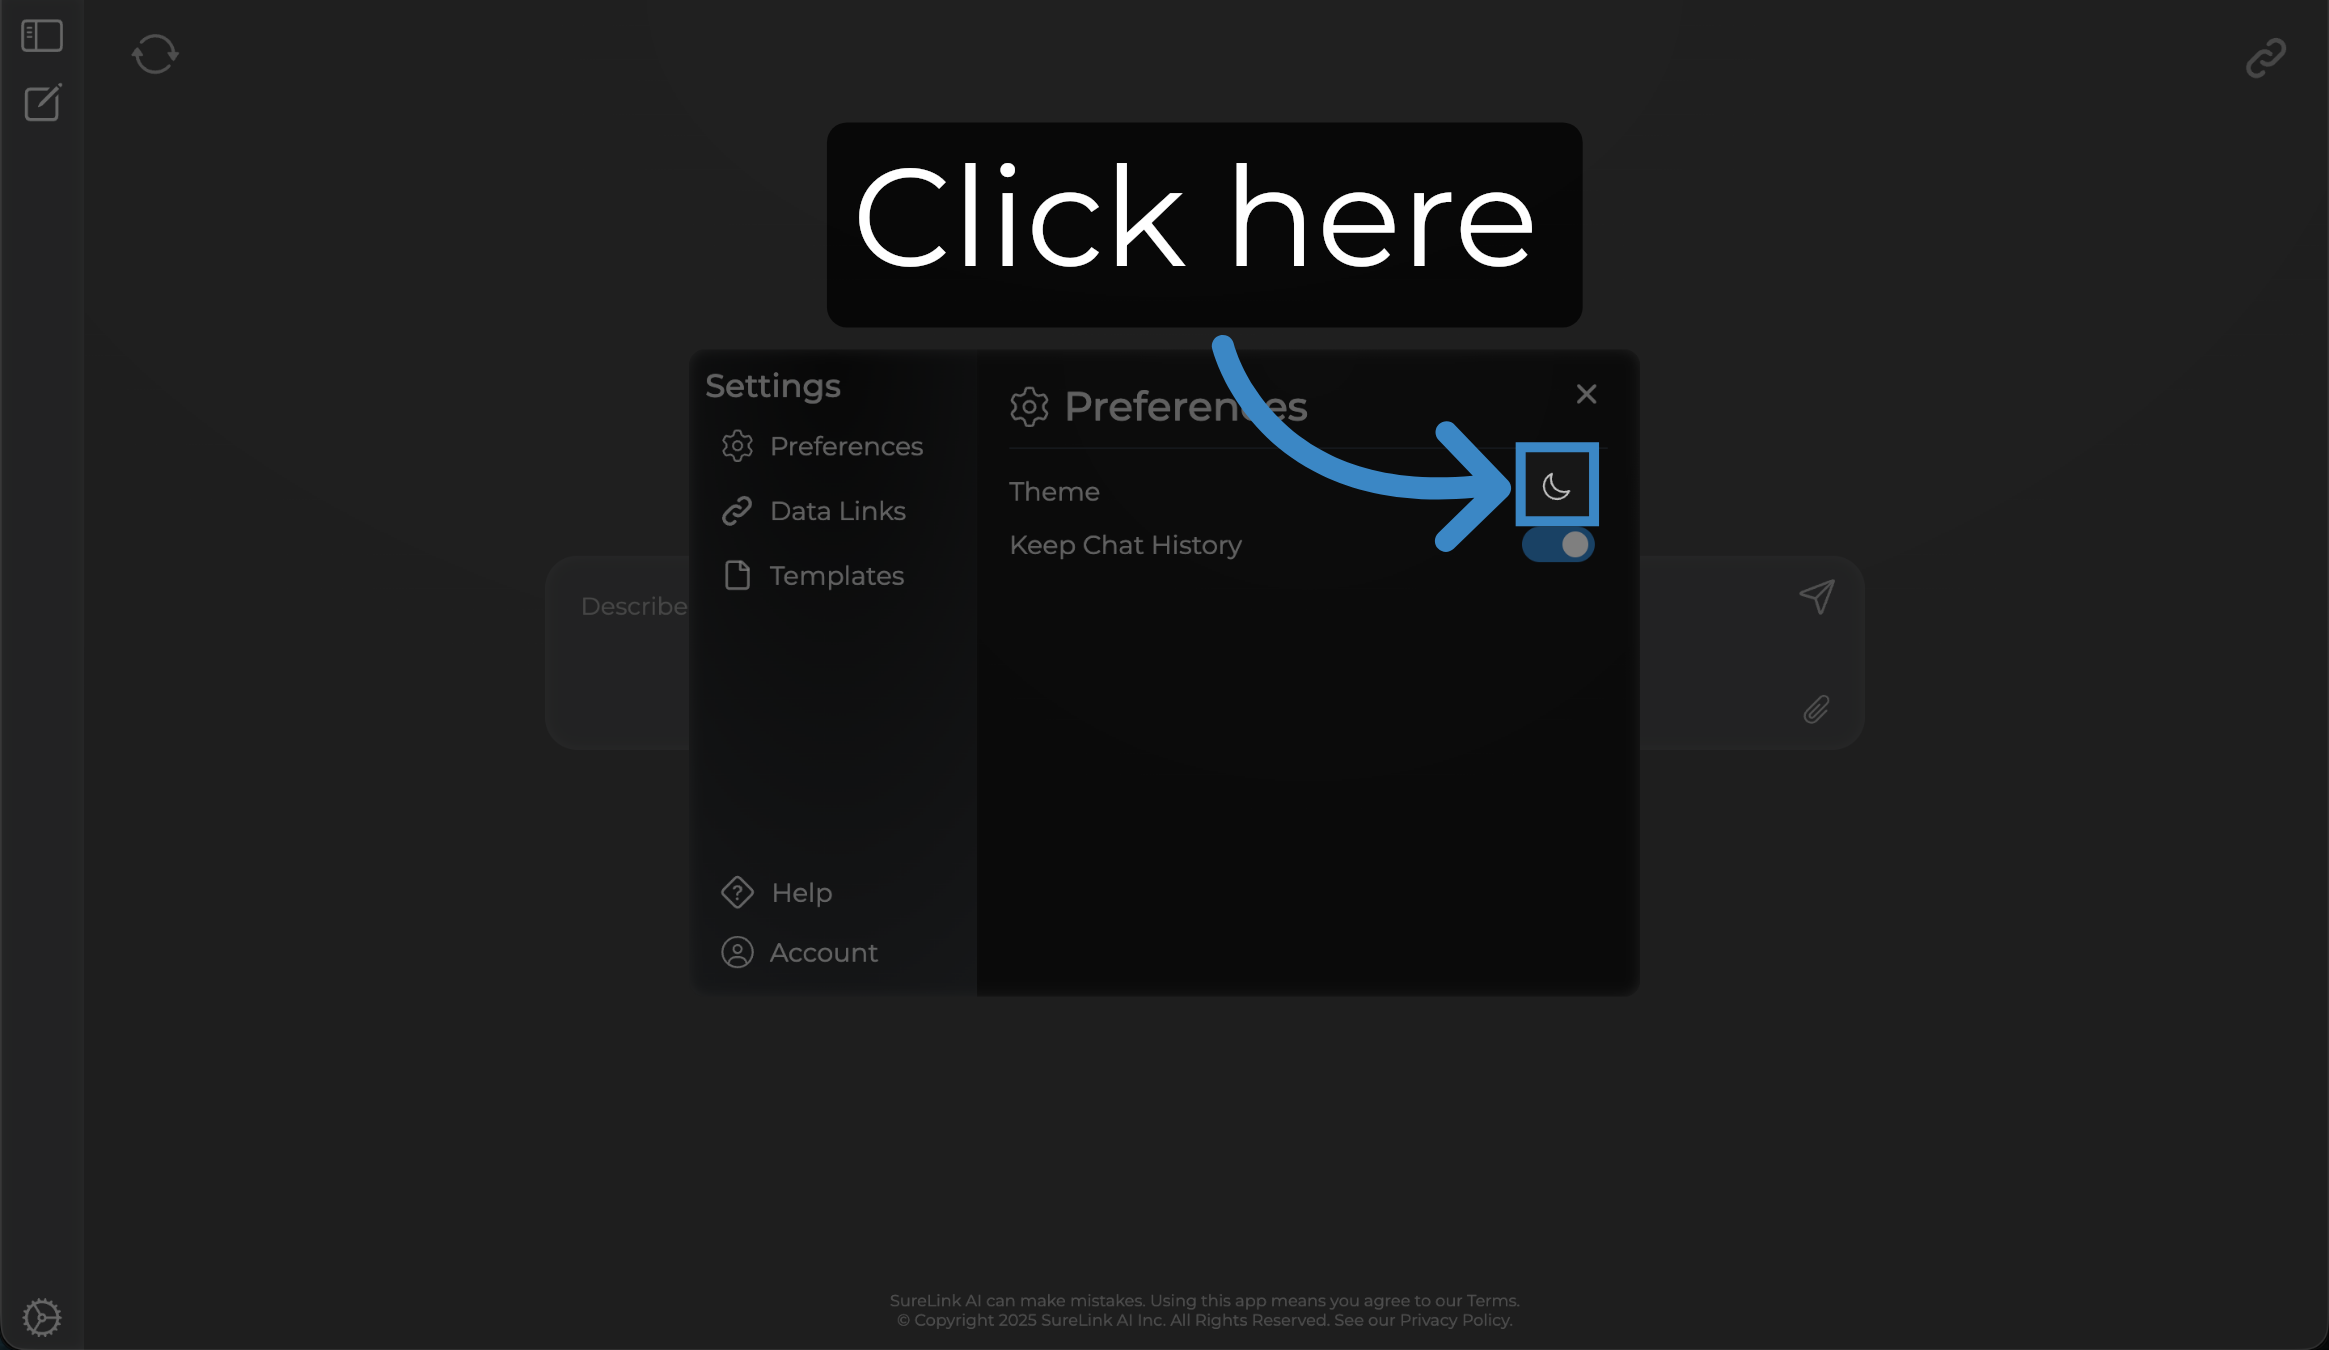
5. Click here
Click the Theme icon again to set it back to dark mode.
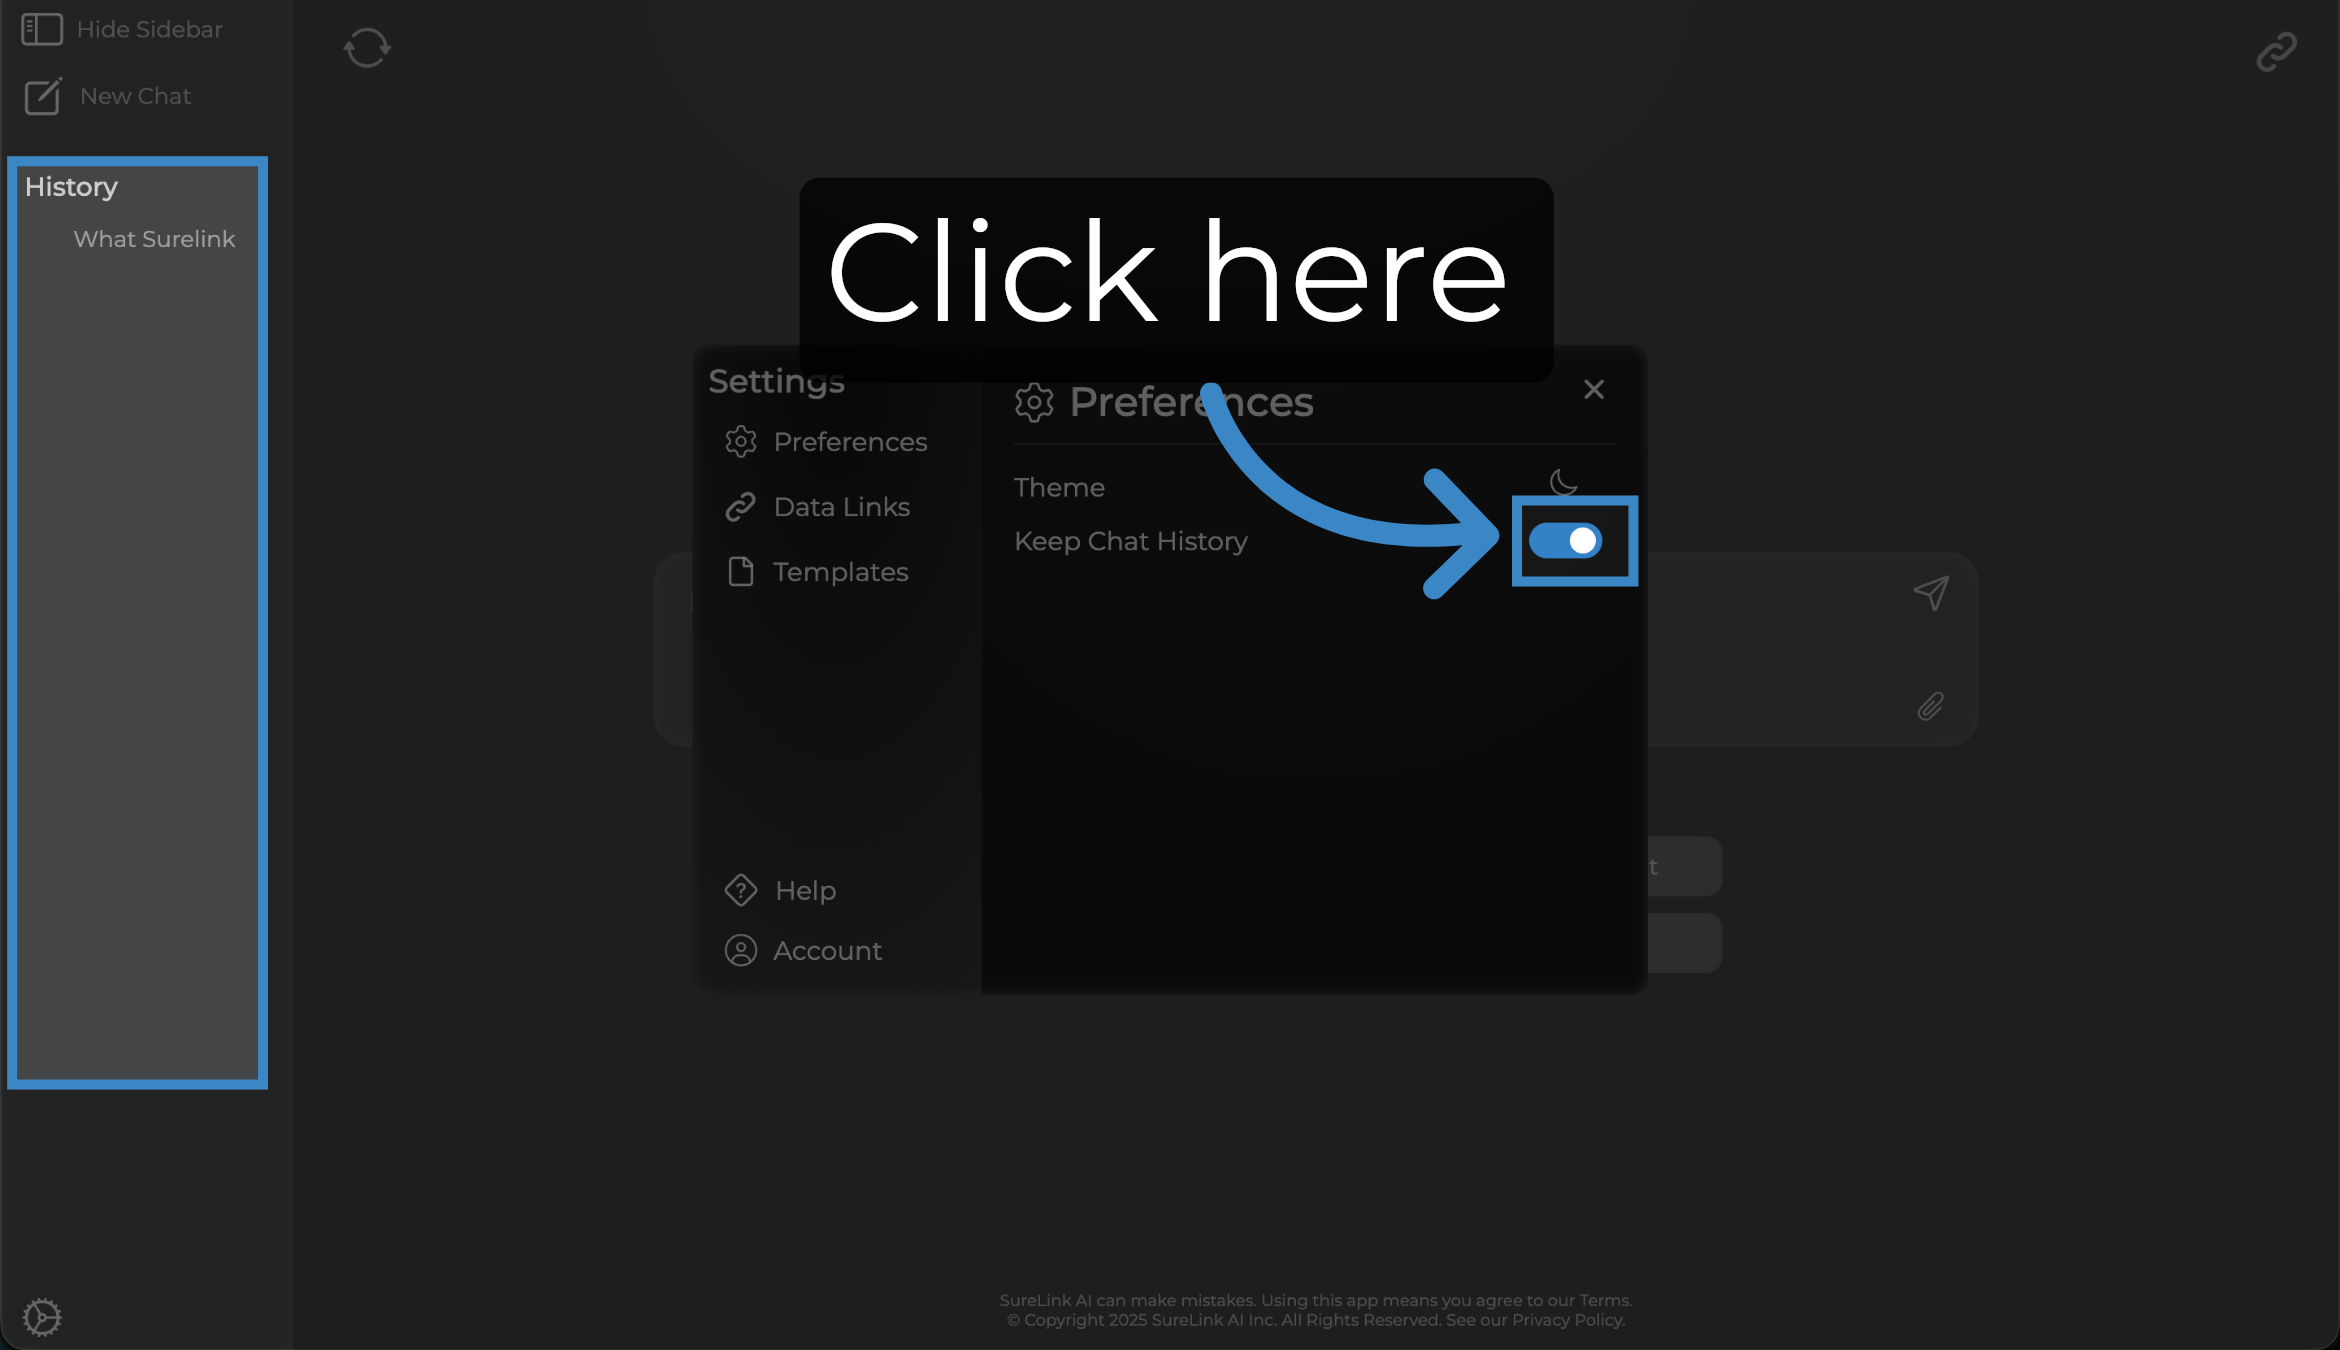
6. Click here
Click the Keep Chat History button on to retain your Chat History... Chat History is available within the history section of your sidebar menu.
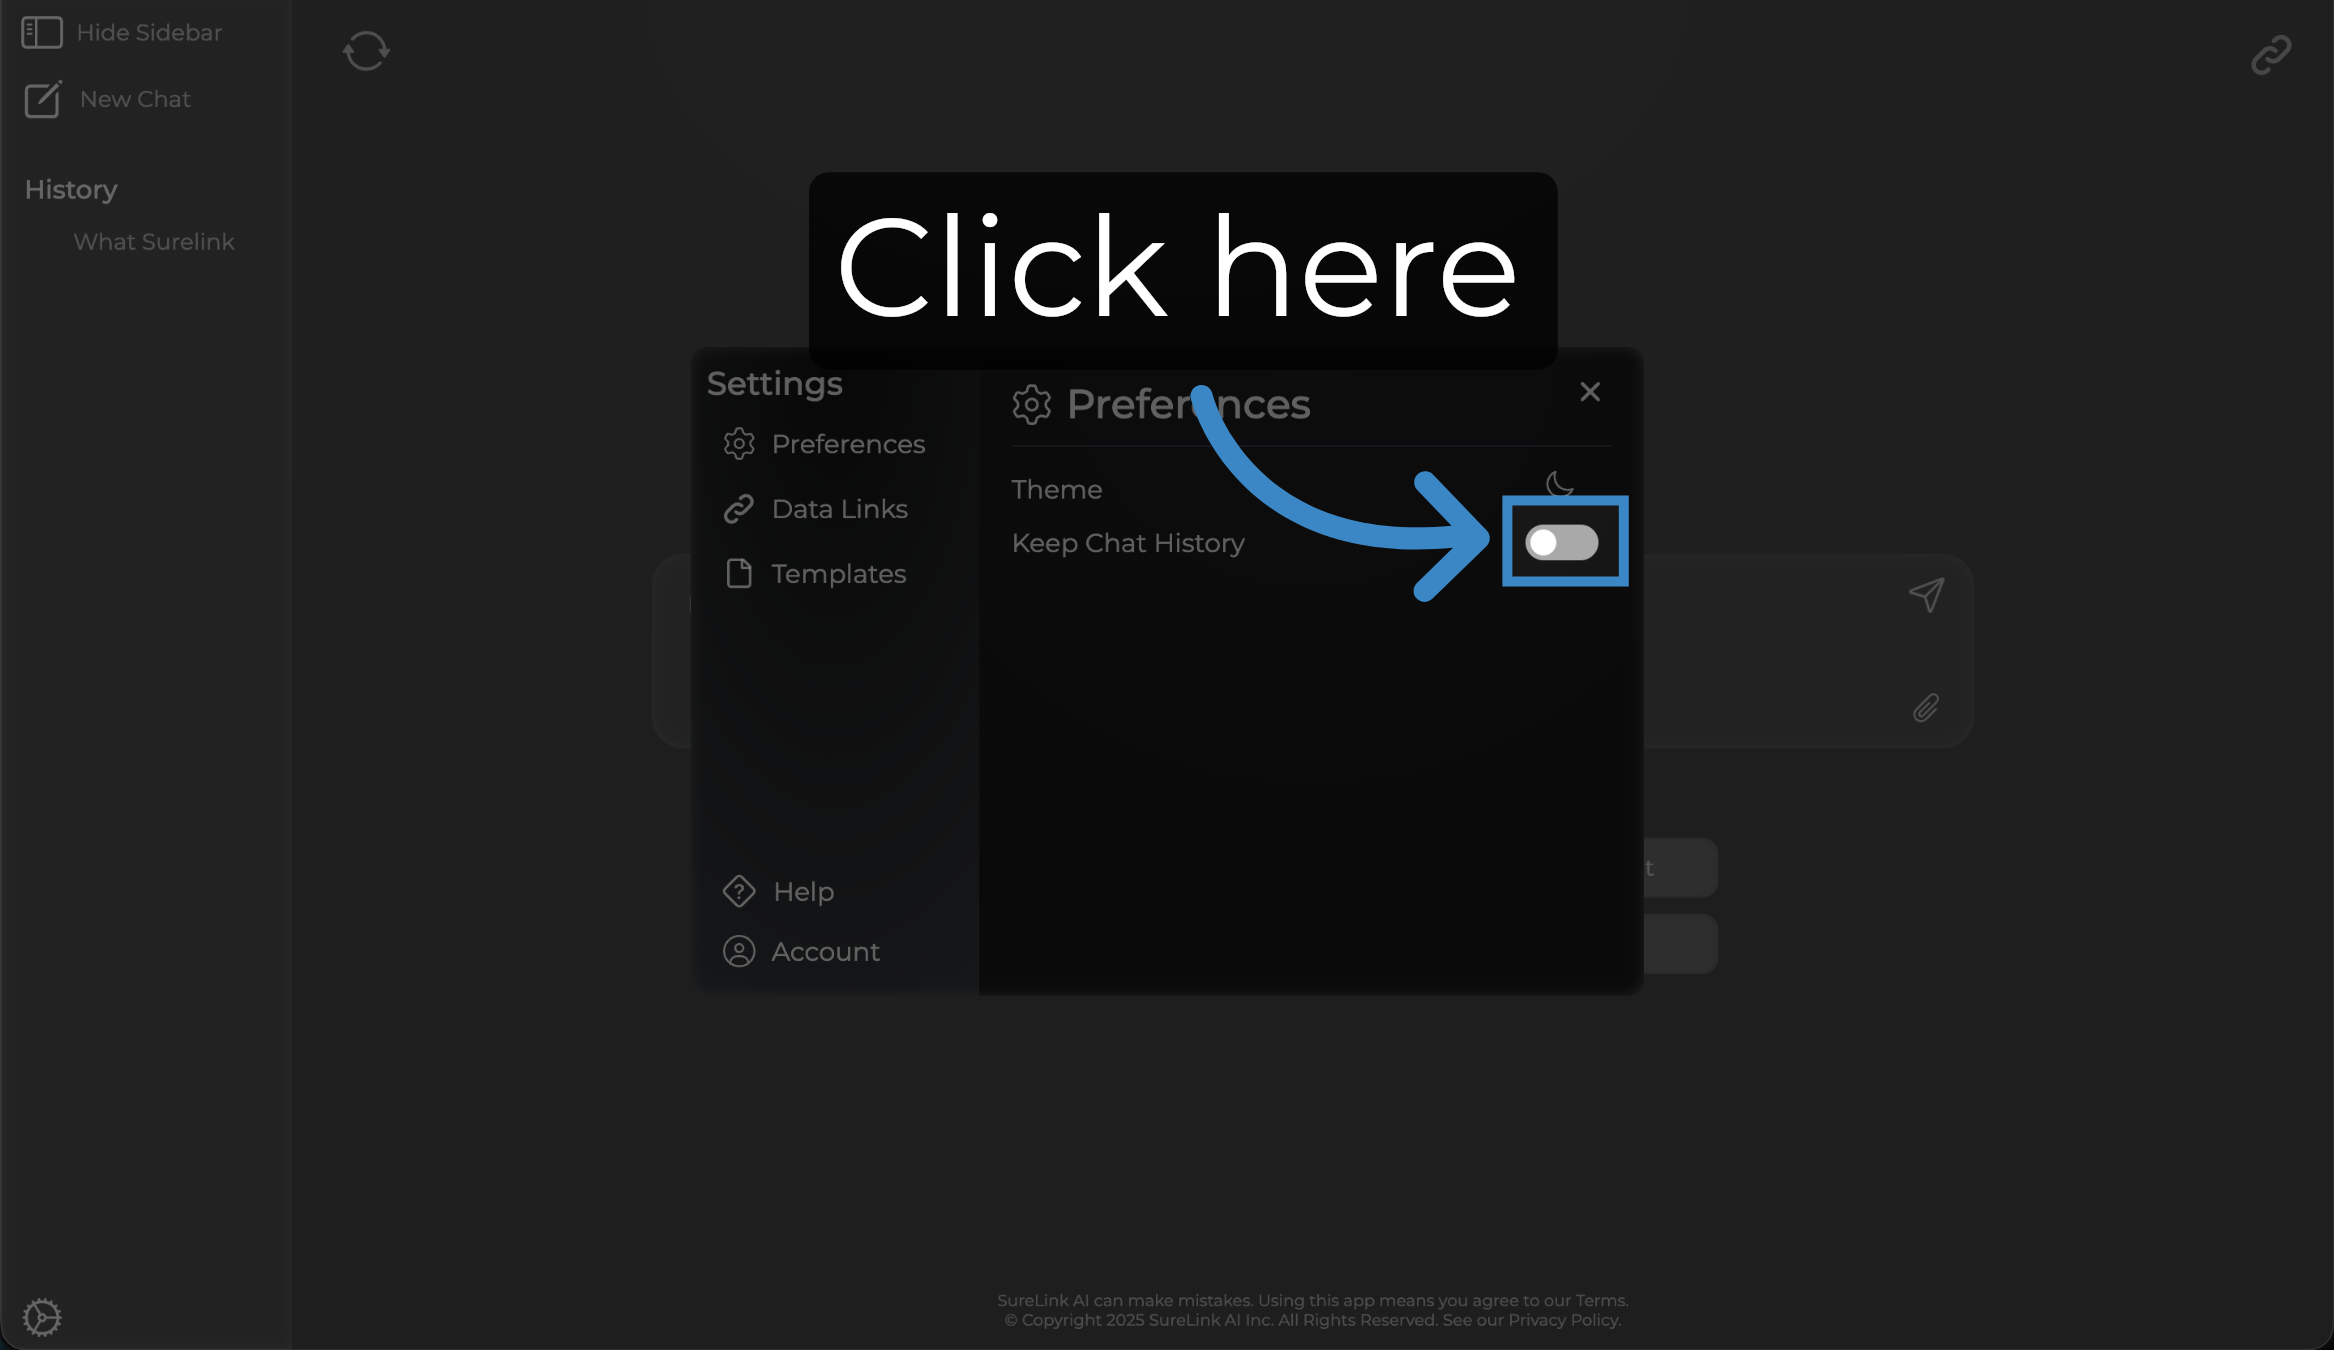
7. Click here
Click the Keep Chat History toggle off to no longer retain your Chat History, moving forward. Turning this off will not remove any existing chat history that you have.
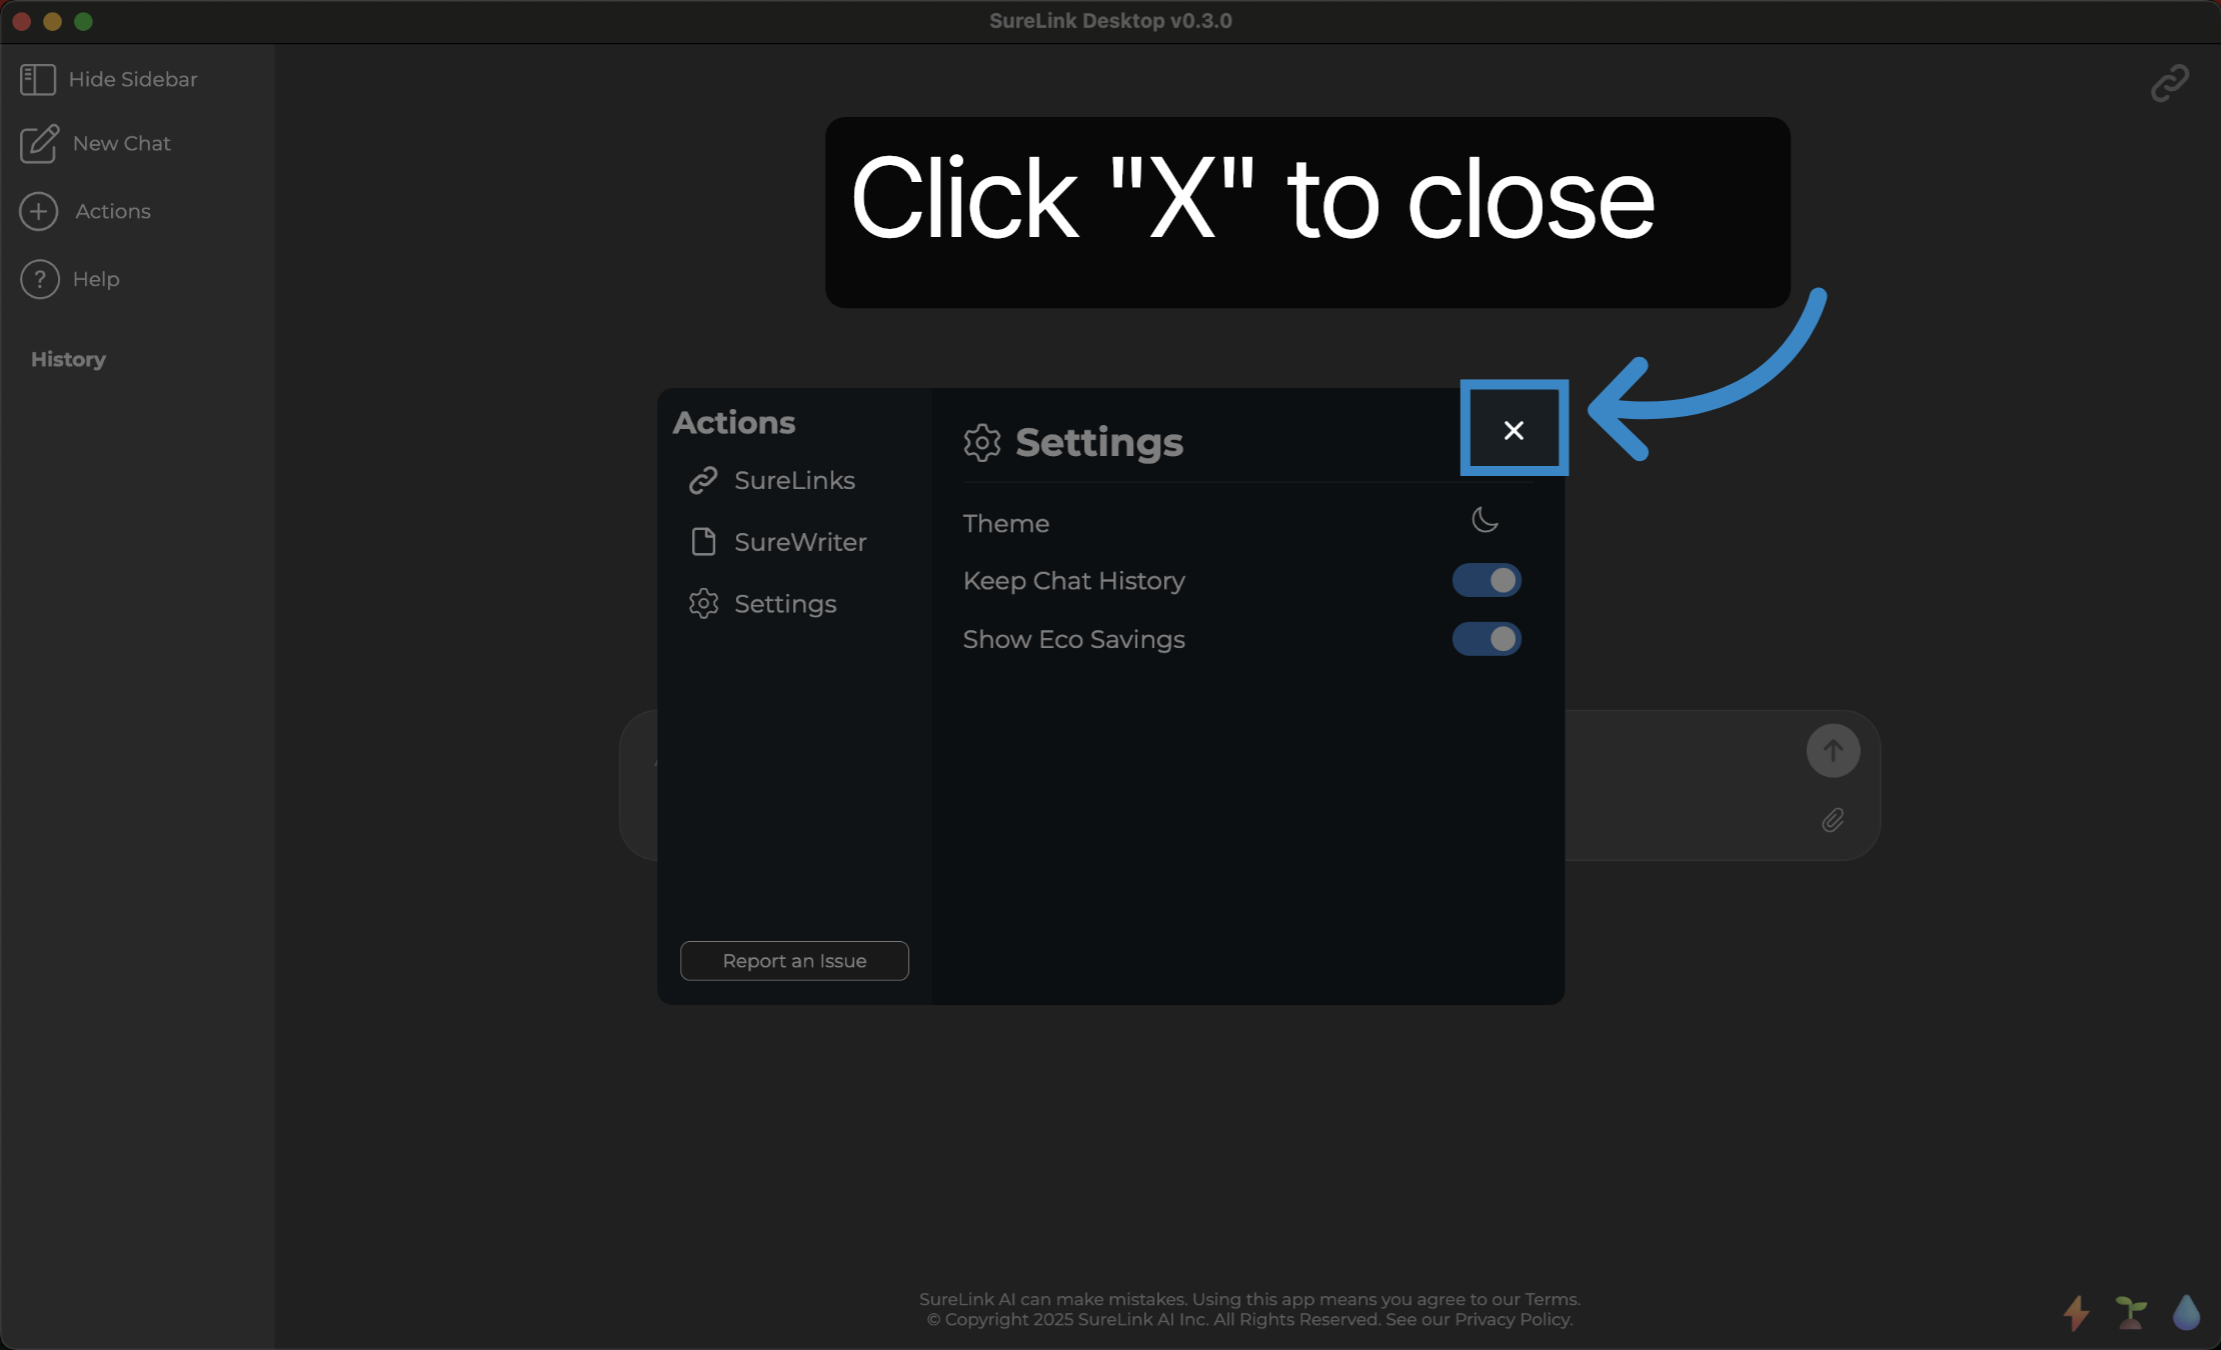
8. Click "Close"
Close out the window to return back to the SureLink AI chat home page.
This guide covered how to navigate and customize the Settings in SureLink AI... Thank you from the SureLink AI team