How to use SureLinks. SureLinks allow you to link your private data to enrich your responses.
Learn how to use SureLinks to connect your private files and folders, enhancing your interactions with enriched data.
1. Introduction
This guide walks you through creating SureLinks and leveraging them for smarter, data-driven responses.
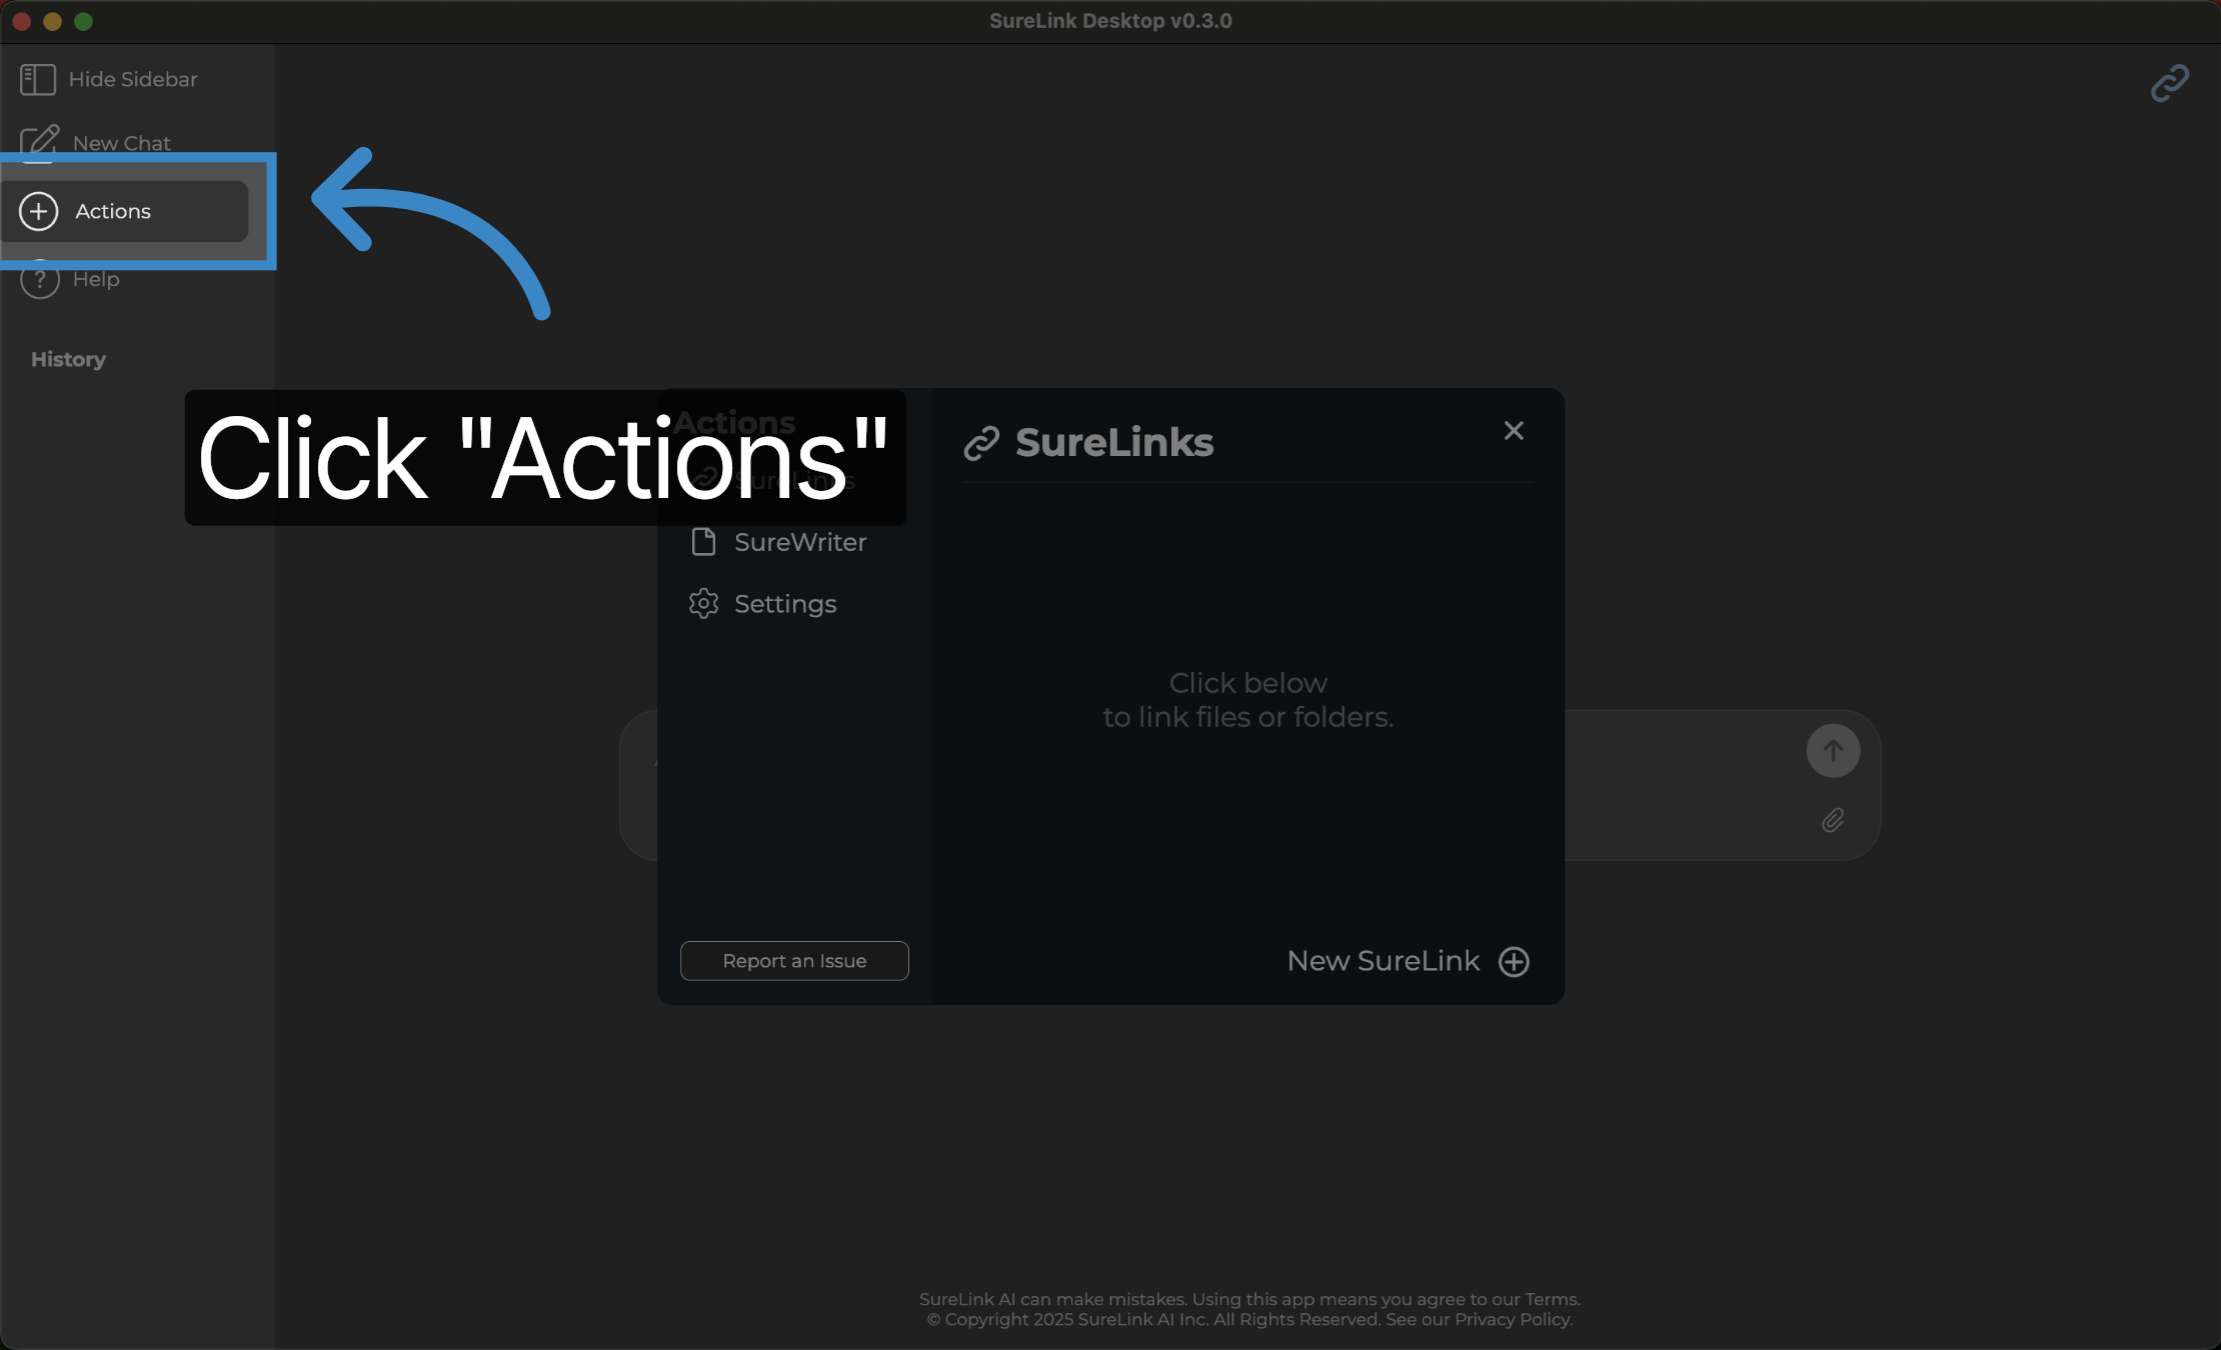
2. Click "Actions"
Navigate to the 'Actions' menu to begin managing your SureLinks.
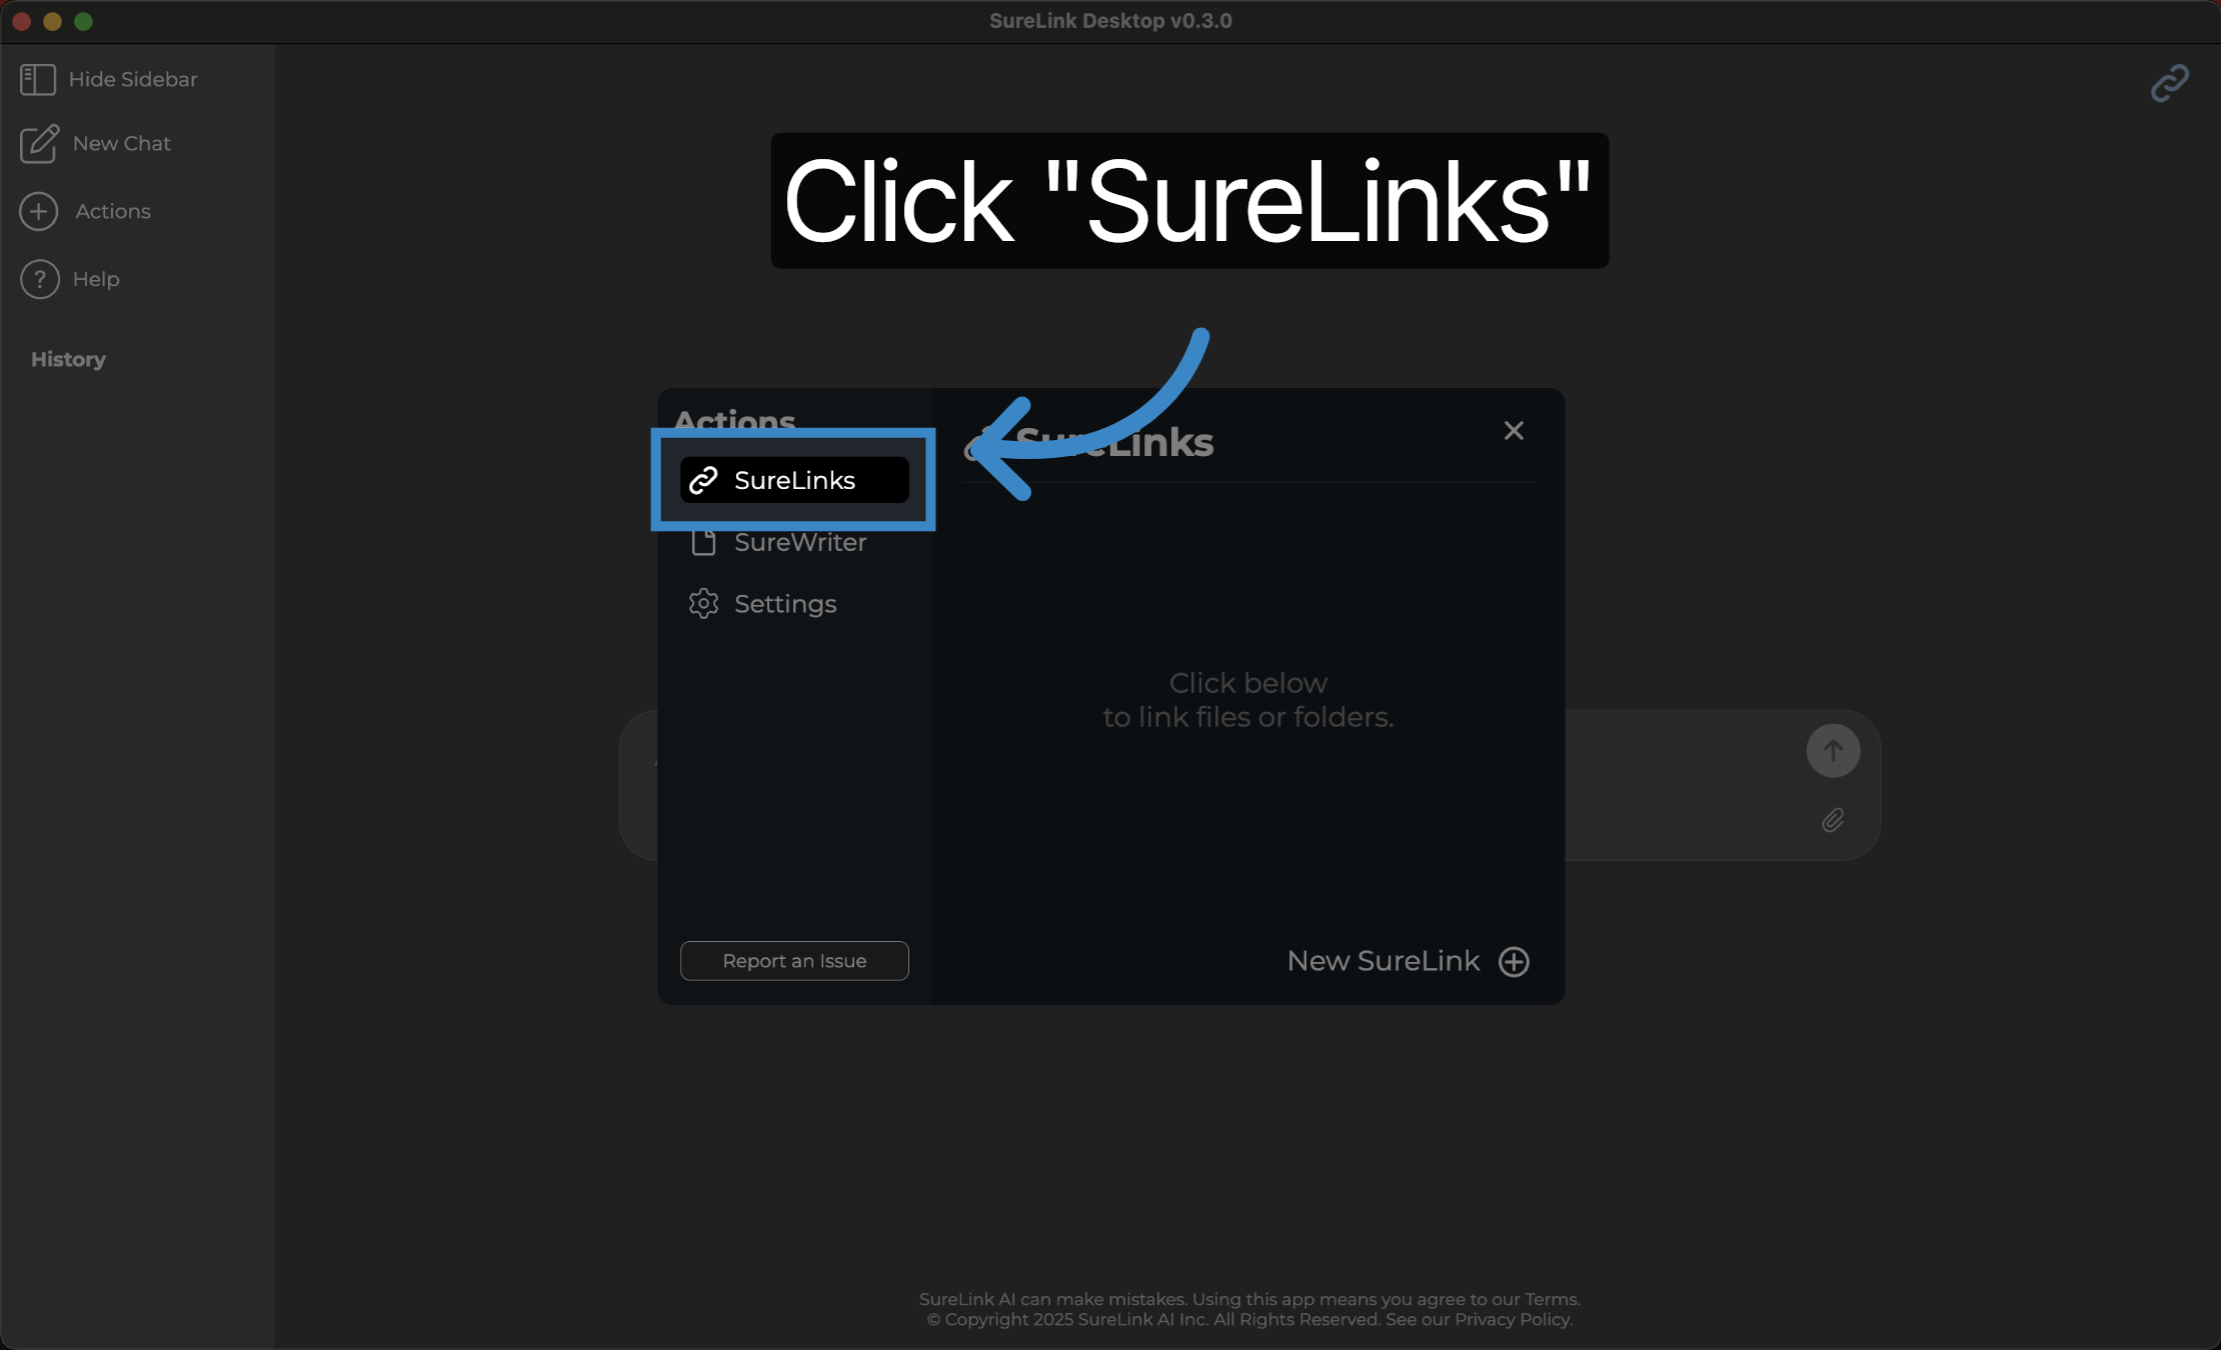
3. Click "SureLinks"
Select the 'SureLinks' option to access your linked files and folders.
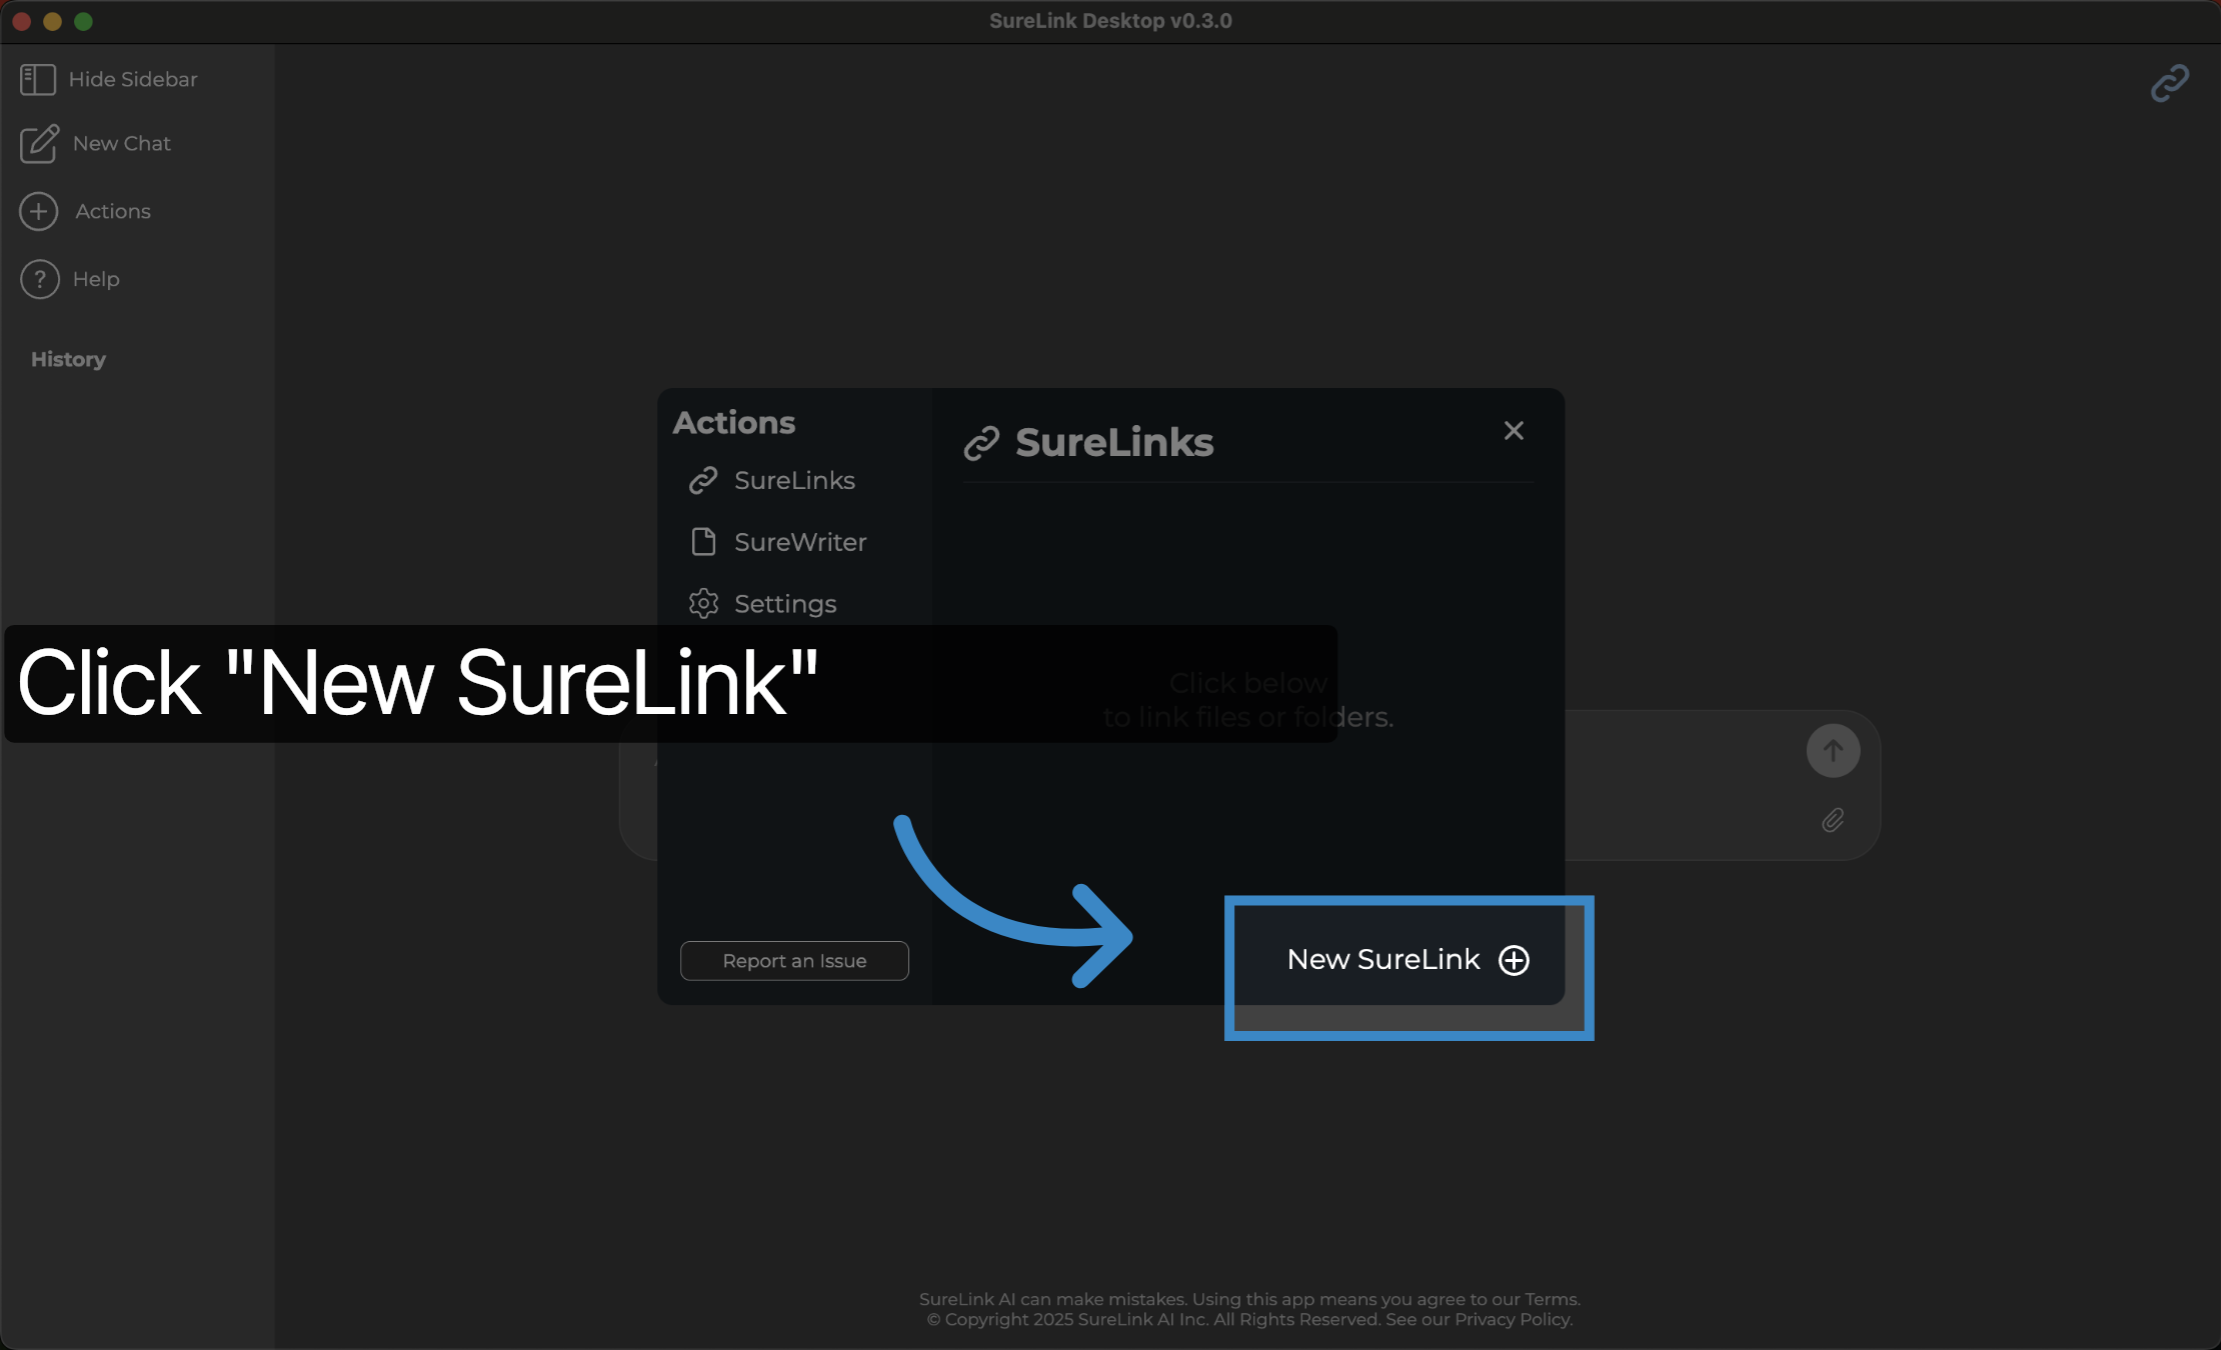
4. Click "New SureLink"
Initiate the creation of a new SureLink by clicking the designated 'New SureLink' area.
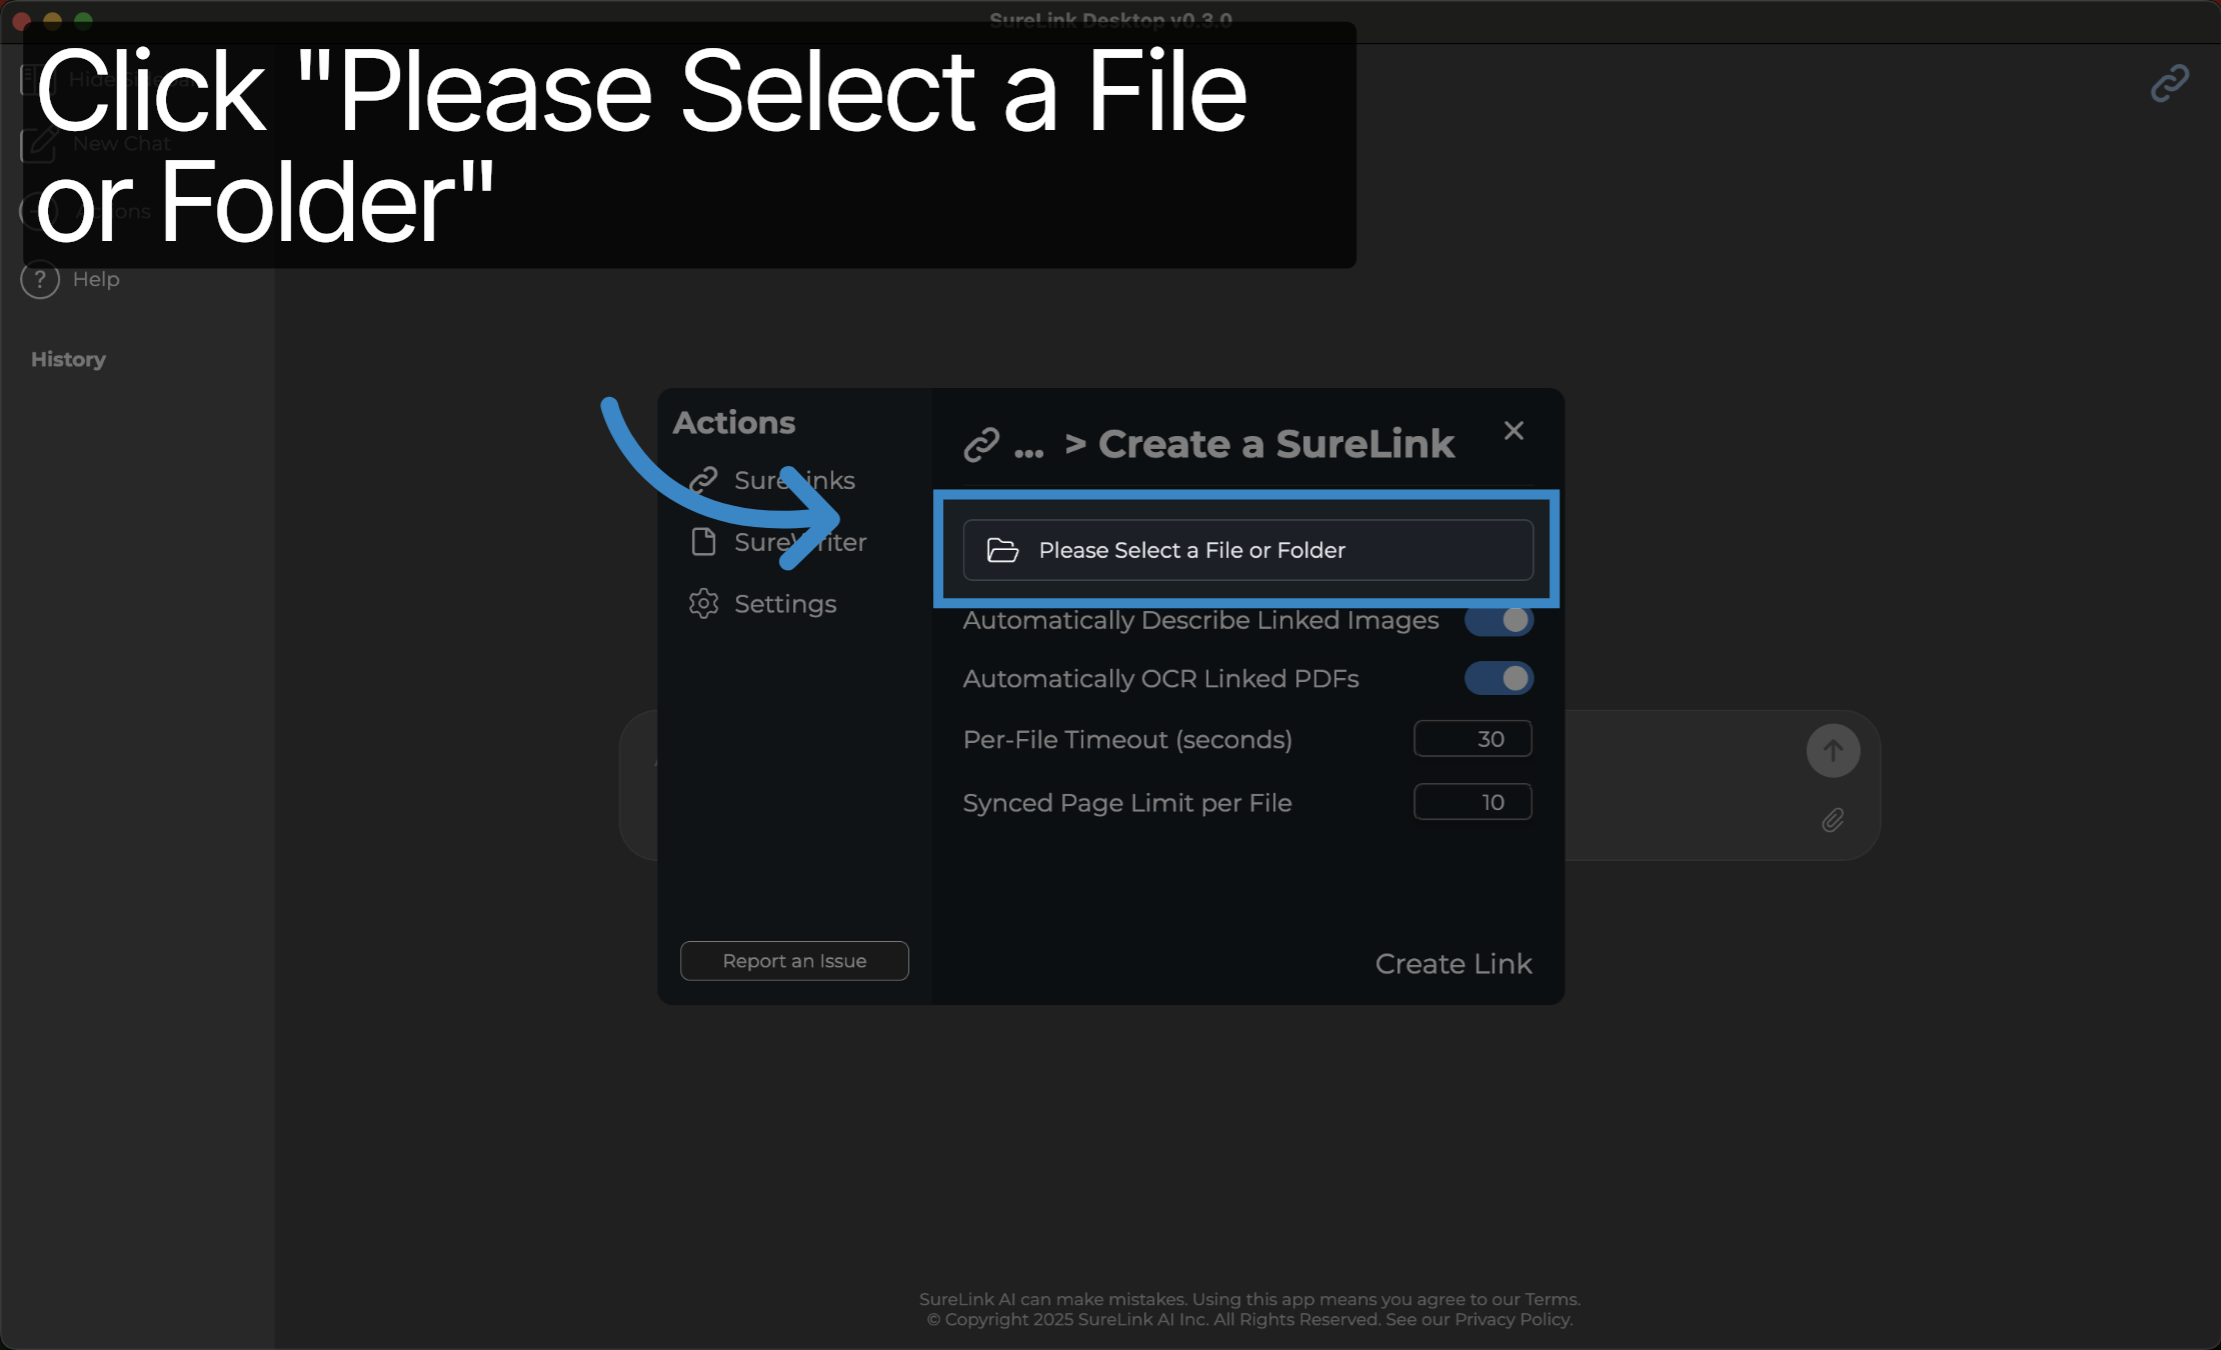
5. Click "Please Select a File or Folder"
Open the file or folder selection dialog by clicking 'Please Select a File or Folder'. For most users, you can keep the Describe Linked Images and OCR Linked Images off. However, if you want to prompt based on image descriptions or pdf content, then you can turn these on as needed. If you turn on Describe Linked Images or OCR Linked images, you can also adjust your file timeout and page limit per file to higher thresholds to allow the syncing process to complete.
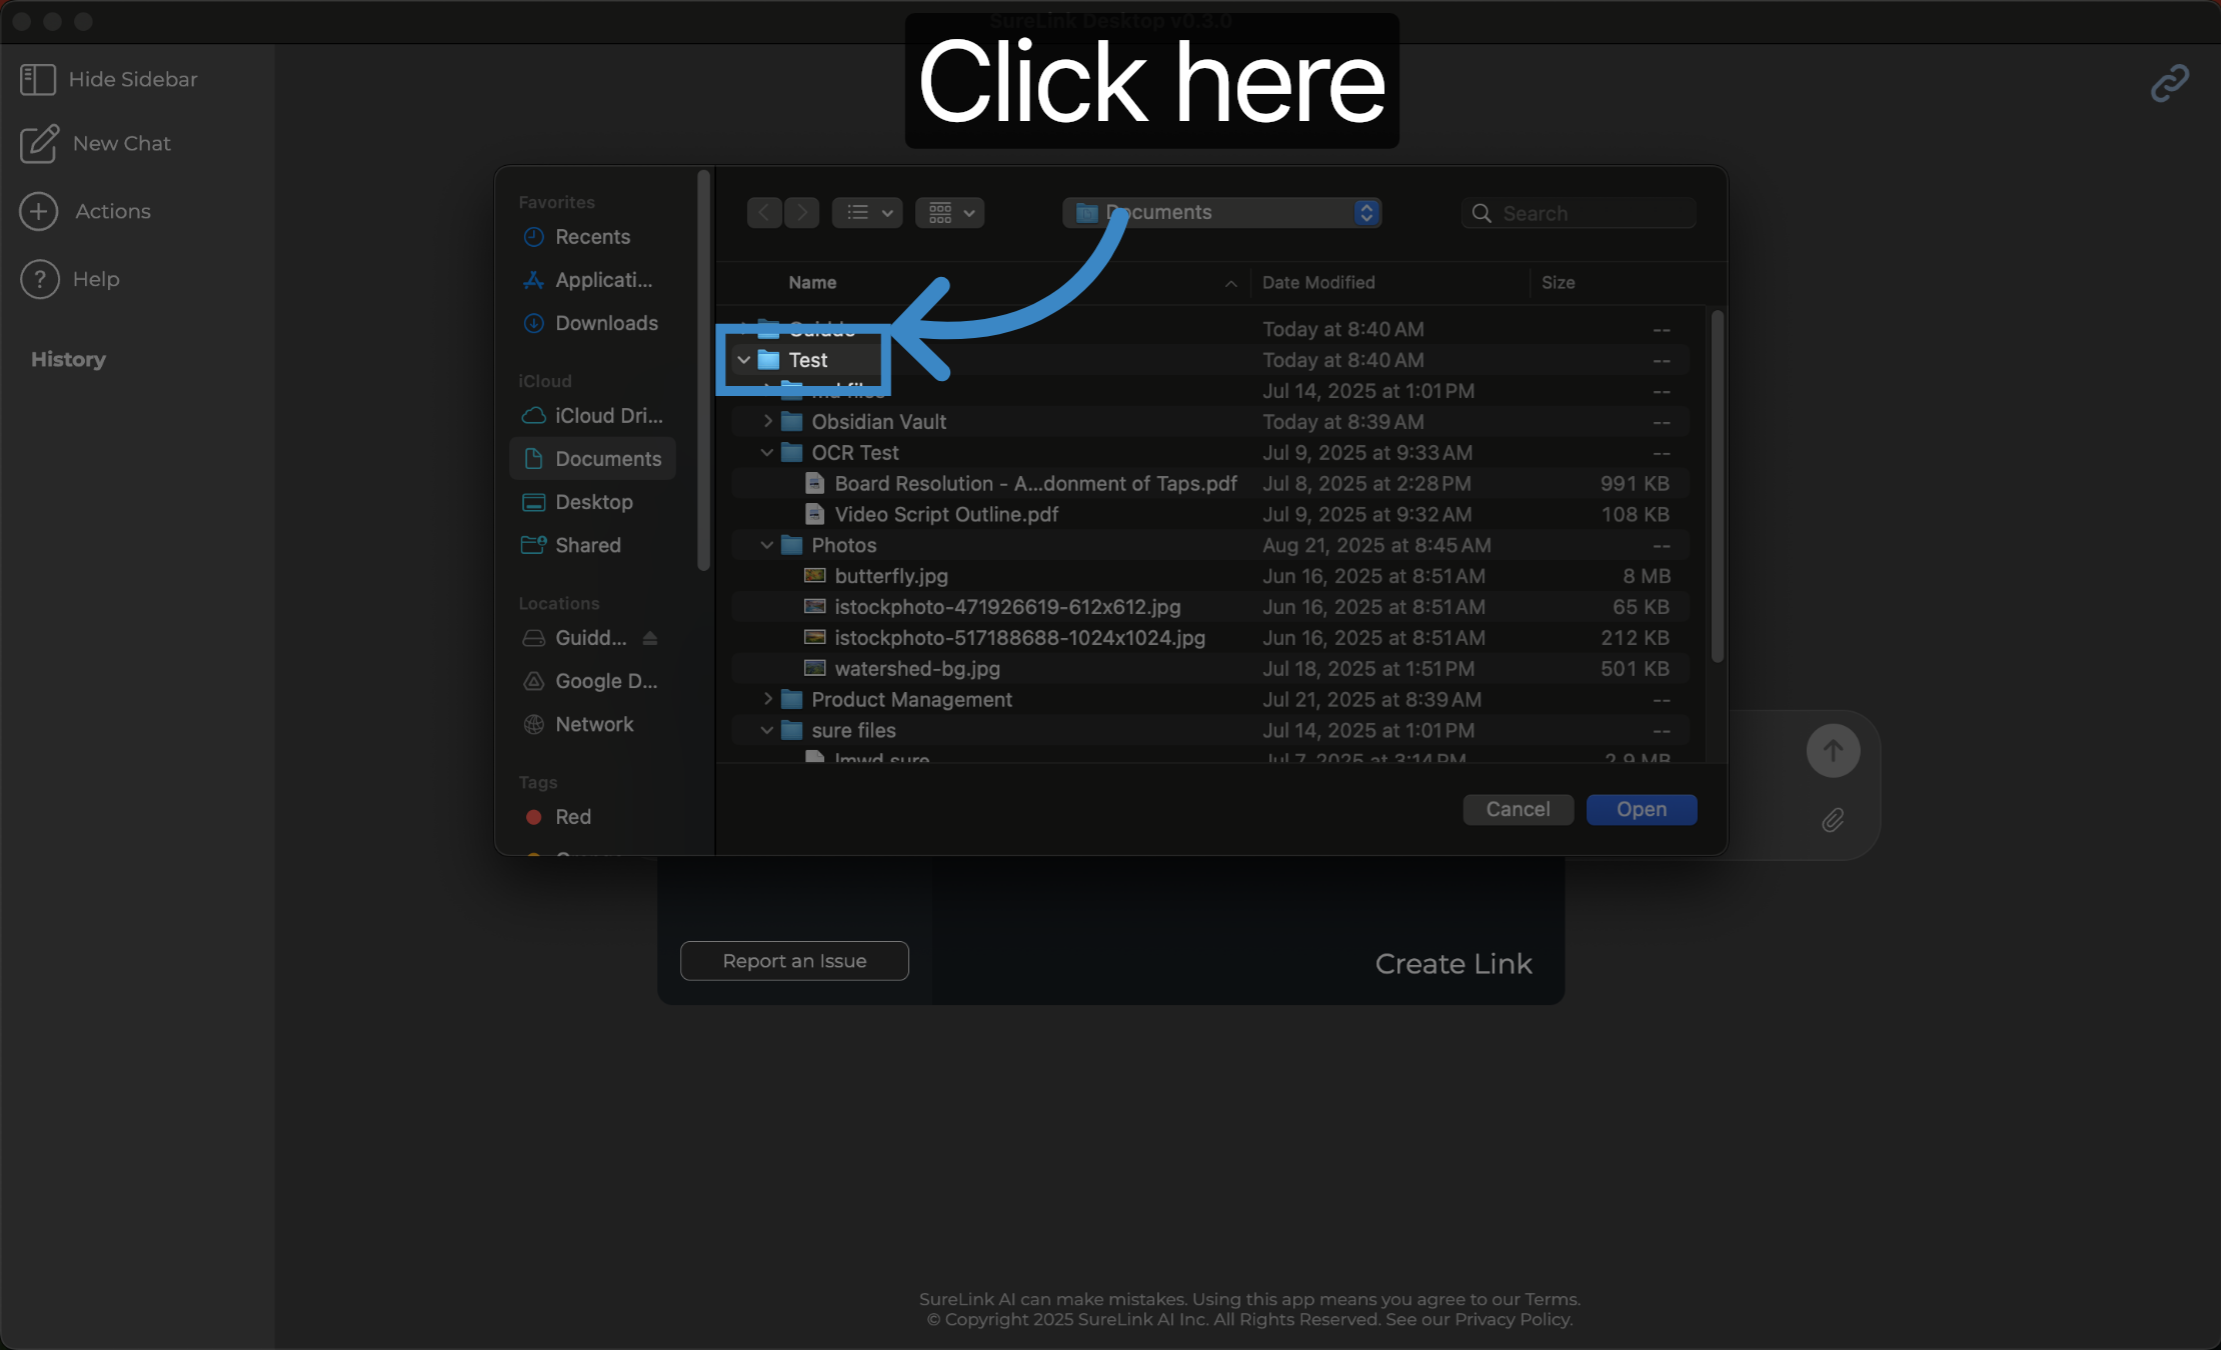
6. Click here
Confirm your selection by clicking the appropriate file or folder within the dialog.
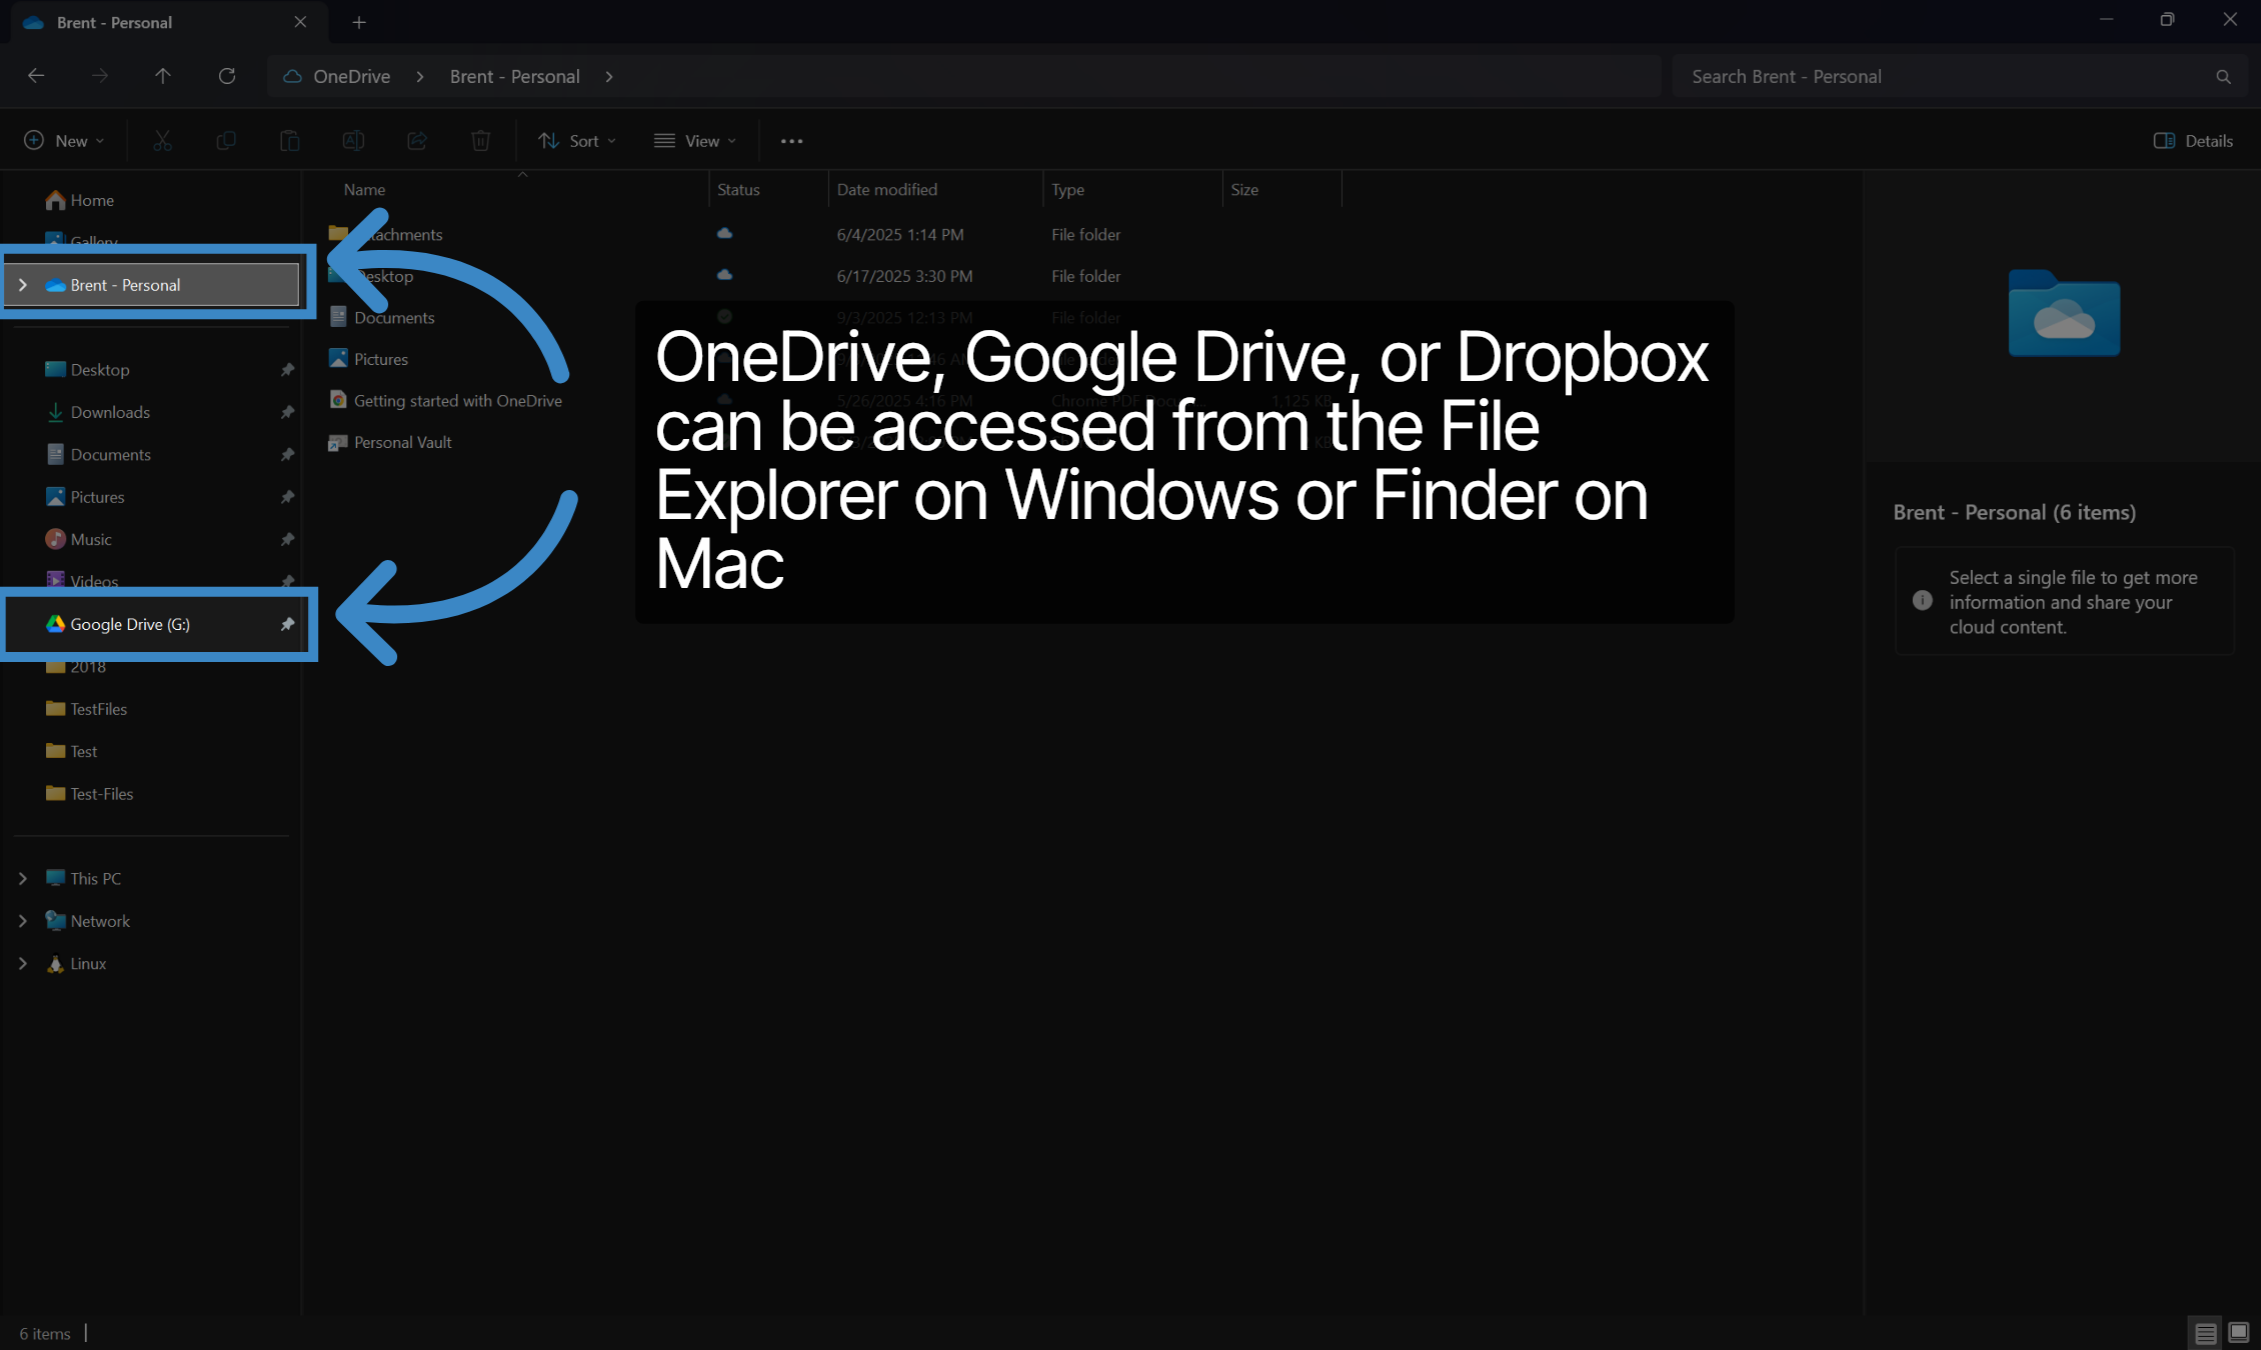
7. OneDrive or Google Drive can also be accessed from the File Explorer on Windows
Please note that OneDrive, Google Drive, Dropbox, or any other file directory that you have access to, can also be selected from the File Explorer on Windows or Finder on Mac.
Also, if you choose to download the files from your OneDrive, Google Drive, or Dropbox before syncing, this will significantly increase linking speeds. You can do this by clicking the Make Available Offline button next to the file or folder.
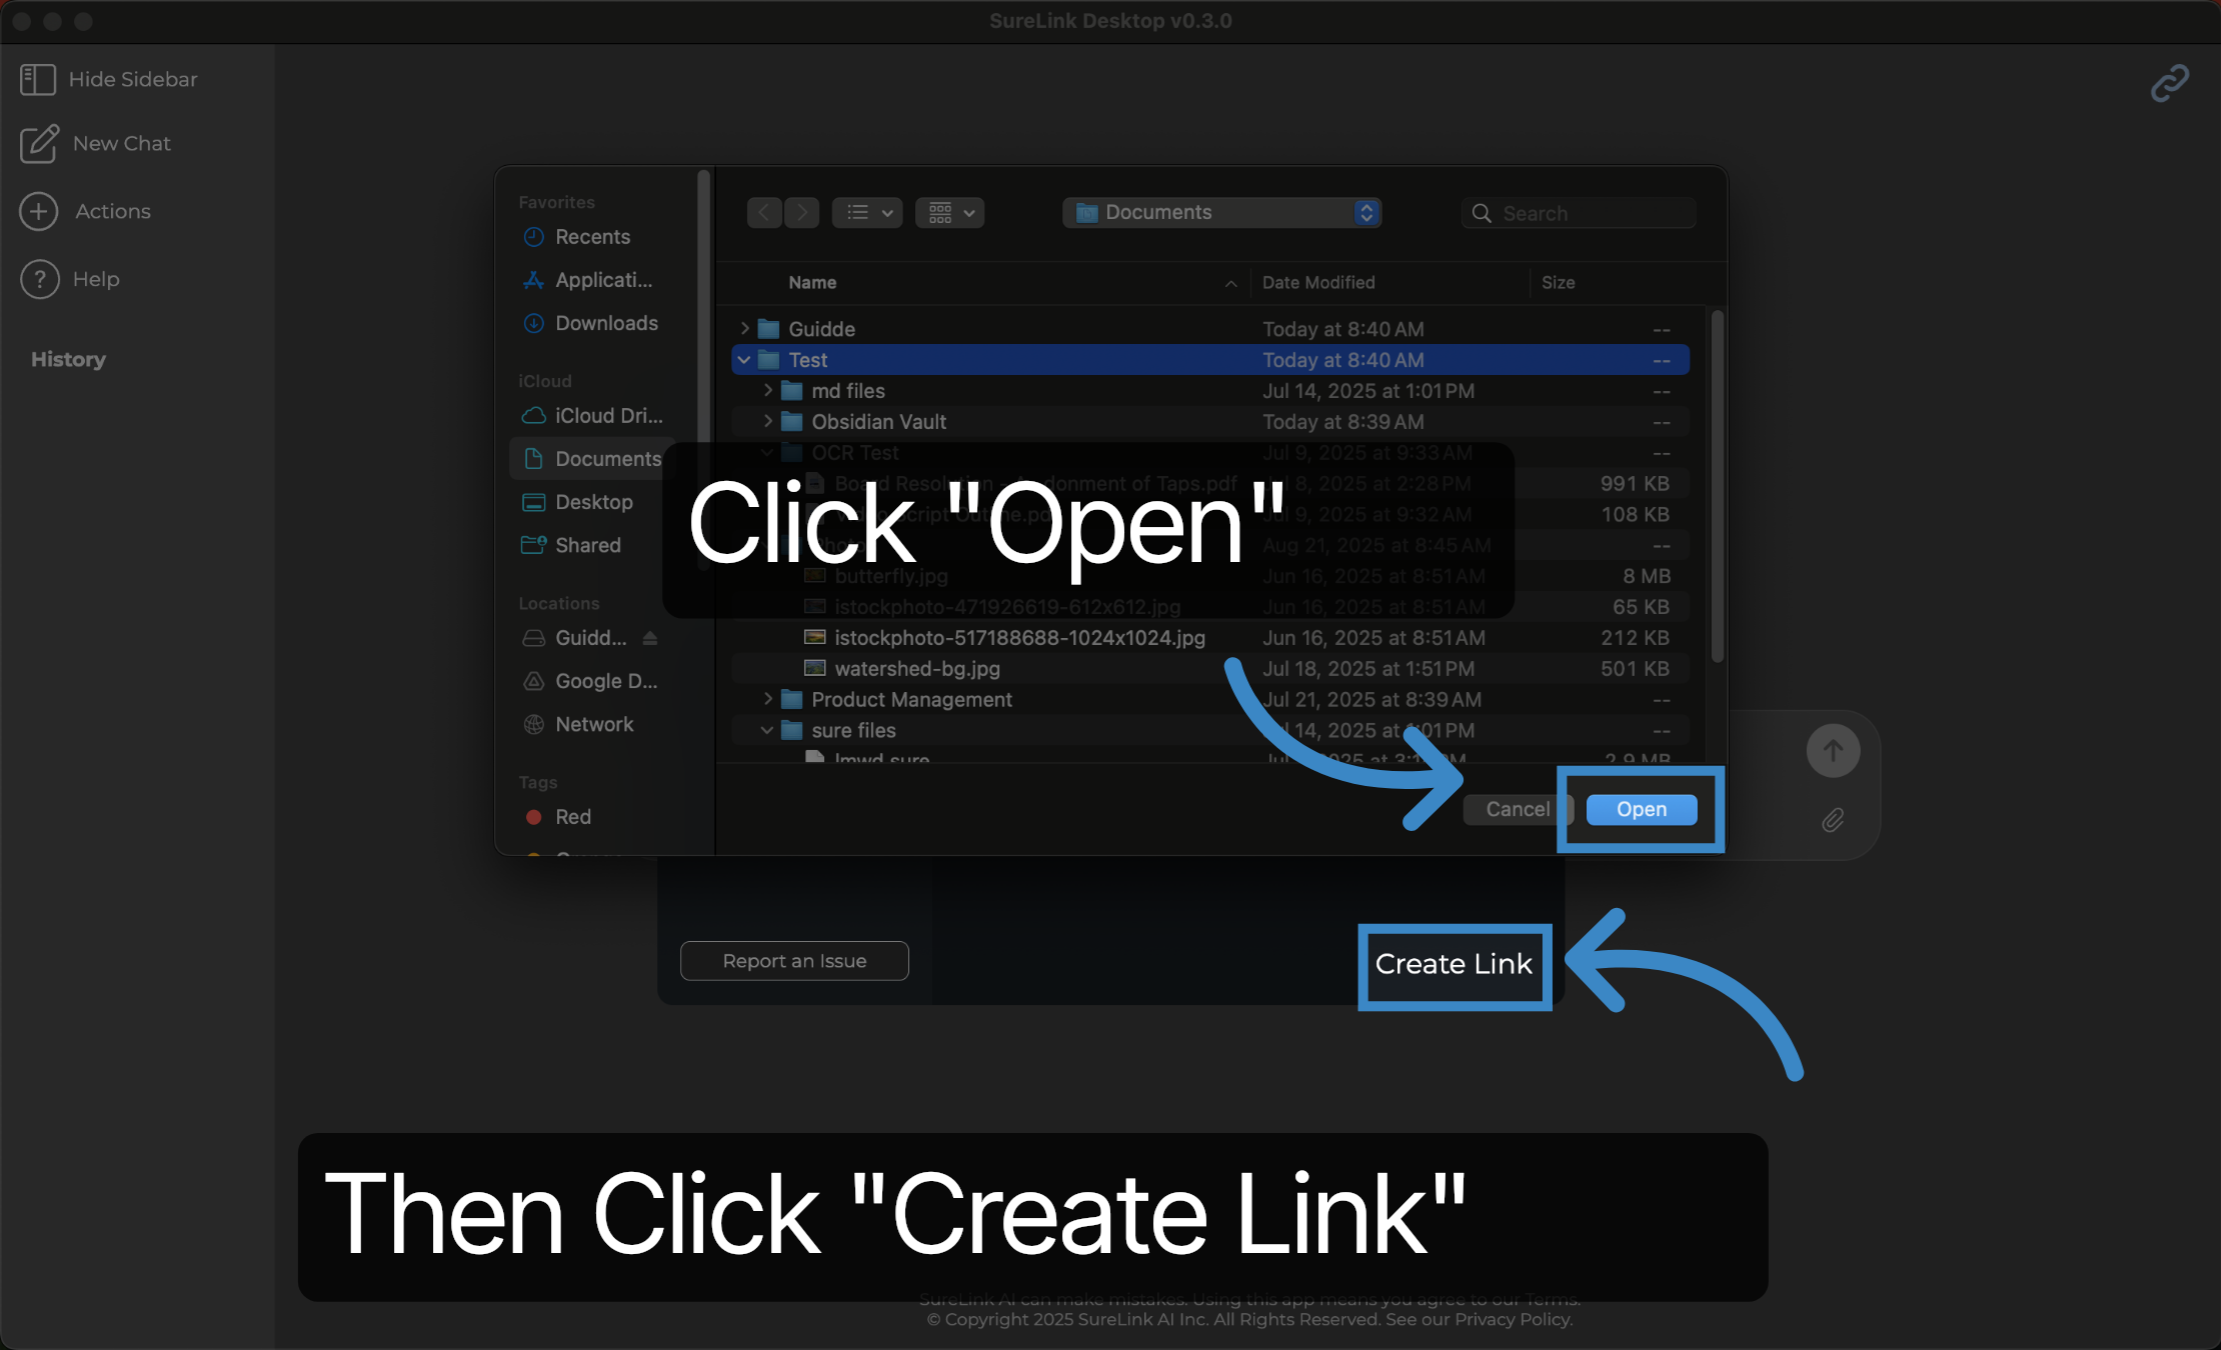
8. Click "Open", then Click "Create Link"
Click 'Open' to finalize your file or folder choice for linking. Then select Create Link to begin the syncing process.
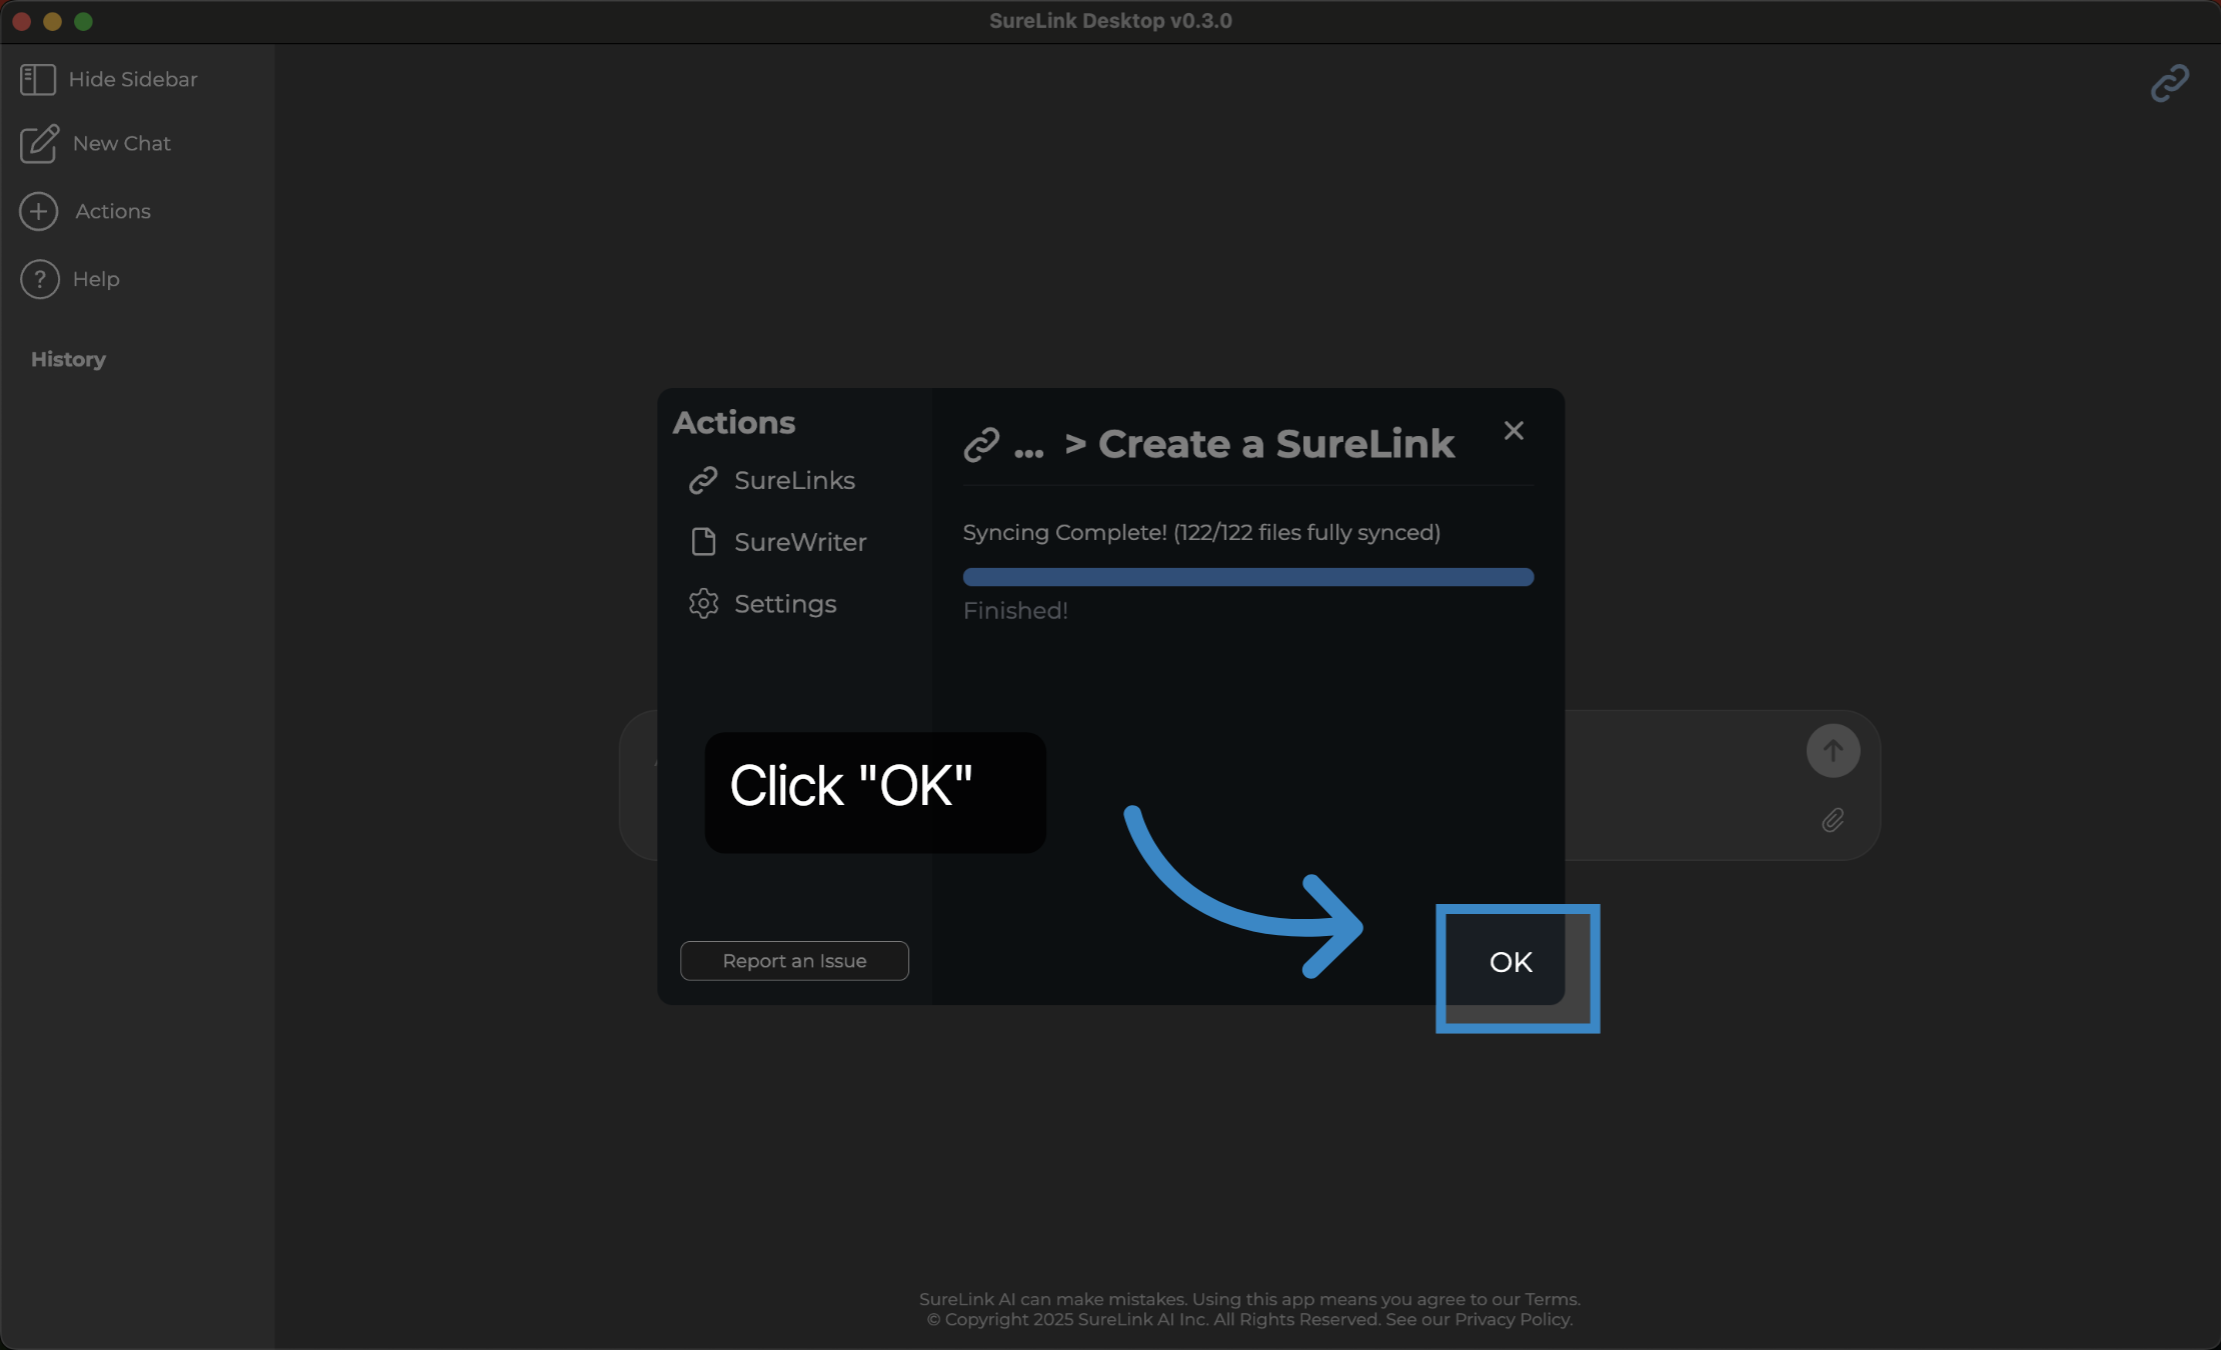
9. Click "OK" to finalize the syncing process
Wait for the synchronization to complete, ensuring all files are fully synced. Then select OK to close the window.
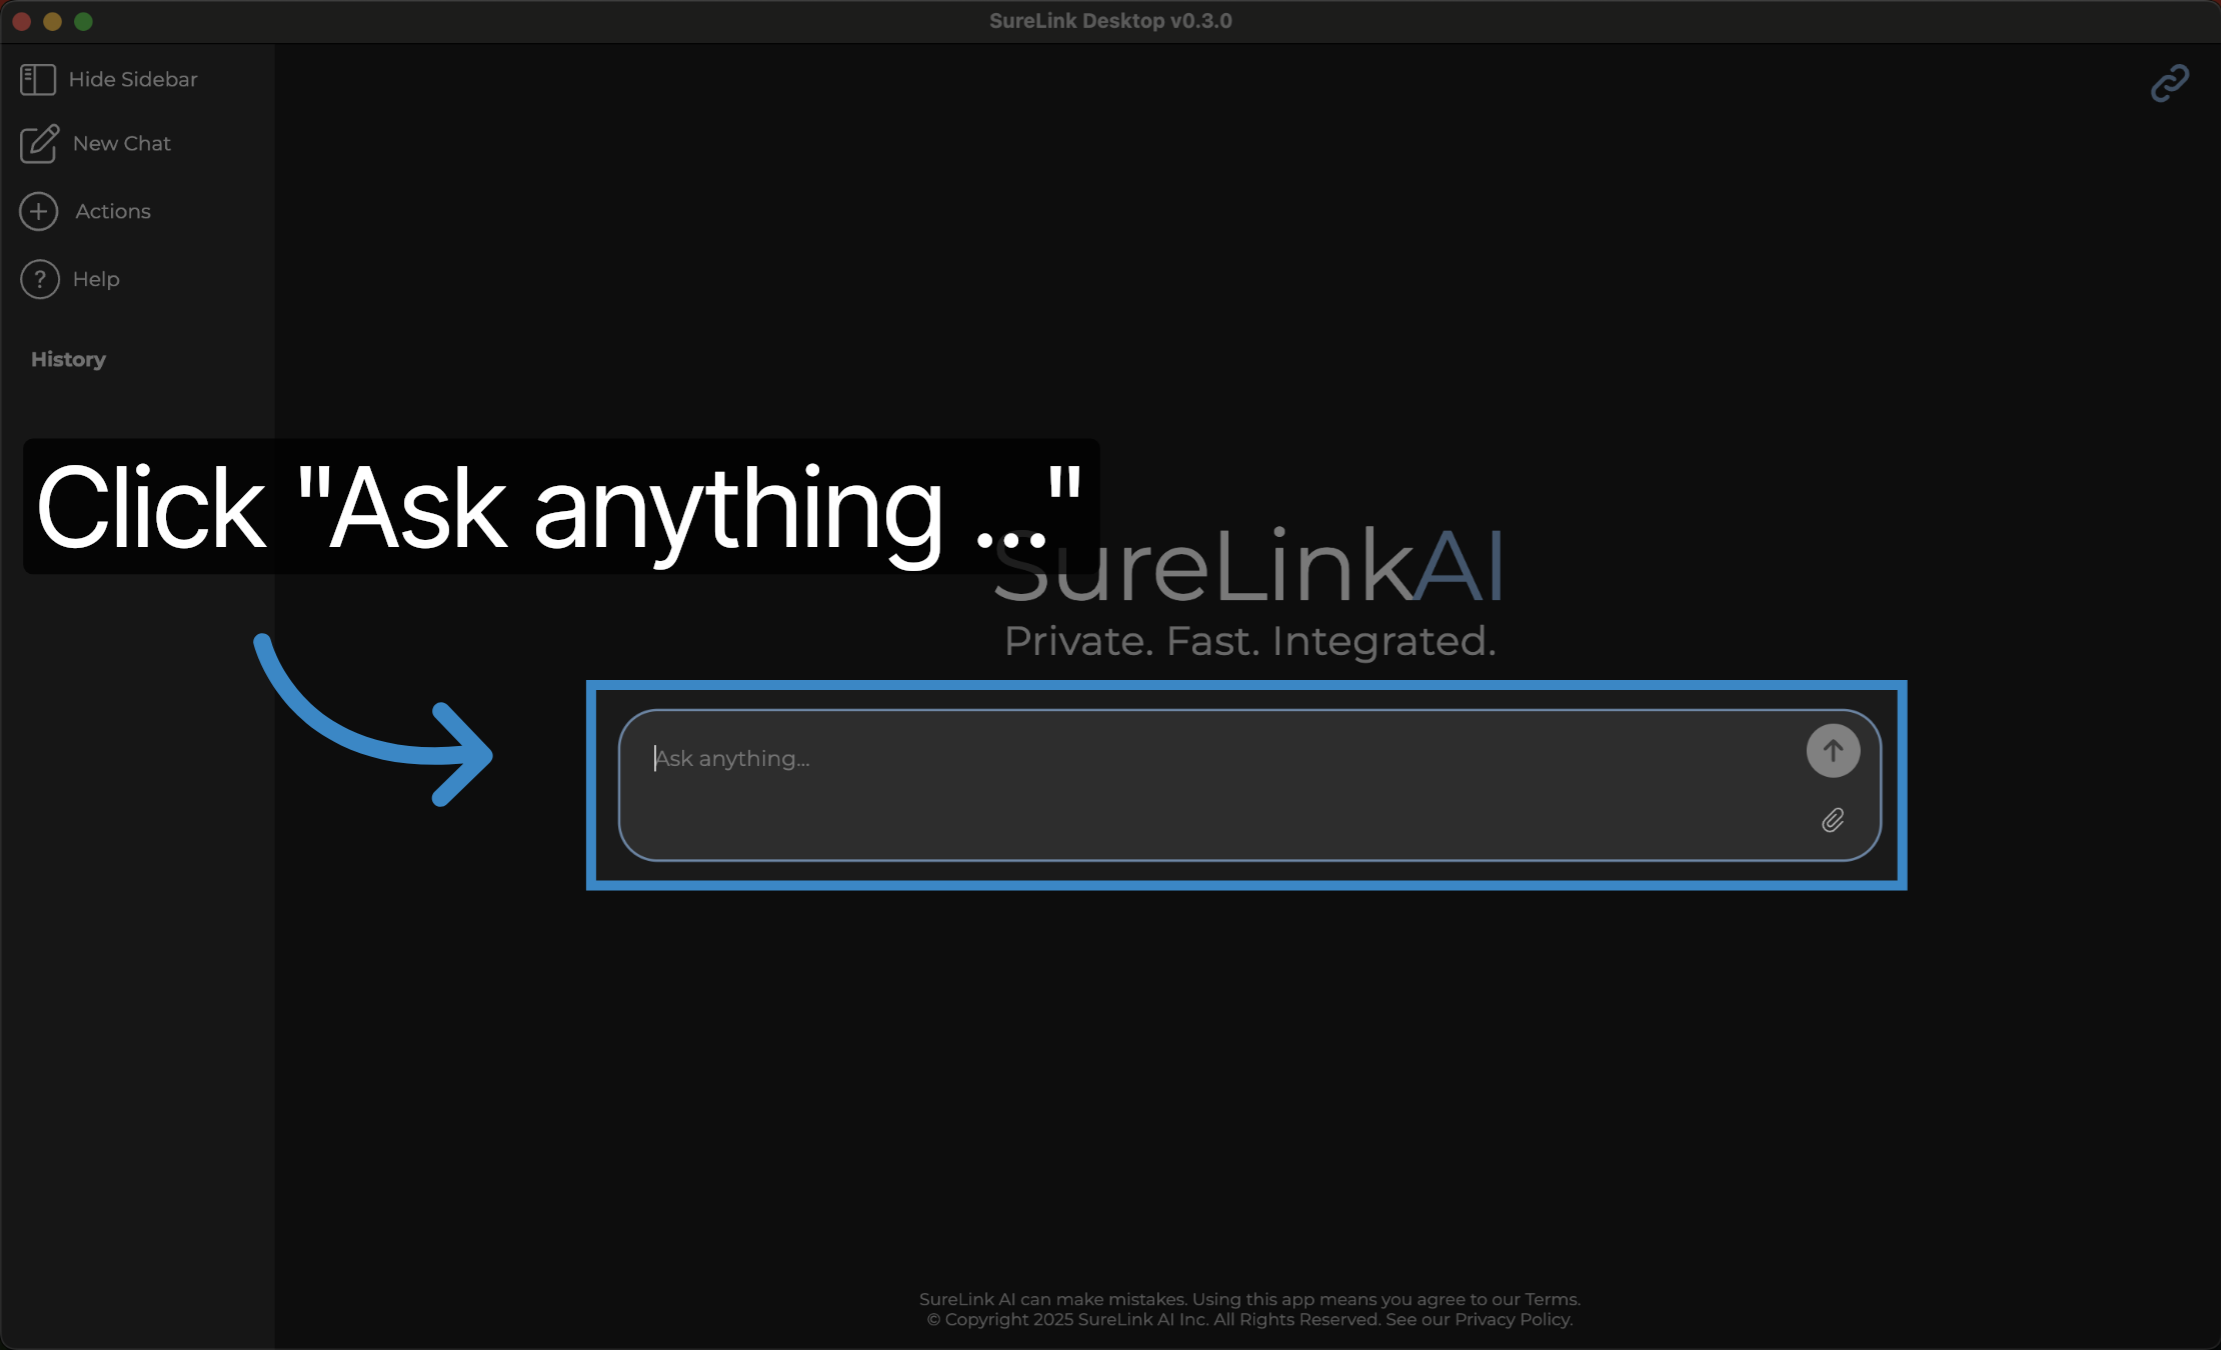
10. Click "Ask anything ..."
Access the SureLink chat interface by clicking the input area labeled 'Ask anything ...'. You can then prompt based on your linked data.
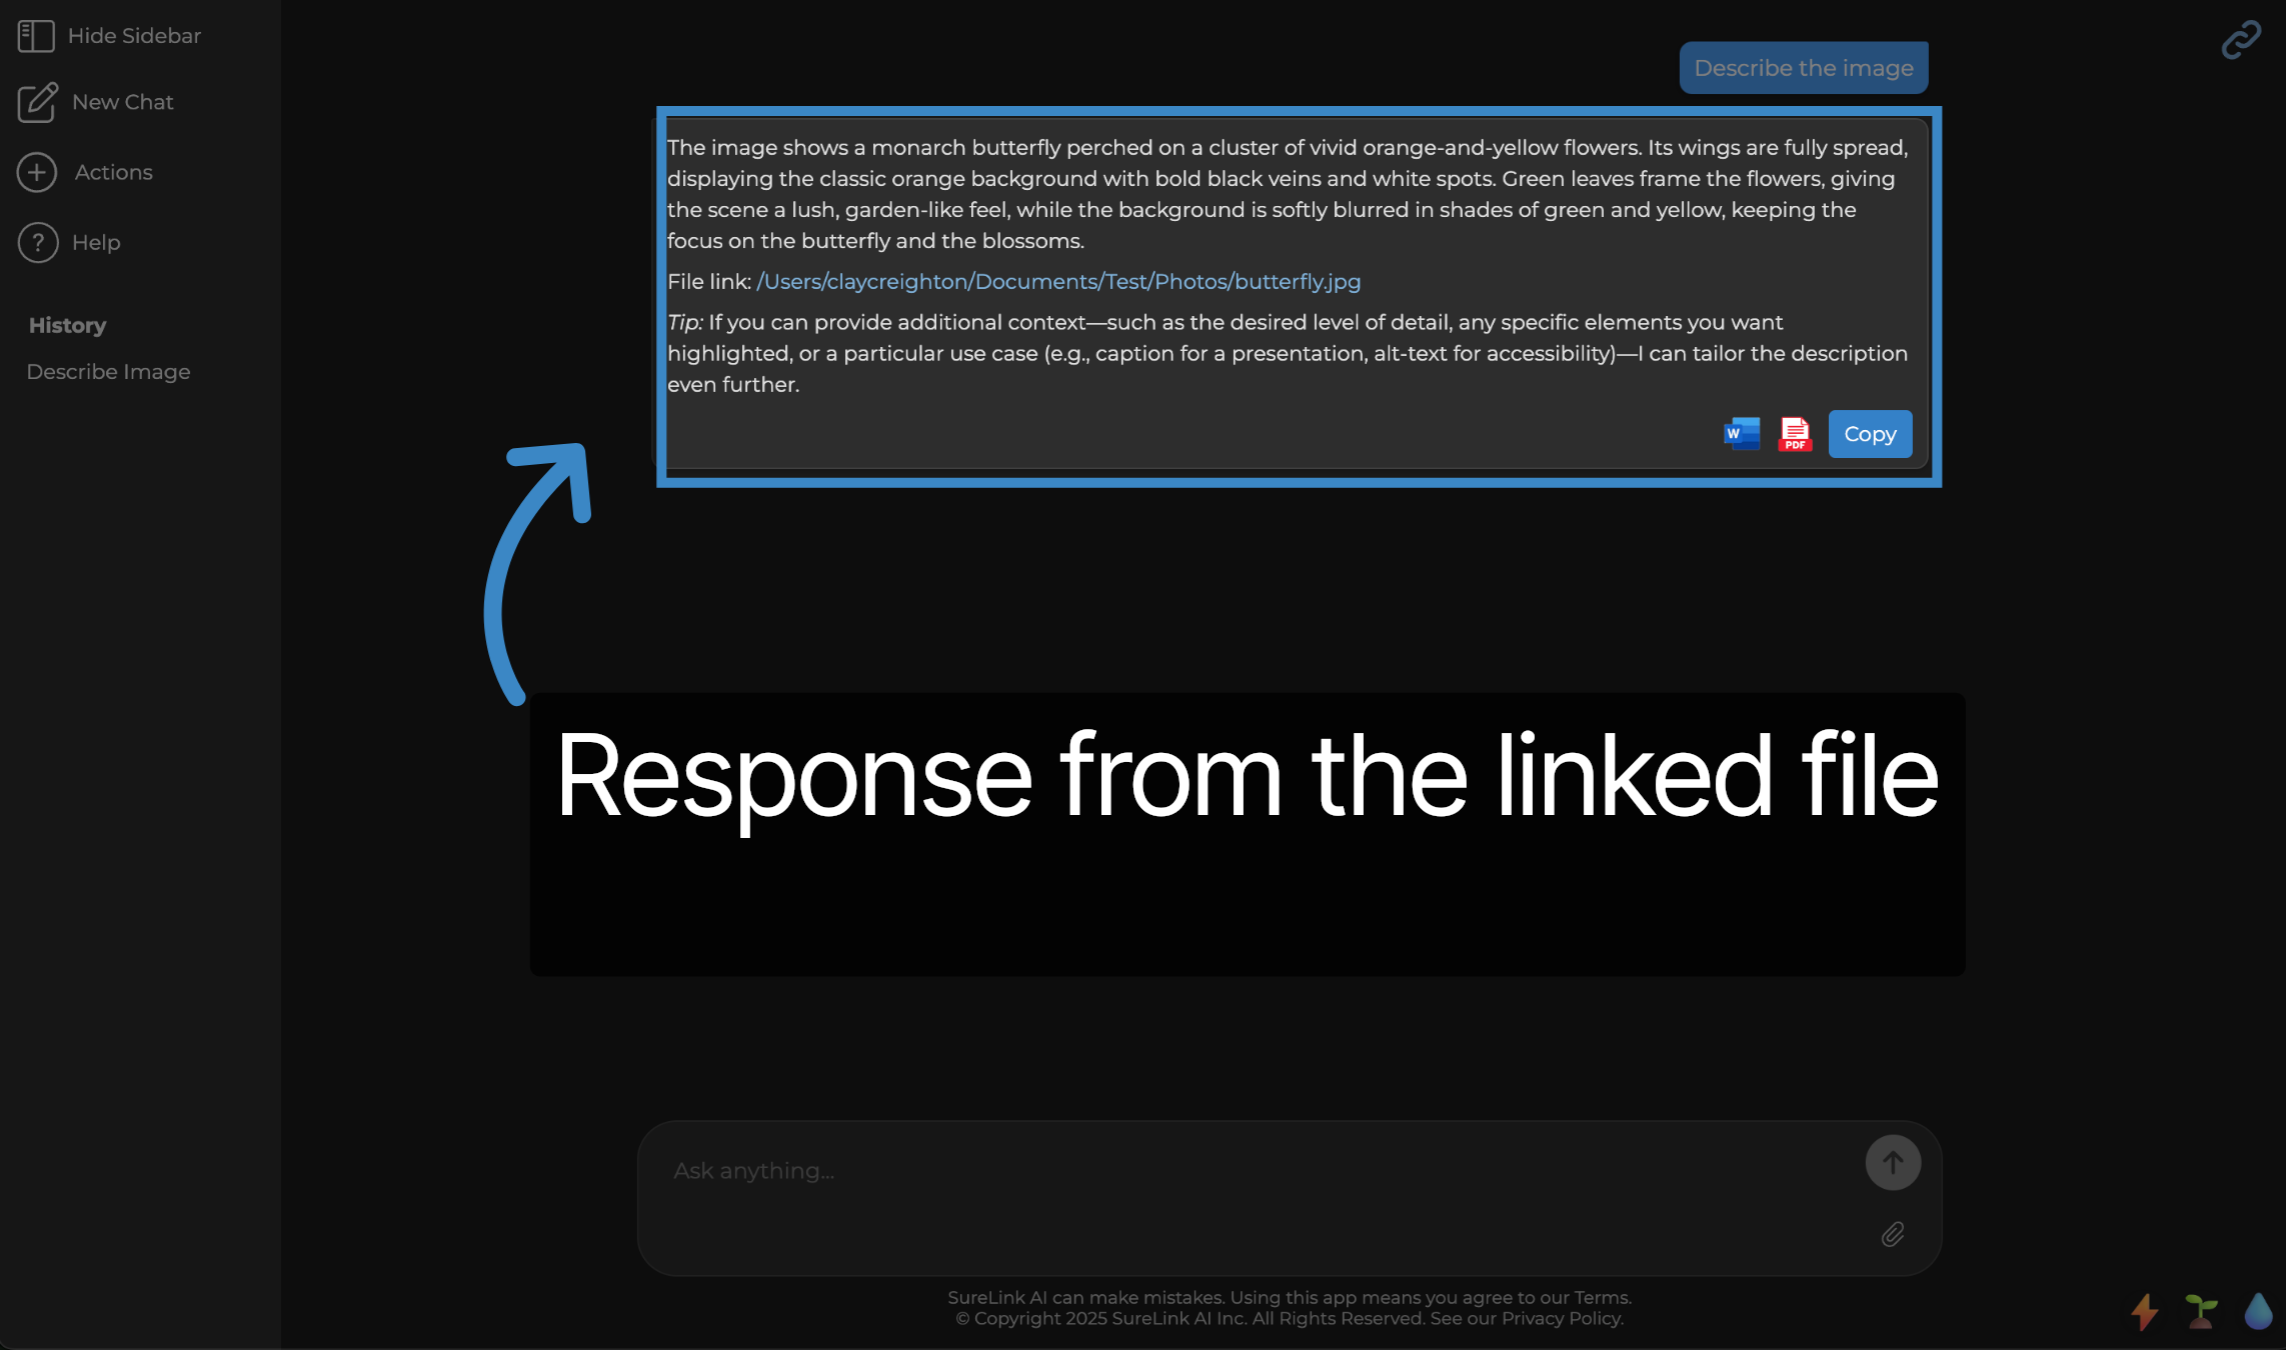
11. Response from the linked file
Here is an example response that is enriched by the linked data of an image.
This guide covered how to create and manage SureLinks by linking files. Thank you from the SureLink AI team.

